 Save
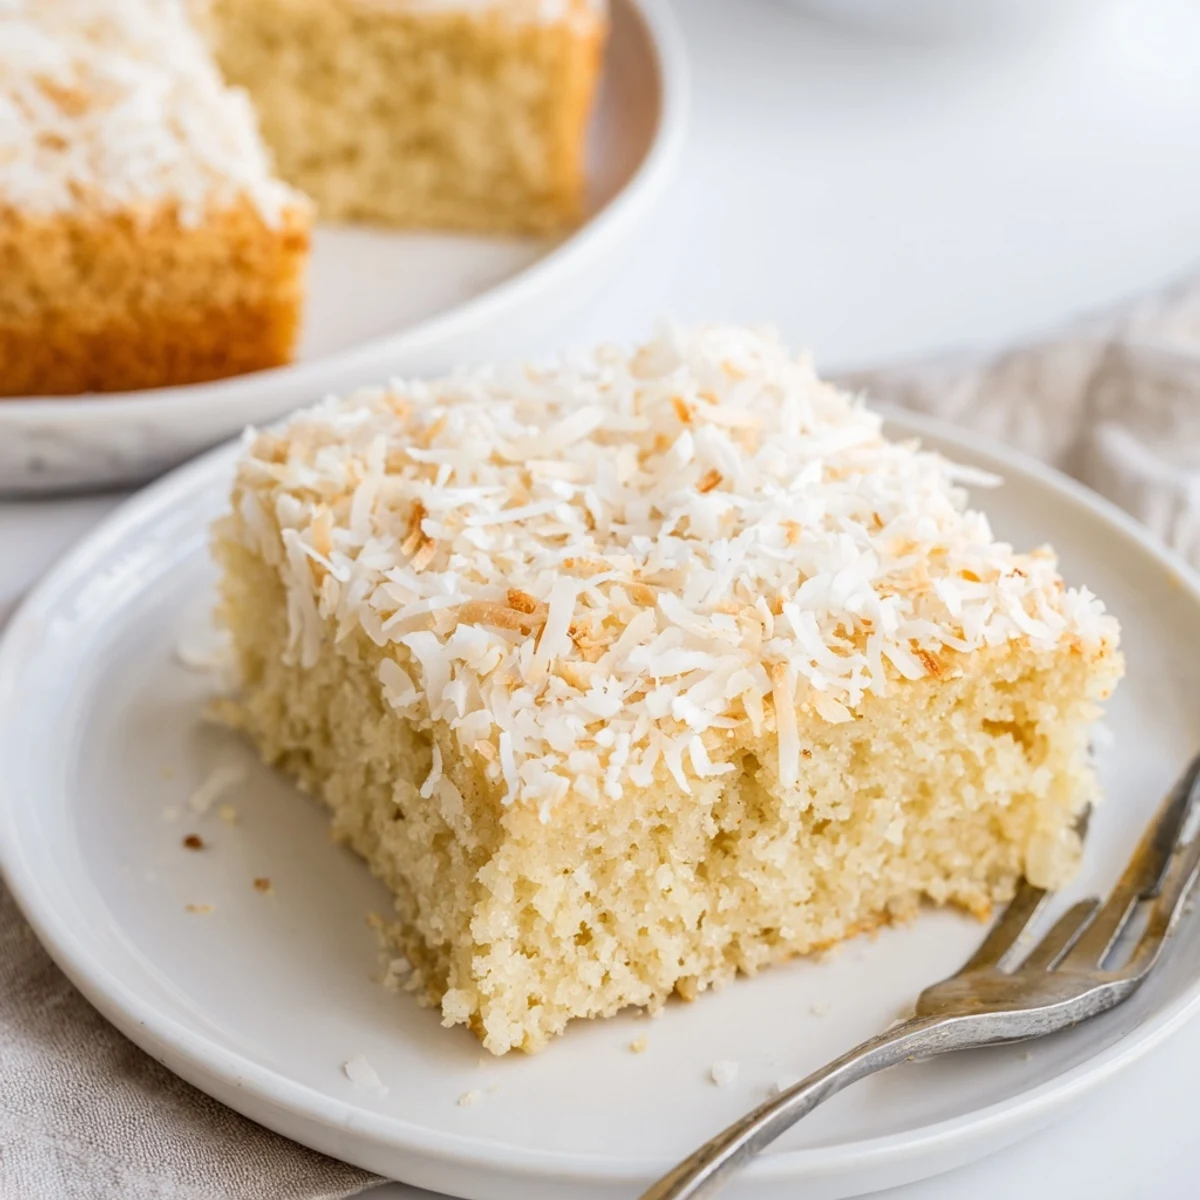
Save This coconut mochi cake combines sweet rice flour with creamy coconut milk for a uniquely chewy, gluten-free dessert. The batter comes together quickly—just whisk dry and wet ingredients separately, combine, and bake until golden. A sprinkling of shredded coconut on top adds extra texture and flavor.
The result is a tender, slightly sticky cake with a rich coconut taste that's both comforting and refreshing. It's naturally gluten-free and can easily be made dairy-free with simple substitutions.
Serve squares plain, or pair with fresh fruit or vanilla ice cream for an extra special treat. Leftovers keep well for several days, making it ideal for meal prep or advance preparation.
The scent of coconut always pulls me back to my grandmother's tiny kitchen, where she'd press warm mochi into my hands while rain tapped against the window. We'd stand at the counter together, her weathered fingers guiding mine as we folded the sticky dough, laughing when flour dusted our noses. Now whenever I bake this cake, that same comfort fills the whole house and suddenly everything feels right again.
Last summer I made this for a friend who'd never tried mochi anything, and she literally messaged me the next morning asking for the recipe. We sat on her back porch with steaming mugs of tea, watching the sunset turn golden while taking tiny bites and pretending to be proper food critics. She still talks about how the house smelled like vacation while it was baking.
Ingredients
- Sweet rice flour: This creates that signature chewy texture, regular flour absolutely will not work here
- Coconut milk: Full fat is crucial for richness, shake the can really well before measuring
- Sugar: Provides sweetness and helps achieve the perfect golden crust
- Baking powder: Gives the cake just enough lift while keeping it dense and chewy
- Salt: Balances the sweetness and enhances the coconut flavor
- Whole milk: Any milk works here, even coconut milk for a fully dairy-free version
- Eggs: Room temperature eggs blend more smoothly into the batter
- Unsalted butter: Melt and cool it completely so it does not cook the eggs
- Vanilla extract: Pure vanilla makes such a difference in the final flavor
- Shredded coconut: Creates that beautiful toasted topping everyone fights over
Instructions
- Get the oven ready:
- Preheat your oven to 350°F and grease a 9x13-inch pan, lining it with parchment paper so you can lift the whole cake out later
- Mix the dry ingredients:
- Whisk together sweet rice flour, sugar, baking powder, and salt in a large bowl until well combined
- Combine the wet ingredients:
- In a separate bowl, whisk coconut milk, milk, eggs, melted butter, and vanilla until completely smooth
- Bring it together:
- Pour wet into dry and stir gently until just combined, the batter should be smooth and pourable
- Add the topping:
- Pour batter into your prepared pan, tap it gently on the counter to release air bubbles, then sprinkle shredded coconut evenly over the top
- Bake to perfection:
- Bake for 55 to 60 minutes until edges are golden and a toothpick in the center comes out mostly clean
- Patience pays off:
- Cool completely in the pan before slicing, the texture sets as it cools and cutting warm cake will just make a mess
 Save
Save My aunt discovered swirling red bean paste into the batter after a trip to Hawaii, and it became the version we make for special family gatherings. The combination of sweet beans and coconut is somehow perfect together, though the purists among us still argue for the plain version.
Making It Dairy-Free
Coconut oil instead of butter and extra coconut milk in place of regular milk works beautifully. The texture remains exactly the same, and honestly the coconut flavor becomes even more pronounced in the best possible way.
Serving Ideas
Fresh mango or pineapple alongside makes this feel like a tropical dessert. A scoop of vanilla ice cream while the cake is still slightly warm is absolutely divine.
Storage Tips
This cake keeps surprisingly well at room temperature for a couple days, covered tightly. The refrigerator extends its life to five days, though the texture becomes slightly firmer when cold.
- Bring chilled slices to room temperature for the best chewy texture
- Freeze individual portions wrapped in plastic for up to a month
- Toasted frozen mochi cake makes an unexpected and delicious breakfast
 Save
Save There is something so comforting about a recipe that bridges generations and cultures, bringing people together one chewy, coconut-scented bite at a time.
Recipe FAQs
- → What makes mochi cake chewy?
-
The chewy texture comes from sweet rice flour (mochiko), which has a unique starch composition that creates a soft, slightly sticky consistency when baked. Unlike wheat flour, it doesn't develop gluten, resulting in that signature mochi-like bounce.
- → Can I make this dairy-free?
-
Absolutely. Simply replace the whole milk with additional coconut milk and swap the butter for melted coconut oil. The result will be even more coconut-forward and completely dairy-free while maintaining the same delightful texture.
- → How do I know when it's done baking?
-
The edges should be golden brown, and a toothpick inserted in the center should come out mostly clean—with just a few moist crumbs clinging to it. The center will set as it cools, so don't worry if it seems slightly soft when you first take it out.
- → Can I add other flavors?
-
Yes! Try swirling in sweetened red bean paste for a Hawaiian-inspired twist, adding a tablespoon of matcha powder for green tea flavor, or mixing in fresh mango chunks. You can also substitute almond or vanilla extract for the vanilla to vary the flavor profile.
- → How should I store leftovers?
-
Keep in an airtight container at room temperature for up to 2 days, or refrigerate for up to 5 days. The texture remains beautifully chewy either way. You can also freeze individual squares wrapped tightly in plastic for up to 3 months—thaw at room temperature before serving.
- → Why is my batter lumpy?
-
Small lumps are normal and will dissolve during baking. Sweet rice flour absorbs liquid differently than wheat flour, so the batter may appear slightly grainy initially. Just mix until combined—overworking the batter can make the final texture tough instead of tender.