 Save
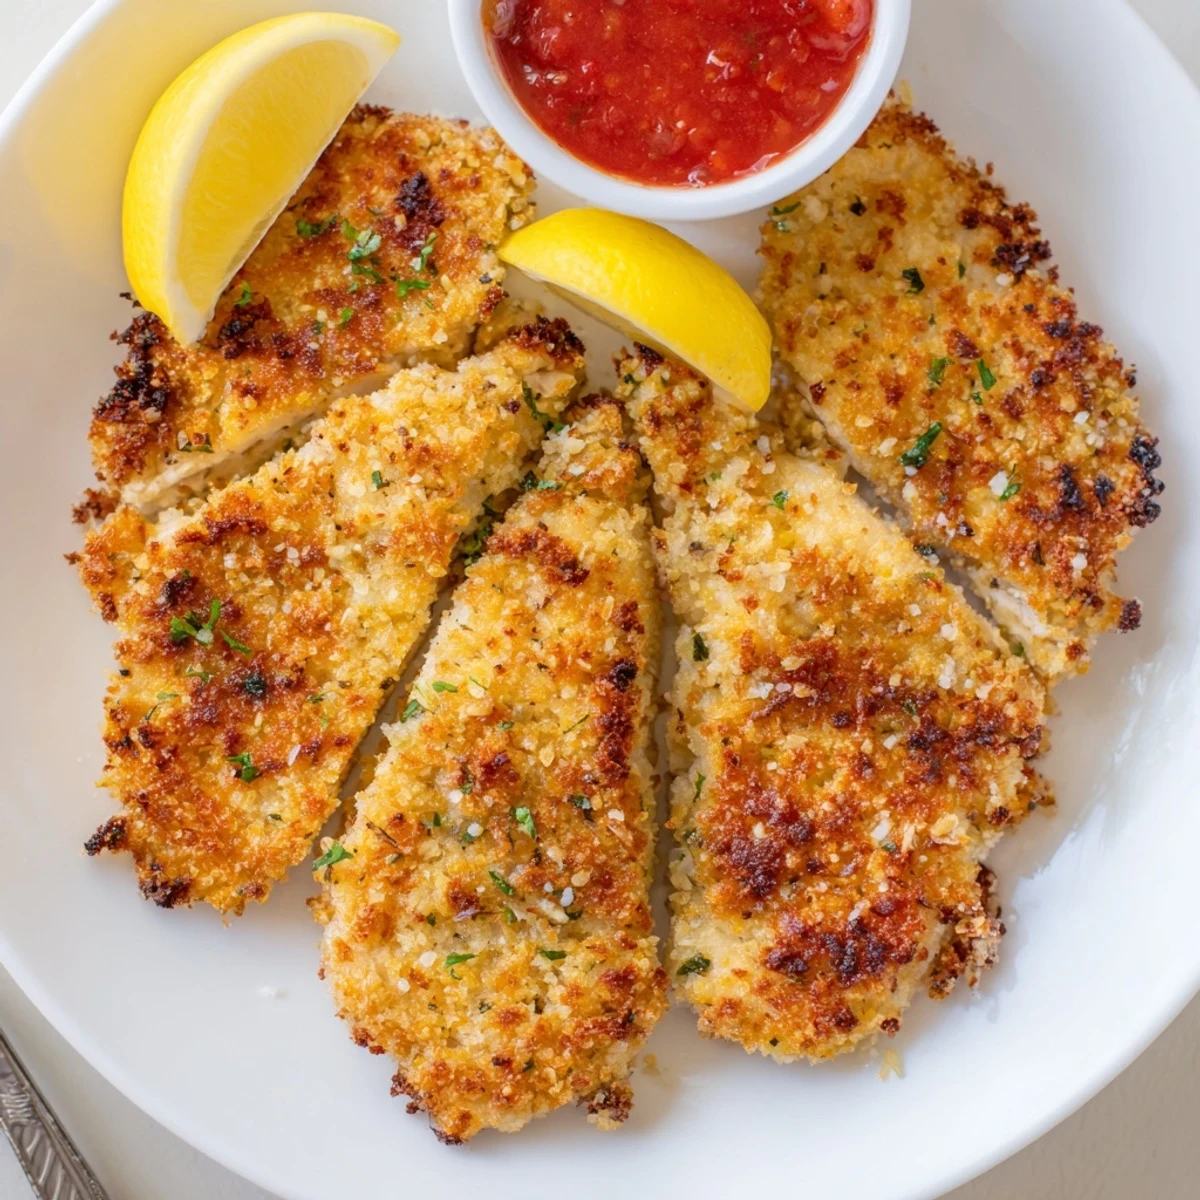
Save Golden, crunchy Parmesan-and-panko coated chicken breasts, pounded to even thickness for uniform cooking. Dredge in flour, dip in egg wash, then press the breadcrumb-Parmesan mix. Pan-sear 2–3 minutes per side to build color, then finish 12–15 minutes in a 200°C oven until the center reaches 75°C. Let rest briefly, slice and serve with lemon, marinara or a simple salad. Swap gluten-free crumbs if needed.
The sound of Parmesan hitting hot oil is something between a sizzle and a whisper, and once you hear it, you will chase it forever. My apartment smelled like a Roman trattoria for three days after my first attempt, which I considered a complete victory. This crispy Parmesan chicken became my weeknight hero during a particularly brutal stretch of deadline cooking, when I needed dinner to feel like a reward rather than an obligation. Golden, crunchy, and deceptively simple, it turns four humble chicken breasts into something that makes people close their eyes on the first bite.
I once made this for my neighbor Elena after she helped me carry groceries up four flights of stairs in the rain. She stood in my kitchen eating it straight off the cutting board with her fingers, sauce be damned, and told me it was better than her nonnas milanese. I suspect she was just being kind, but that moment sealed this recipe as a permanent fixture in my rotation.
Ingredients
- 4 boneless, skinless chicken breasts (about 150 g each): Pound them evenly so the thick end does not stay raw while the thin end turns to leather, a lesson I learned the hard way early on.
- 1 cup (60 g) panko breadcrumbs: Panko is nonnegotiable here because its jagged flakes create those irregular nooks and crannies that hold extra crunch.
- 3/4 cup (50 g) grated Parmesan cheese: Use the good stuff from a wedge if you can, because pre grated Parm has additives that mute the flavor and fight the texture.
- 1 tsp dried Italian herbs (or oregano and basil blend): A simple herb mix bridges the gap between the cheese and the garlic without overpowering either.
- 1/2 tsp garlic powder: Garlic powder distributes evenly across the crust where fresh garlic would burn in the pan.
- 1/2 tsp salt and 1/4 tsp freshly ground black pepper: Seasoning the breading itself means every single bite is flavored, not just the surface.
- 1/2 cup (60 g) all-purpose flour: This thin flour coat is the glue that helps egg wash grip the chicken properly.
- 2 large eggs and 1 tbsp water: The water loosens the egg just enough so it coats in a thin, even layer rather than clumping.
- 1/3 cup (80 ml) vegetable oil (for pan frying): You need an oil that can handle medium high heat without smoking, so skip the olive oil for this step.
Instructions
- Preheat and prepare your baking sheet:
- Set your oven to 200 degrees Celsius (400 degrees Fahrenheit) and line a baking sheet with parchment paper or a light swipe of oil so the chicken releases cleanly after its oven finish.
- Pound the chicken flat:
- Slide each breast between two sheets of plastic wrap and use a mallet or rolling pin to gently even them out to about 1.5 cm thick, working from the center outward so you do not tear the meat.
- Set up your breading station:
- Arrange three shallow bowls in a row, flour in the first, beaten eggs mixed with water in the second, and the panko, Parmesan, herbs, garlic powder, salt, and pepper all combined in the third, because an organized station means no sticky fingerprints on your spice jars.
- Bread the chicken:
- Dredge each piece in flour and shake off the excess, dip it through the egg wash letting the extra drip away, then press it firmly into the Parmesan panko mixture on both sides so the crust really grabs on.
- Pan fry until golden:
- Heat the oil in a large skillet over medium high heat until it shimmers, then fry each breast for 2 to 3 minutes per side until the crust is a deep warm gold and you can hear the sizzle start to quiet.
- Finish in the oven:
- Transfer the browned chicken to your prepared baking sheet and slide it into the oven for 12 to 15 minutes until the internal temperature hits 75 degrees Celsius (165 degrees Fahrenheit), which ensures the center is cooked through without drying out the exterior.
- Rest, slice, and serve:
- Let the chicken rest for about 3 minutes so the juices redistribute, then slice on a diagonal and serve with lemon wedges, a simple salad, or whatever sides make you happy.
 Save
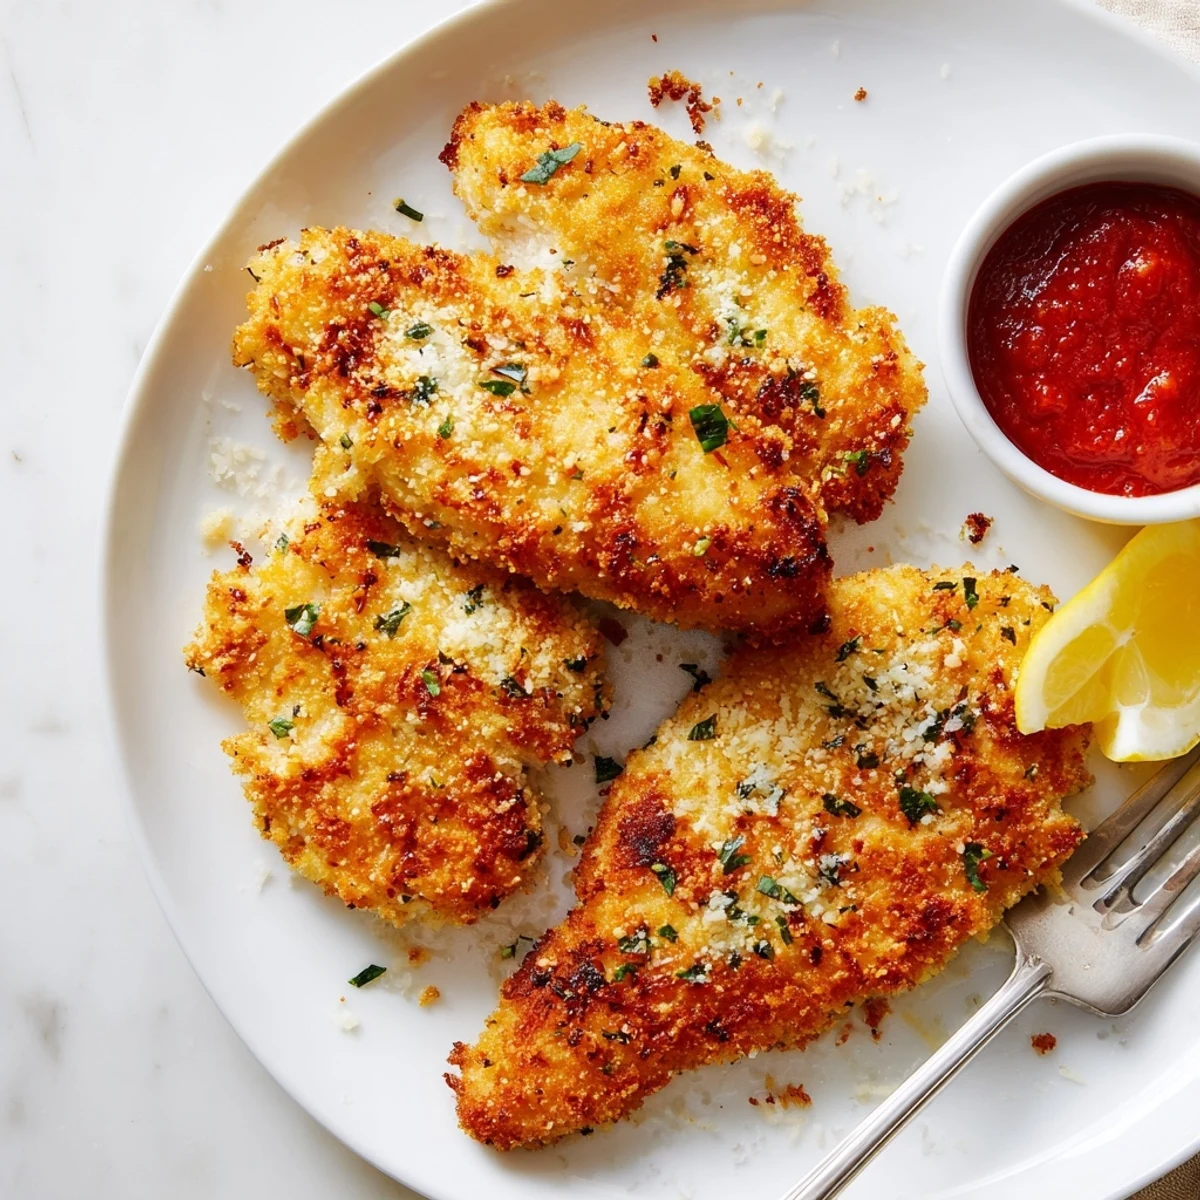
Save There is a specific kind of quiet that falls over a dinner table when everyone is too busy chewing to talk. This chicken has produced that silence more reliably than anything else I cook.
What to Serve Alongside
A sharp arugula salad with lemon vinaigrette cuts through the richness beautifully, and a pile of roasted potatoes or a buttery polenta rounds out the plate. I have also been known to eat this cold the next day, sliced over toast with a smear of mayo, which feels like its own kind of perfection.
Making It Your Own
A pinch of smoked paprika in the breading adds a warm, campfire edge that works beautifully in cooler months. You could also fold a little finely chopped rosemary or thyme into the crumbs if you have fresh herbs lingering in the fridge. The framework is forgiving, so follow your instincts and your pantry.
A Few Final Thoughts Before You Cook
Clean as you go because the breading station leaves a trail of crumbs and flour dust that hardens into concrete if ignored. Your hands will get messy, and that is part of the charm. Trust the process and the sizzle.
- Let the breaded chicken rest for five minutes before frying so the coating adheres firmly.
- Check oil temperature with a small test crumb first, it should sizzle immediately but not turn black.
- Always let the chicken rest after the oven before slicing so you do not lose all those juices onto the board.
 Save
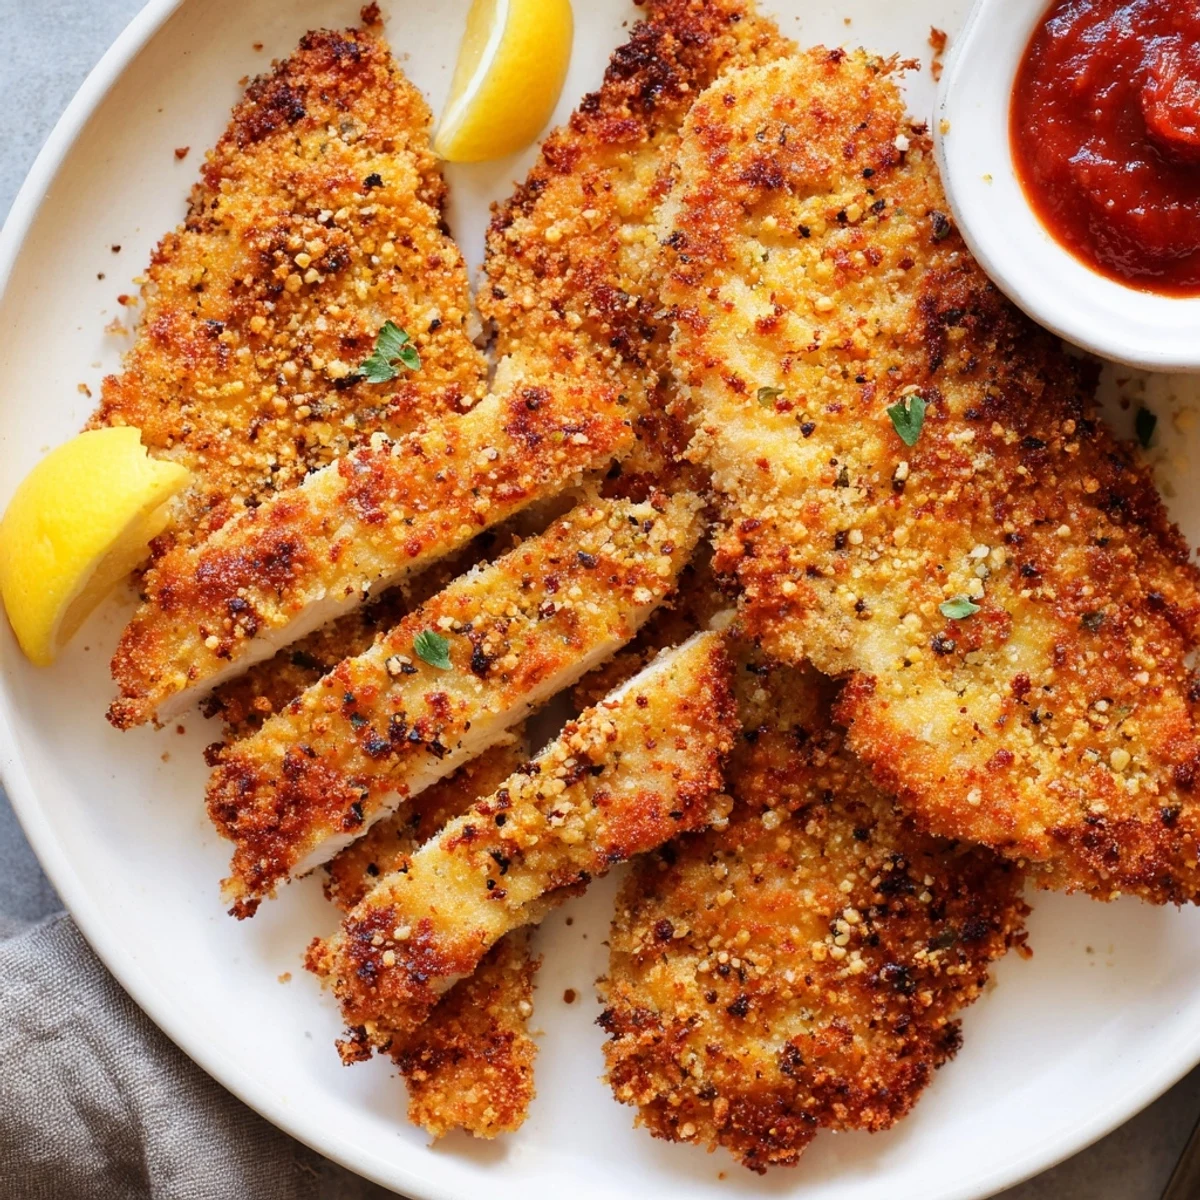
Save Crispy Parmesan chicken is proof that a handful of humble ingredients, treated with a little care and attention, can turn a random Tuesday into something worth remembering. Now go make your kitchen smell incredible.
Recipe FAQs
- → How do I keep the breading from falling off?
-
Pound breasts to an even thickness, pat dry, and follow the flour → egg → breadcrumb sequence. Press the crumb mixture onto the surface and let the coated pieces sit a minute before pan-searing to help the coating adhere.
- → Can I use chicken thighs instead of breasts?
-
Yes. Use boneless thighs for similar timing, but expect slightly higher fat and a bit more cooking time. For bone-in thighs, increase oven finish time and check doneness with a thermometer.
- → What temperature ensures juicy, fully cooked chicken?
-
Cook until the internal temperature reaches 75°C (165°F). Pounding to an even thickness and briefly resting after cooking help retain juices and prevent dryness.
- → Which oil is best for pan-frying?
-
Choose a neutral, high smoke-point oil like vegetable, canola, or light olive oil. Heat to medium-high so the coating browns quickly without absorbing excess oil; about 2–3 minutes per side gives a golden crust.
- → How can I reheat leftovers without losing crispness?
-
Reheat in a 180°C oven or an air fryer for a few minutes until warmed through; this restores crispness better than a microwave, which can make the crust soggy.
- → What are good substitutions for allergens?
-
For gluten-free, use certified gluten-free breadcrumbs or crushed GF crackers. If avoiding dairy, try nutritional yeast or a dairy-free grated alternative in the breadcrumb mix and check labels for hidden allergens.