 Save
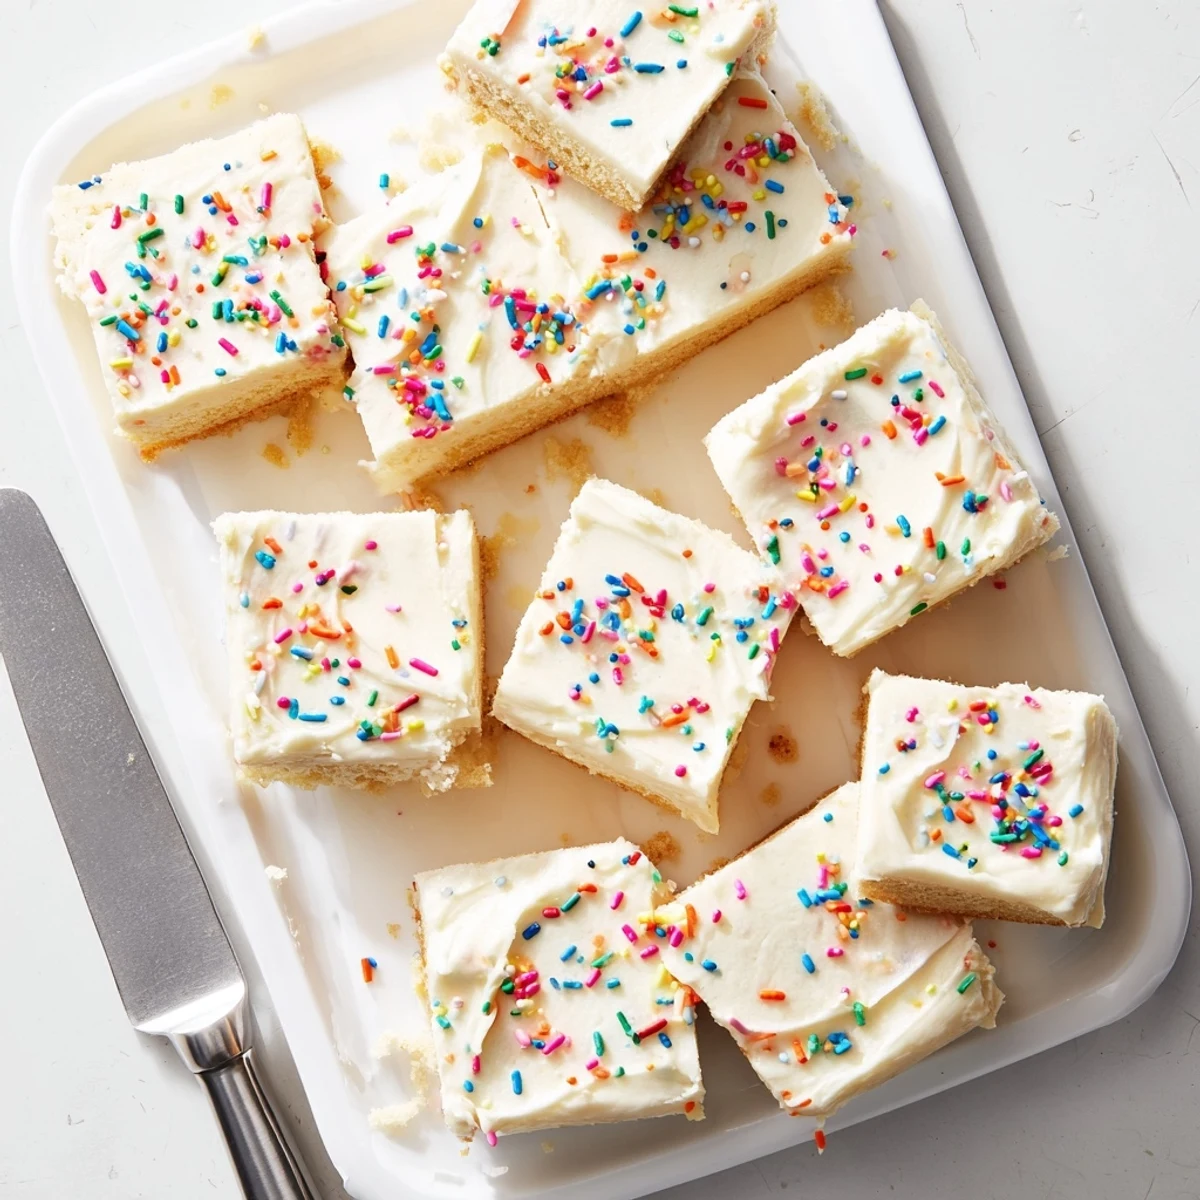
Save These soft and buttery sugar cookie bars feature a tender, melt-in-your-mouth texture that's topped with a luscious creamy frosting. The bar format makes them incredibly convenient for serving at parties, bake sales, and holiday gatherings compared to traditional individual cookies. The vanilla-infused cookie base pairs perfectly with the sweet buttercream frosting, which can be customized with any food coloring and sprinkles to match your celebration theme.
The smell of butter and sugar creaming together in a mixing bowl is one of those small kitchen pleasures that makes everything else fade away. My sister walked in last Fourth of July, saw me elbow deep in flour, and immediately pulled up a stool to watch. Three hours later we had a cutting board piled with frosted bars and a kitchen that looked like a sprinkle factory had exploded.
I brought a tray of these to a potluck once and watched a woman eat three before dinner was even served. She apologized without a hint of regret and asked for the recipe before the night was over.
Ingredients
- 2 1/4 cups (280 g) all-purpose flour: The backbone of the cookie bar, measure by spooning into the cup and leveling off for accuracy.
- 1/2 teaspoon baking powder: Just enough lift to keep these tender without turning cakey.
- 1/2 teaspoon salt: Balances the sweetness and sharpens the butter flavor.
- 3/4 cup (170 g) unsalted butter, softened: Pull it out an hour ahead so it creams smoothly and traps air for a lighter texture.
- 1 cup (200 g) granulated sugar: Regular white sugar gives the classic chew and crisp edge.
- 1 large egg plus 1 egg yolk: The extra yolk adds richness and keeps the center gooey.
- 2 teaspoons pure vanilla extract: Do not skimp here, good vanilla is the soul of a sugar cookie.
- 1/4 cup (60 ml) whole milk: Loosens the dough just enough to spread evenly into the pan.
- 1/2 cup (115 g) unsalted butter, softened (for frosting): Beat it silky before adding sugar and the frosting will be cloud smooth.
- 2 cups (240 g) powdered sugar, sifted: Sifting prevents those awful little lumps that ruin a smooth finish.
- 2 tablespoons whole milk (for frosting): Add gradually until you hit the perfect spreadable consistency.
- 1 teaspoon pure vanilla extract (for frosting): Double down on vanilla for frosting that tastes like birthday cake.
- Food coloring (optional): Gel colors work best because they will not thin out your frosting.
- Sprinkles (optional): Always use more than you think you need.
Instructions
- Set the stage:
- Preheat your oven to 350 degrees F and line a 9 by 13 inch baking pan with parchment, leaving the sides hanging over like handles so you can lift the whole slab out later.
- Whisk the dry:
- In a medium bowl, whisk the flour, baking powder, and salt together until evenly blended, then set it aside.
- Cream butter and sugar:
- Beat the softened butter and granulated sugar on medium speed until the mixture looks pale, fluffy, and almost whipped, about two to three minutes.
- Add the wet ingredients:
- Drop in the egg, the extra yolk, and vanilla, then beat until everything is smoothly combined and looks glossy.
- Bring it together:
- With the mixer on low, add the flour mixture and milk in alternating batches, starting and ending with flour, and stop mixing the moment the last streak of white disappears.
- Spread and smooth:
- Press the thick dough into every corner of your prepared pan and use an offset spatula to get the top as flat and even as you can.
- Bake until just set:
- Slide the pan into the oven for 18 to 22 minutes, pulling them out when the edges are barely golden and a toothpick from the center comes out with moist crumbs clinging to it.
- Cool completely:
- Leave the bars right in the pan on a wire rack until they reach room temperature because frosting warm bars is a one way ticket to a melted mess.
- Whip up the frosting:
- Beat the butter until creamy, then gradually add powdered sugar, milk, and vanilla, whipping until the frosting is light, fluffy, and spreadable, and tint it with food coloring if the mood strikes.
- Finish with flair:
- Spread frosting over the cooled slab, scatter sprinkles with generous abandon, then use the parchment handles to lift the whole thing out and cut into sixteen squares.
 Save
Save There is something quietly magical about carrying a tray of colorful cookie bars into a room full of people and watching every single face light up before anyone has even taken a bite.
Making Them Your Own
Swap the vanilla extract in the frosting for almond or lemon and suddenly you have an entirely different dessert on your hands. During the holidays I divide the frosting into bowls and tint each one a different color so every bar looks like it came from a bakery case.
Storing and Sharing
These bars stay wonderfully soft for up to three days in an airtight container at room temperature. If you are stacking them, place a sheet of parchment between layers so the frosting does not smear.
Quick Reference and Final Thoughts
Once you make these once, the recipe commits itself to memory because the steps are so straightforward. Here are a few last things to keep in mind before you start.
- Total time is about 40 minutes from bowl to cutting board, which is remarkably fast for something this crowd pleasing.
- A 9 by 13 inch pan is non negotiable if you want the right thickness, anything smaller and the bars will be too tall and underbaked in the center.
- Let the butter truly soften on its own because microwaving it partially melts the fat and changes the entire texture of the cookie base.
 Save
Save Every batch feels like a small celebration waiting to happen, and honestly, any day is worthy of sprinkles. Go make a mess and enjoy every bite.
Recipe FAQs
- → How should I store the frosted bars?
-
Store the frosted bars in an airtight container at room temperature for up to 3 days. The frosting will stay creamy and the bars will remain soft. If you need to store them longer, you can refrigerate for up to a week, though bring to room temperature before serving for the best texture.
- → Can I make these ahead of time?
-
Yes, you can bake the cookie base up to 2 days ahead and store unfrozen at room temperature wrapped tightly. Frost the same day you plan to serve for the freshest appearance. The frosted bars also freeze well for up to 2 months—layer between parchment paper in a freezer-safe container.
- → What pan size works best?
-
A 9x13-inch pan creates perfectly thick bars that aren't too thin or too dense. This size yields 16 generous squares. If you use a different pan size, adjust the baking time accordingly—thinner bars will bake faster, while thicker bars may need additional time.
- → Why do I need both egg and egg yolk?
-
The combination of whole egg plus an extra yolk creates a rich, tender texture with a slightly chewy center. The extra yolk adds fat and emulsifiers that prevent the bars from becoming cakey or dry, ensuring that soft, buttery consistency sugar cookies are known for.
- → Can I customize the frosting flavors?
-
Absolutely! While vanilla is classic, you can substitute almond extract, lemon extract, or even maple extract for different flavor profiles. For chocolate frosting, add 1/4 cup cocoa powder and reduce powdered sugar slightly. You can also mix in fruit preserves or melted chocolate for variation.