 Save
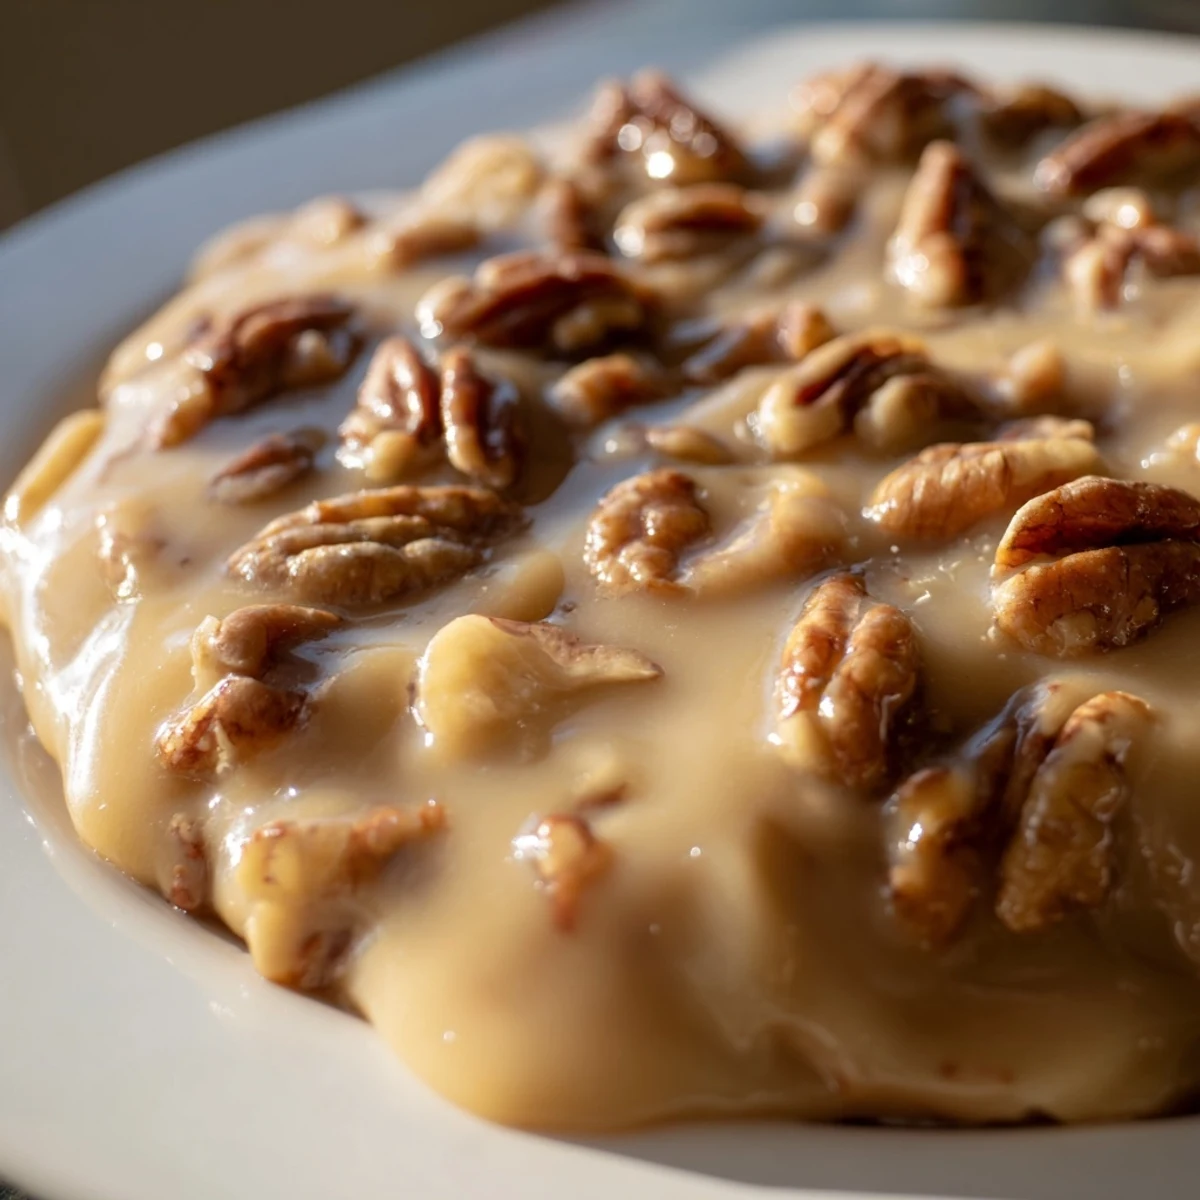
Save These Mardi Gras pecan pralines combine toasted pecans with a creamy, buttery base for a melt-in-your-mouth experience. The mixture of sugars and heavy cream is cooked to a soft-ball stage and mixed vigorously to achieve the perfect creamy texture. Drop spoonfuls onto parchment-lined sheets and allow to cool until set. Lightly toasting pecans before incorporation enhances their nutty flavor, making each bite a decadent Southern treat.
Use a candy thermometer for precise cooking and store in airtight containers for freshness. This confection is a classic sweet delight celebrated in New Orleans, with balanced sweetness and creamy richness from butter and cream.
The smell of sugar and pecans bubbling away takes me straight back to a tiny apartment kitchen in New Orleans, where I first learned that patience is the secret ingredient in everything worth making. My roommate's grandmother had been making these pralines for decades, and she watched me like a hawk the first time I attempted them, correcting my stirring technique every thirty seconds. Now whenever that buttery sweetness fills my kitchen, I can almost hear jazz music floating through an open window.
I once made three batches in one day for a Mardi Gras party because I kept giving them away to neighbors who smelled them cooking from the hallway. The way people's eyes light up when they bite into that first praline—like they've just discovered something that should have been in their lives all along—makes every minute of stirring absolutely worth it.
Ingredients
- Heavy cream: This creates that signature creamy texture that sets pralines apart from typical nut candies
- Unsalted butter: Cut into pieces beforehand so it melts evenly into the sugar mixture
- Granulated sugar: Provides the structure and that satisfying crystalline finish
- Light brown sugar: Adds depth and that gorgeous caramel color you want in a praline
- Pecan halves: Toast them lightly first if you have time—it makes such a difference in flavor
- Vanilla extract: Use the real stuff here, it absolutely shines through
- Salt: Just a pinch to balance all that sweetness and make the flavors pop
Instructions
- Get everything ready:
- Line a baking sheet with parchment paper and measure out all your ingredients before turning on the stove
- Make the base:
- Combine both sugars, cream, butter, and salt in a heavy-bottomed saucepan over medium heat, stirring constantly until butter melts and everything comes to a gentle boil
- Watch the temperature:
- Clip a candy thermometer to the pan and cook, stirring frequently, until you hit 238°F (soft-ball stage)
- Add the finishing touches:
- Remove from heat immediately and stir in vanilla extract and pecan halves
- Work quickly now:
- Keep stirring vigorously for 2-3 minutes until the mixture thickens and turns creamy but still pours easily
- Scoop and set:
- Drop spoonfuls onto your prepared baking sheet, leaving space between each one
- Let them cool:
- Walk away and let them set completely at room temperature for about 20 minutes
 Save
Save Last year I mailed a batch to my sister across the country, and she called me crying because they tasted exactly like the ones our grandmother used to make. Sometimes food is just food, and sometimes it's a time machine.
Mastering the Texture
The difference between good pralines and great ones comes down to that stirring period after you remove the pan from heat. You're waiting for the mixture to lose its glossy shine and turn slightly opaque—that's when you know they'll set up with that perfect creamy crystalline texture that makes pralines so special.
Weather Matters
I learned this lesson the hard way during a particularly humid summer when batch after batch turned disappointingly grainy. Candy making is essentially chemistry, and moisture in the air throws off the delicate sugar crystallization process you're working so hard to control.
Serving and Storing
These pralines make incredible gifts tucked into little boxes or wax paper bags, and they're the kind of treat people remember long after the party ends. Layer them between parchment paper in an airtight container and they'll stay perfect for a week—though in my house, they rarely last more than two days.
- Package them quickly once completely cool to prevent them from absorbing moisture
- A splash of bourbon or rum in place of some vanilla makes a sophisticated adult variation
- If your mixture gets too stiff while scooping, return it to very low heat just until pliable again
 Save
Save There's something deeply satisfying about making candy at home, about transforming simple ingredients into something that feels like a celebration. These pralines have become my go-to for bringing a little New Orleans magic wherever life takes me.
Recipe FAQs
- → What is the ideal cooking temperature for the pralines?
-
Cook the sugar and cream mixture to 238°F (114°C), known as the soft-ball stage, to achieve the right texture.
- → Can I toast the pecans before using them?
-
Yes, lightly toasting the pecans enhances their flavor and adds a pleasant crunch.
- → How do I prevent the mixture from hardening too soon?
-
If it hardens before scooping, briefly warm the pan over low heat to loosen the mixture.
- → What tools are essential for making these pralines?
-
A heavy-bottomed saucepan, candy thermometer, wooden spoon or heatproof spatula, baking sheet, and parchment paper are needed.
- → How should the pralines be stored after preparation?
-
Store them in an airtight container at room temperature for up to one week to maintain freshness.