 Save
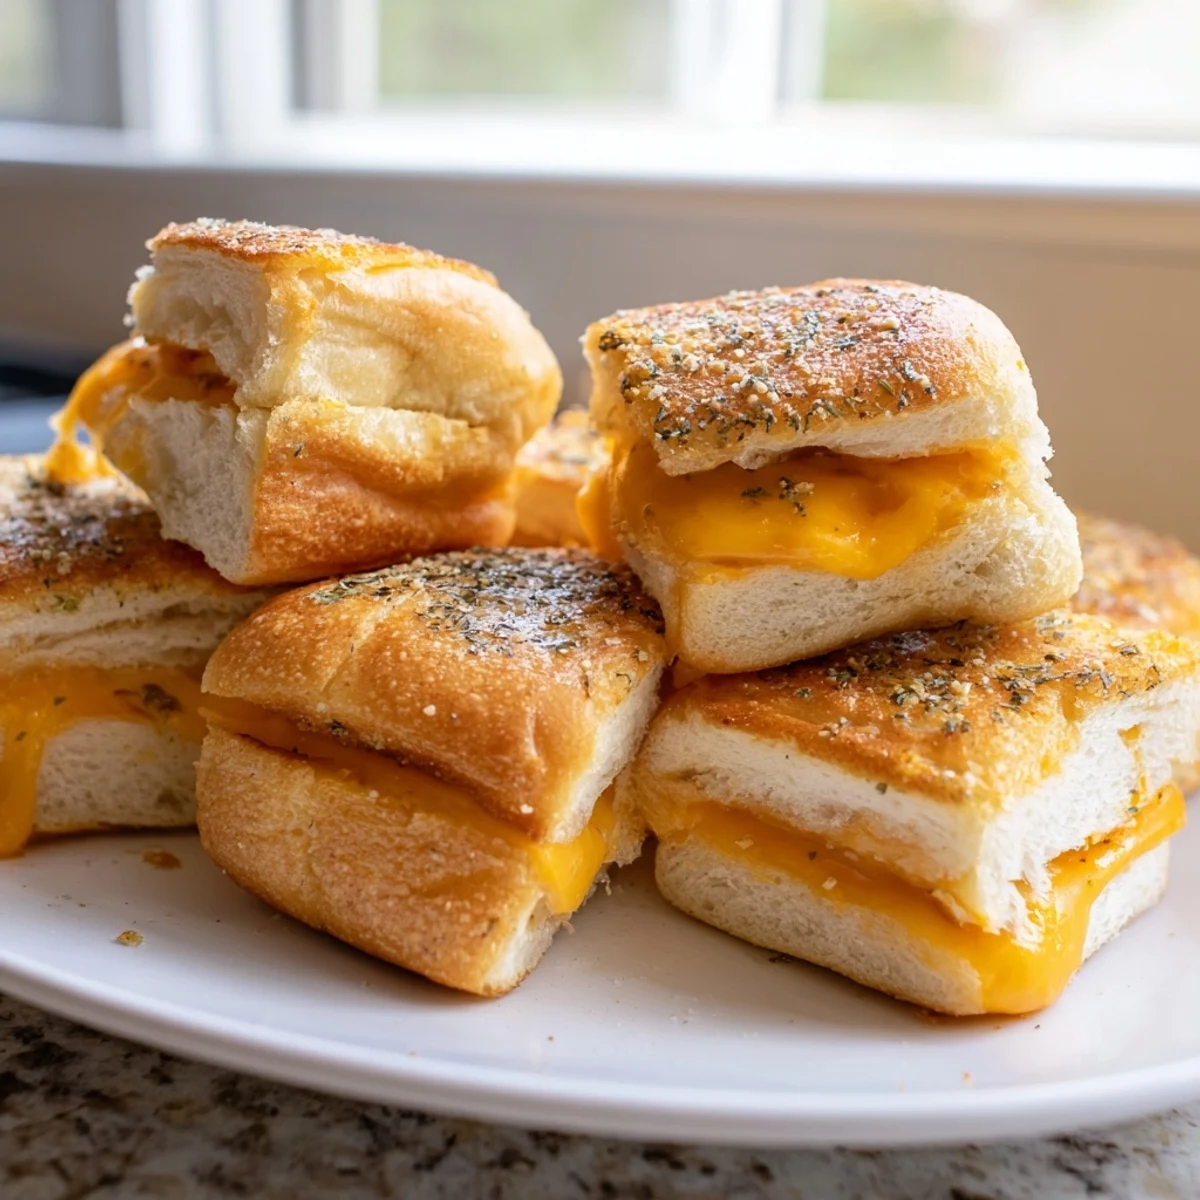
Save These miniature sandwiches transform sweet Hawaiian rolls into irresistible party bites. Slice the entire roll block horizontally, layer with sliced cheddar, and brush with melted butter seasoned with garlic and parsley. Bake covered then uncovered until the cheese melts completely and tops turn golden brown. The natural sweetness of the rolls pairs perfectly with sharp cheddar, creating that sweet-savory balance everyone loves.
Ready in just 25 minutes, these handheld treats disappear fast at gatherings. Kids and adults alike reach for these warm, cheesy morsels. Serve alongside tomato soup for a comforting meal, or pile them high on a platter for your next game day or potluck spread.
The smell of these baking takes me back to my daughter's birthday party last year. I made them on a whim when I realized I'd forgotten to plan appetizers, and somehow they disappeared faster than the cake itself. Now they are the most requested thing at every gathering we host.
My neighbor Sarah texted me the next day demanding the recipe. Her teenage son had eaten three before dinner and kept asking when I was making them again. Sometimes the simplest recipes become the ones people remember most.
Ingredients
- Hawaiian sweet rolls: The natural sweetness in these rolls balances perfectly with sharp cheddar, creating that restaurant style flavor that makes these so addictive
- Cheddar cheese: Slice it thin rather than using shredded cheese, which can dry out during baking and create a less gooey texture
- Unsalted butter: Brushing the tops with melted butter helps achieve that golden, slightly crispy exterior that contrasts beautifully with the soft interior
- Dijon mustard: This adds just enough tang to cut through the richness of the cheese and sweet rolls without overpowering them
- Garlic powder and parsley: These simple seasonings transform the buttery tops into something that tastes gourmet despite minimal effort
Instructions
- Prep your oven and pan:
- Set your oven to 350°F and line a baking sheet with parchment paper to catch any butter that might drip off during baking
- Split the rolls as one unit:
- Keep the Hawaiian rolls connected and slice through the entire block horizontally to create a top and bottom slab, which keeps everything intact and makes assembly so much faster
- Add the optional flavor layer:
- Whisk together the Dijon and mayonnaise until smooth, then spread it on both cut sides of the rolls for an extra creamy, tangy element
- Layer the cheese generously:
- Arrange your cheddar slices over the bottom half, overlapping slightly to ensure every bite has plenty of cheesy goodness
- Brush with butter and season:
- Place the top half back on, transfer to your baking sheet, and brush the tops generously with melted butter before sprinkling with garlic powder and parsley
- Bake until golden and bubbly:
- Cover loosely with foil and bake for 10 minutes, then uncover and continue baking for about 5 more minutes until the cheese has completely melted and the tops are lightly golden
- Rest and serve:
- Let them sit for a couple of minutes so the cheese sets slightly, then cut into individual mini sandwiches and serve while still warm
 Save
Save My mom initially thought these seemed too simple to be special. After one bite at our Sunday family dinner, she asked me to write down the recipe on an index card before she left. Now she makes them for her book club meetings.
Make Ahead Magic
You can assemble these sliders completely, wrap them tightly in foil, and refrigerate for up to 24 hours before baking. Add the butter brushing right before they go into the oven.
Cheese Variations
While cheddar is classic, try mixing in some gruyère for extra nuttiness or pepper jack if you want some gentle heat. A blend of mozzarella and sharp cheddar creates that perfect pull apart cheese effect.
Serving Suggestions
These are versatile enough to work as appetizers, party snacks, or even a fun weeknight dinner alongside a simple salad. They also reheat surprisingly well.
- Pair with tomato soup for a grownup grilled cheese experience
- Add thin slices of tomato inside before the cheese layer for moisture
- Try cooked bacon or ham to make them more substantial
 Save
Save These little sandwiches have become my go to for everything from game day to casual weeknight dinners. Sometimes the most unassuming recipes end up being the ones everyone keeps asking for.
Recipe FAQs
- → Can I make these ahead of time?
-
Assemble the sandwiches up to 24 hours in advance, cover tightly, and refrigerate. Add the melted butter coating just before baking. You may need an extra 2-3 minutes in the oven if baking cold from the refrigerator.
- → What cheese works best with Hawaiian rolls?
-
Sharp cheddar provides the best flavor contrast to the sweet rolls, but pepper jack adds a nice kick. Provolone melts beautifully, while gruyère offers a sophisticated twist. Mix multiple cheeses for extra flavor depth.
- → Why slice the rolls as a block?
-
Keeping the rolls connected while slicing creates uniform layers and prevents individual rolls from drying out during baking. This technique also makes assembly much faster—just slice once, fill, and cut apart after baking.
- → Can I add meat to make them more substantial?
-
Absolutely. Layer thin slices of ham, cooked bacon, or turkey between the cheese and bread. The meat heats through during baking and adds protein. Canadian bacon works particularly well with the tropical sweetness of the rolls.
- → How do I store and reheat leftovers?
-
Store cooled sandwiches in an airtight container in the refrigerator for 2-3 days. Reheat in a 350°F oven for 5-7 minutes until the cheese melts again. Microwaving works but makes the bread softer—oven reheating restores the crispy tops.
- → Can I freeze these uncooked?
-
Yes, assemble the complete sandwiches through the butter brushing step, wrap tightly in plastic then foil, and freeze for up to 1 month. Thaw overnight in the refrigerator before baking as directed.