 Save
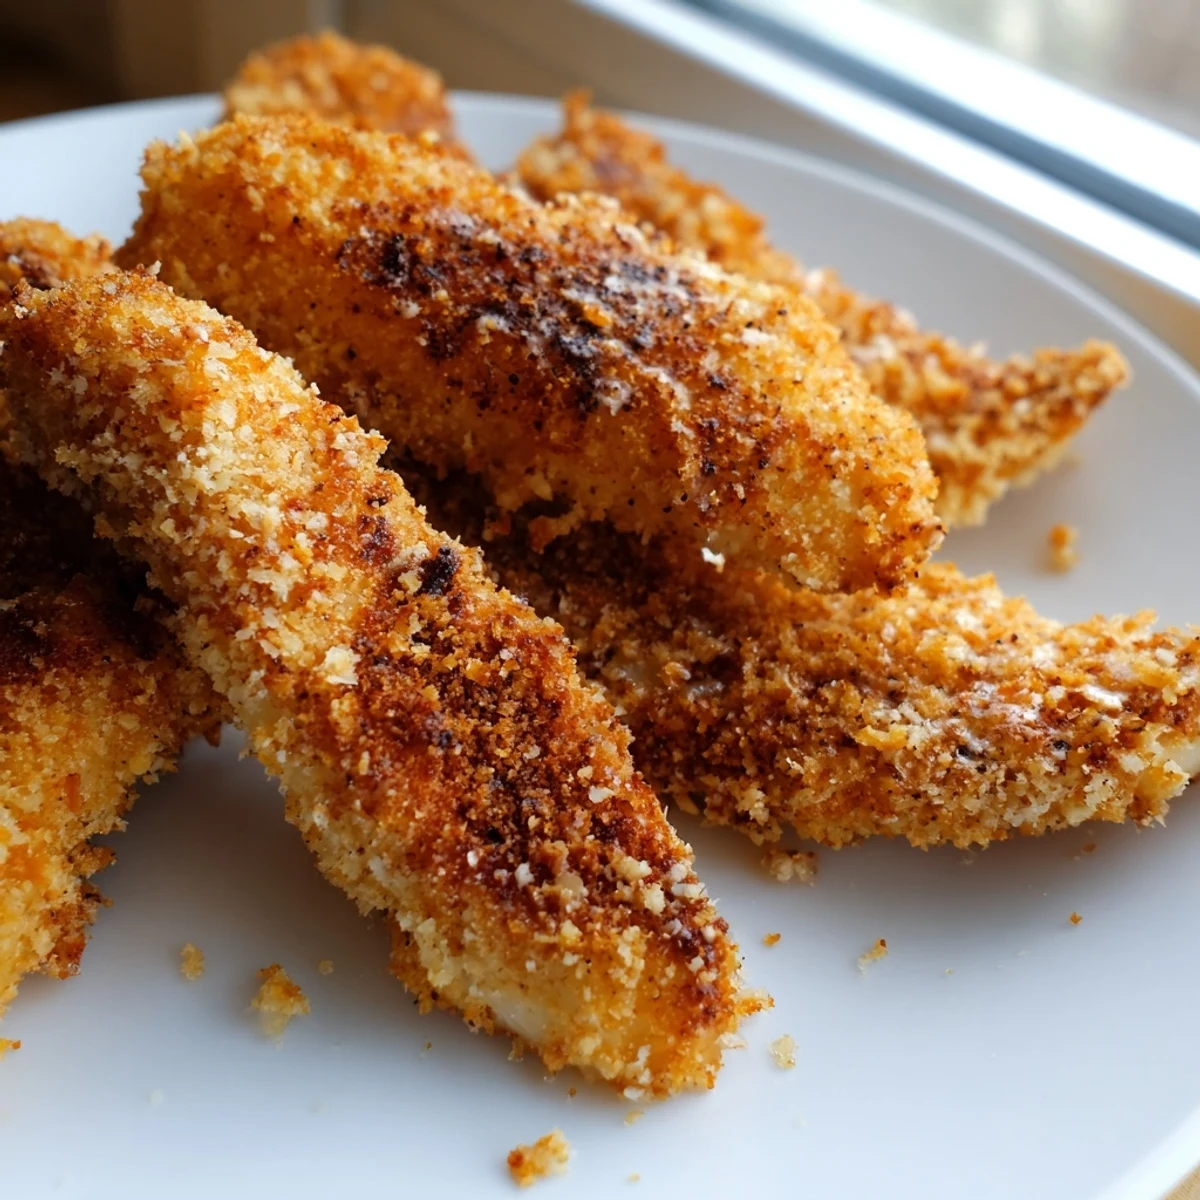
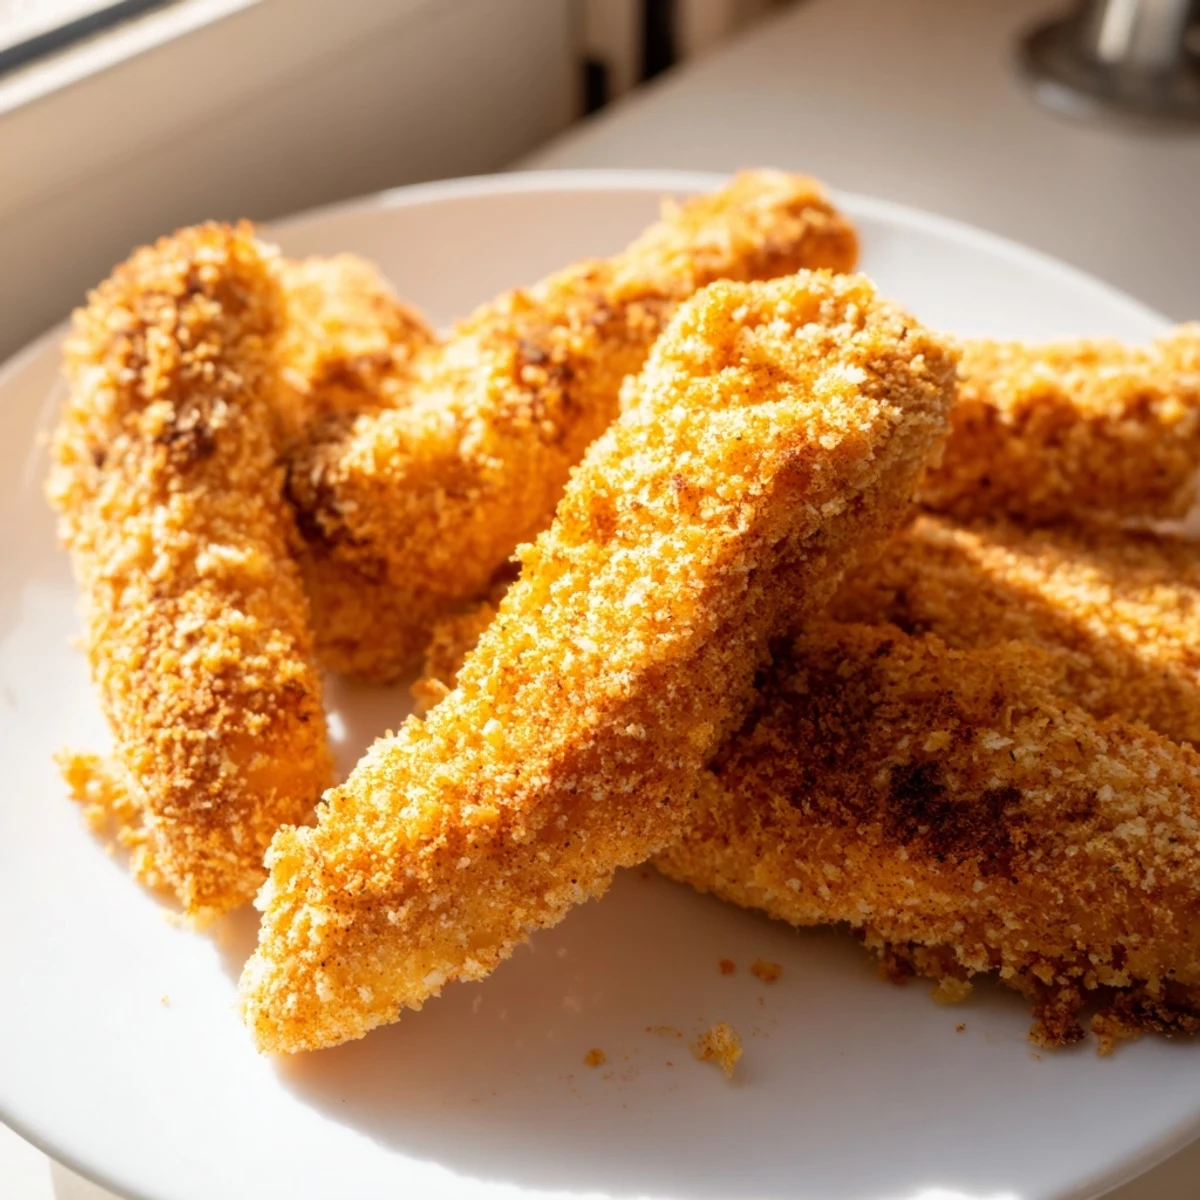
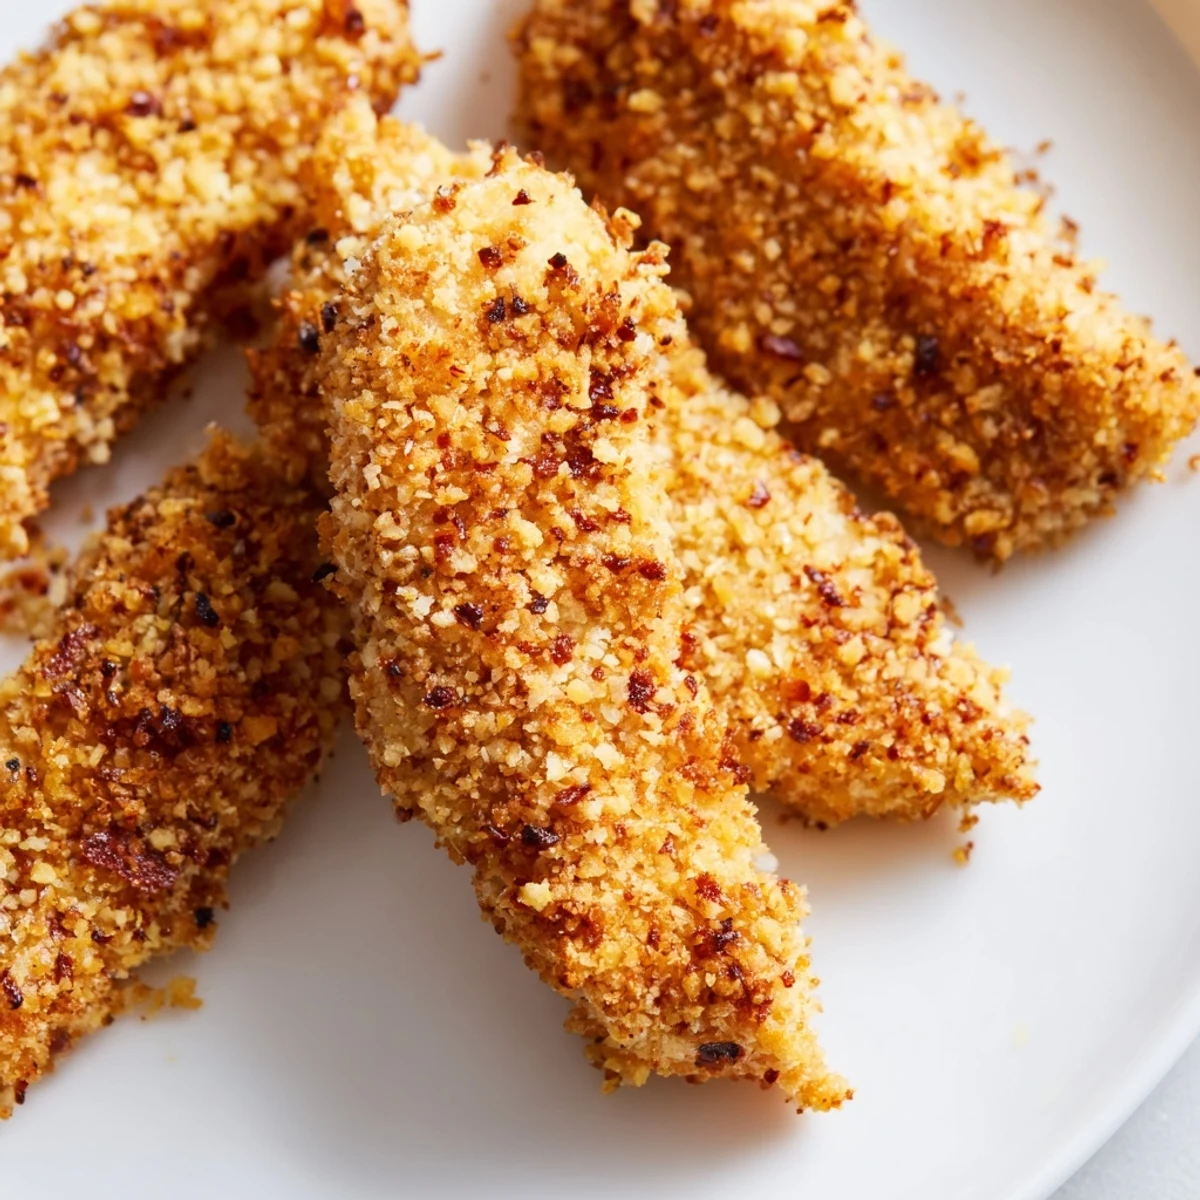
Save Transform simple chicken breasts into irresistibly crispy strips with a light, airy panko coating. The three-step breading process creates perfectly golden exterior while keeping the meat juicy inside. Ready in just 35 minutes, these versatile strips work beautifully as party appetizers, game day snacks, or a quick weeknight dinner everyone will love.
The sound of panko crunching underfoot still makes me laugh, remembering the afternoon my daughter knocked over the entire bag while 'helping' me prep. We were trying to recreate those restaurant-style chicken strips she loved so much, and I'd finally committed to buying proper panko instead of settling for regular breadcrumbs. That accidental mess turned into our favorite cooking adventure, with both of us sliding around the kitchen floor in our socks, giggling uncontrollably while trying to clean up the trail of crispy crumbs.
My brother-in-law reluctantly admitted these were better than his usual frozen option after he grabbed what he thought was a quick snack from my counter. He'd been skeptical about homemade versions taking too much effort, but watching him sneak back for 'just one more' strip three times during our movie marathon was all the validation I needed. Now he requests them every time they come over for game night, claiming they're worth the extra effort.
Ingredients
- Chicken: Boneless breasts work best here since they slice cleanly into uniform strips that cook evenly
- Flour: Creating a dry base layer helps the egg mixture stick better to each piece
- Salt and pepper: The foundation of flavor that seasons every layer of the breading
- Eggs and milk: Whisked together, they create the perfect sticky bridge between flour and panko
- Panko breadcrumbs: These Japanese-style crumbs create that signature airy, shatteringly crisp coating
- Garlic powder and paprika: Adding these directly to the panko infuses each bite with subtle flavor
- Vegetable oil: You need enough for deep frying to ensure even, golden cooking
Instructions
- Prep the chicken:
- Pat each strip completely dry with paper towels so the coating adheres properly
- Set up your breading station:
- Arrange three shallow bowls in order: flour mixture first, whisked eggs and milk second, seasoned panko third
- Coat each strip:
- Dredge chicken in flour, shake off excess, dip in egg mixture, then press firmly into panko to coat thoroughly
- Prep for cooking:
- Place finished strips on a parchment-lined baking sheet while you heat the oil
- Heat the oil:
- Bring your vegetable oil to 180°C (350°F) in a large skillet or deep fryer
- Fry to golden perfection:
- Cook strips in batches for 3–4 minutes per side until deep golden and cooked through
- Drain and serve:
- Let strips drain on paper towels for a minute before serving hot with your favorite dipping sauce
 Save
Save These strips have become my go-to for feeding hungry teenagers after swim practice. There's something universally satisfying about hot, crispy chicken that makes even the most exhausted faces light up. I love watching them debate over the last piece while reaching across the table, the competitive energy replaced by shared contentment after that first perfect bite.
Making Them Ahead
You can bread the strips up to 4 hours before frying and store them layered between parchment paper in the refrigerator. This actually helps the coating adhere even better, though they'll need an extra minute in the hot oil to get fully crisp again.
Dipping Sauces Worth Making
A simple honey mustard made with equal parts honey and grainy Dijon never fails to impress. For something different, mix mayonnaise with a splash of hot sauce and a squeeze of lemon, or combine ranch dressing with a teaspoon of smoked paprika for depth.
Baking Instead of Frying
Arrange coated strips on a wire rack set over a baking sheet and spray lightly with cooking oil spray. Bake at 200°C (400°F) for 18–20 minutes, flipping halfway through for even color. They won't be quite as shatteringly crisp, but they're still delicious.
- Space them at least an inch apart on the rack
- The wire rack prevents soggy bottoms by circulating air underneath
- Spraying with oil helps the panko achieve golden color in the oven
 Save
Save These strips have saved more last-minute dinners and impromptu gatherings than I can count, always disappearing faster than I expect. There's genuine comfort in hearing that satisfying crunch followed by happy silence around the table.
Recipe FAQs
- → Can I bake these instead of frying?
-
Yes, for a lighter version, bake at 200°C (400°F) for 18–20 minutes on a parchment-lined baking sheet, flipping halfway through cooking time.
- → What dipping sauces pair well with these strips?
-
Honey mustard, ranch dressing, spicy mayo, or barbecue sauce all complement the crispy coating beautifully. Choose based on your family's preferences.
- → How do I know when the chicken is fully cooked?
-
The strips should reach an internal temperature of 74°C (165°F) and the coating should be golden brown. Cut into one strip to verify the meat is opaque throughout.
- → Can I make these ahead of time?
-
You can bread the strips ahead and refrigerate for up to 4 hours before frying. Leftovers can be reheated in a 180°C (350°F) oven for 10 minutes to restore crispiness.
- → What makes panko different from regular breadcrumbs?
-
Panko breadcrumbs are larger, lighter, and flakier than traditional breadcrumbs, creating an airier, crispier coating that stays crunchy longer after frying.