 Save
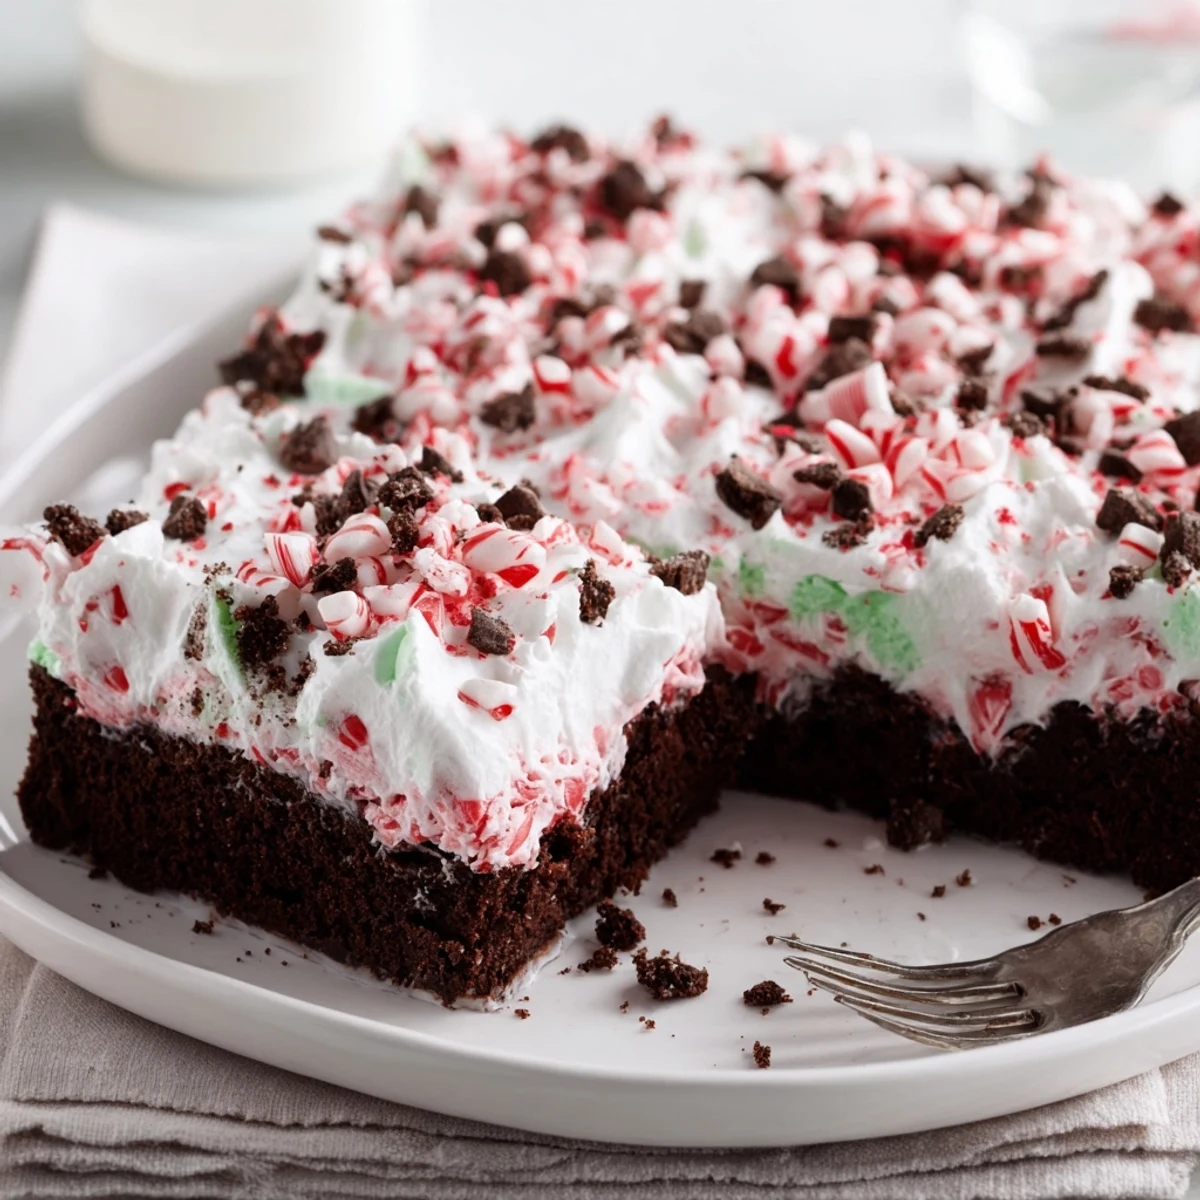
Save This easy, festive cake starts with a light chocolate base baked in a 9x13 pan. While still warm, poke evenly spaced holes and pour a mint-scented vanilla pudding into them so the filling soaks in. Refrigerate until set, then spread thawed whipped topping and scatter crushed peppermint and optional chocolate shavings. Chill at least one hour before slicing; flavors deepen with time. Makes about 12 servings and includes baking plus chilling time.
Winter afternoons always seem brighter when there's a Peppermint Poke Cake waiting in the fridge. My kitchen filled with the crackle and snap of candy canes as I crushed them, a sound that practically shouted cozy celebration. The aroma of chocolate baking mingled with the sharp, sweet scent of peppermint was enough to draw curious glances from down the hall. You'll know you're in for something special from the very first spoonful.
Last December, I baked this cake late in the evening to surprise my sister for a snowy movie marathon. The laughter that bubbled up when she tried to stealthily dig out all the peppermint bits made it one of my favorite kitchen memories. I've since learned to hide a few extra candies just in case. Somehow, this cake turns an ordinary night into something just a little more magical.
Ingredients
- Chocolate cake mix: The backbone of this recipe: it bakes up tender, and you don't need anything fancy to make it taste homemade.
- Eggs: Bring the cake together and give it structure, so don't skimp on the whisking.
- Water: Helps with mixing and keeps the cake light—don't substitute with milk or the crumb may be too heavy.
- Vegetable oil: Locks in moisture, making the cake soft for days; I've tried butter, but oil keeps it fluffier.
- Instant vanilla pudding mix: This fills the poked holes and creates those creamy, dreamy pockets throughout.
- Cold milk: Cold is key for setting the pudding fast and smooth, no lumps allowed.
- Peppermint extract: Freshens every bite with that unmistakable holiday zing—measure carefully so it's just right.
- Red or pink food coloring (optional): Adds a festive touch; just a drop or two swirled in for that peppermint look.
- Frozen whipped topping: Makes the finish light and cloud-like; thaw it completely before spreading so it's easy to handle.
- Crushed peppermint candies: For sparkle and crunch, I bash them in a zip bag with a rolling pin—great fun if you're feeling a little festive stress.
- Chocolate shavings or mini chocolate chips (optional): Extra chocolate is never a mistake, but skip if you want the mint to shine even more.
Instructions
- Get the oven ready:
- Warm your oven to 350 F (175 C) and take a moment to butter up your 9x13-inch pan; you want an easy release later.
- Mix and pour the batter:
- In a big bowl, combine the cake mix, eggs, oil, and water, then beat until it all looks glossy and smooth—your arm gets a workout but it’s worth it.
- Bake the cake:
- Pour the batter into the pan, swipe it level, and bake for 28–32 minutes; your kitchen will smell like the inside of a chocolate shop.
- Cool then poke holes:
- Let the cake sit for about 15 minutes, then grab a wooden spoon handle and poke holes generously all over—a little unevenness just adds character.
- Mix the pudding:
- In a separate bowl, whisk pudding mix, cold milk, peppermint extract, and a couple drops of food coloring until it thickens and blushes pink (it’s quick: about two minutes).
- Fill the cake:
- Pour the pudding gently over the cake, nudging it into all those holes with a spatula so every slice is full of surprise.
- Chill to set:
- Cover your creation and slip it into the fridge for at least an hour to let everything meld and set.
- Whipped topping and garnish:
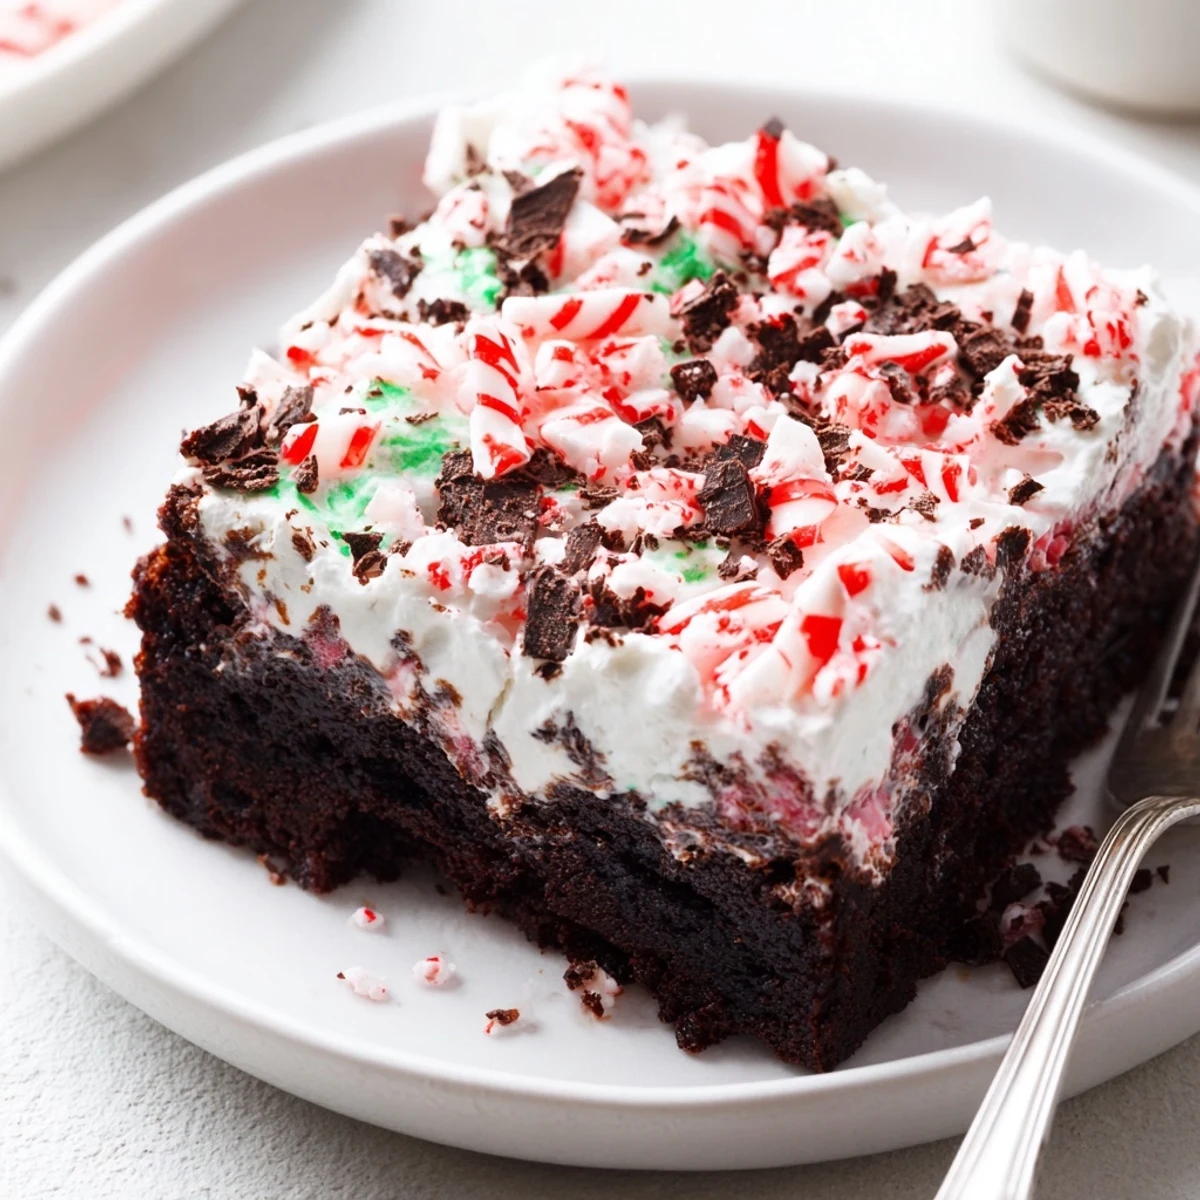
- Spread whipped topping over the cooled cake, smoothing it like soft snow, then scatter crushed peppermints and, if you like, chocolate chips or shavings on top.
- Slice and serve:
- Cut thick squares and serve your cake cold; the chill brings all the flavors together and the peppermint stays satisfyingly crisp.
 Save
Save One holiday brunch, my niece declared this cake 'the pinkest and happiest thing on the table', forever cementing its place at our wintry gatherings. Watching everyone hunt for their perfect piece—the one brimming with extra crushed candy—always reminds me that dessert is as much for smiles as it is for taste.
How To Make It Extra Festive
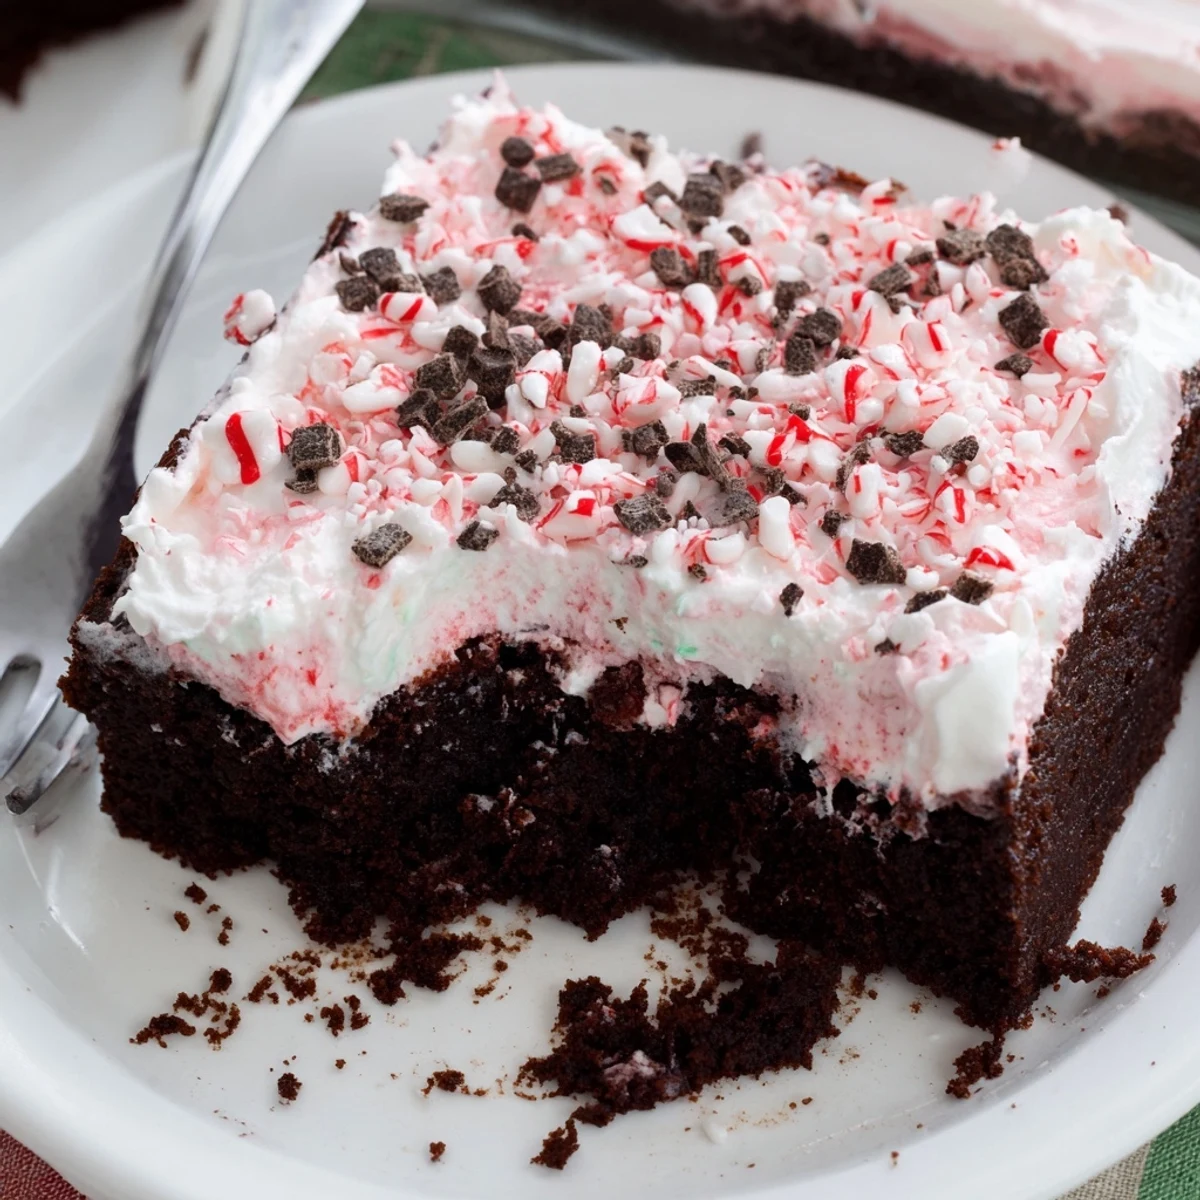
Once I discovered how fun it is to play with the decorations, this cake became my go-to canvas for edible creativity. A swirl of whipped topping and the extra sprinkle of crushed candies instantly makes it look party-ready. You can even go wild and dot a few whole mini candy canes across the top for a true showstopper.
Swapping Out Flavors
For a twist, I've swapped the chocolate cake for red velvet, or even white cake when I want the colors to pop. Each variation brings its own charm—red velvet gives a deep hue, while white cake lets the pink pudding stand out like confetti. Don’t be afraid to mix and match to suit the mood or occasion.
Troubleshooting Peppermint Poke Cake
If your cake comes out uneven or the holes look a little wild, don't worry—once the pudding and topping go on, it all looks intentionally messy and inviting. Remember to crush the peppermint right before serving so it keeps its sparkly crunch, since it can melt in the fridge. And if in doubt, a handful of chocolate chips on top can cleverly hide any imperfections.
- Let the cake cool enough before poking holes, or it will tear.
- If you want super defined holes, wiggle the spoon a bit.
- Best when chilled for several hours before slicing.
 Save
Save However and whenever you serve it, Peppermint Poke Cake never fails to charm its way into the festivities. Sometimes, all you need is a little chocolate, a little peppermint, and a few happy faces around the table.
Recipe FAQs
- → How do I avoid a soggy texture?
-
Allow the cake to cool 10–15 minutes before pouring the pudding so it absorbs without collapsing. Pour evenly and refrigerate to let the filling set; avoid leaving the finished cake at room temperature for long periods.
- → Can this be prepared in advance?
-
Yes. Assemble and refrigerate for 24–48 hours covered. Add the crushed peppermint just before serving to keep the topping crisp and visually bright.
- → What's the best way to crush peppermint candies?
-
Seal candies in a heavy-duty bag and use a rolling pin to crush to a mix of shards and finer pieces. A few short pulses in a food processor also works—avoid overprocessing into dust.
- → How can I boost the mint flavor?
-
Increase peppermint extract slightly in the pudding and consider adding 1/4 teaspoon to the cake batter. Add extract sparingly, tasting as you go, since it can quickly become overpowering.
- → Are there good ingredient swaps for dietary needs?
-
Use a dairy-free milk and instant pudding mix labeled for non-dairy use plus a nondairy whipped topping and an egg replacer to accommodate lactose-free or vegan adaptations. Always check labels for allergens.
- → How should leftovers be stored?
-
Cover and keep chilled; slices remain best for 1–2 days. For texture, avoid freezing once topped with whipped topping; refrigerate and serve cold.