 Save
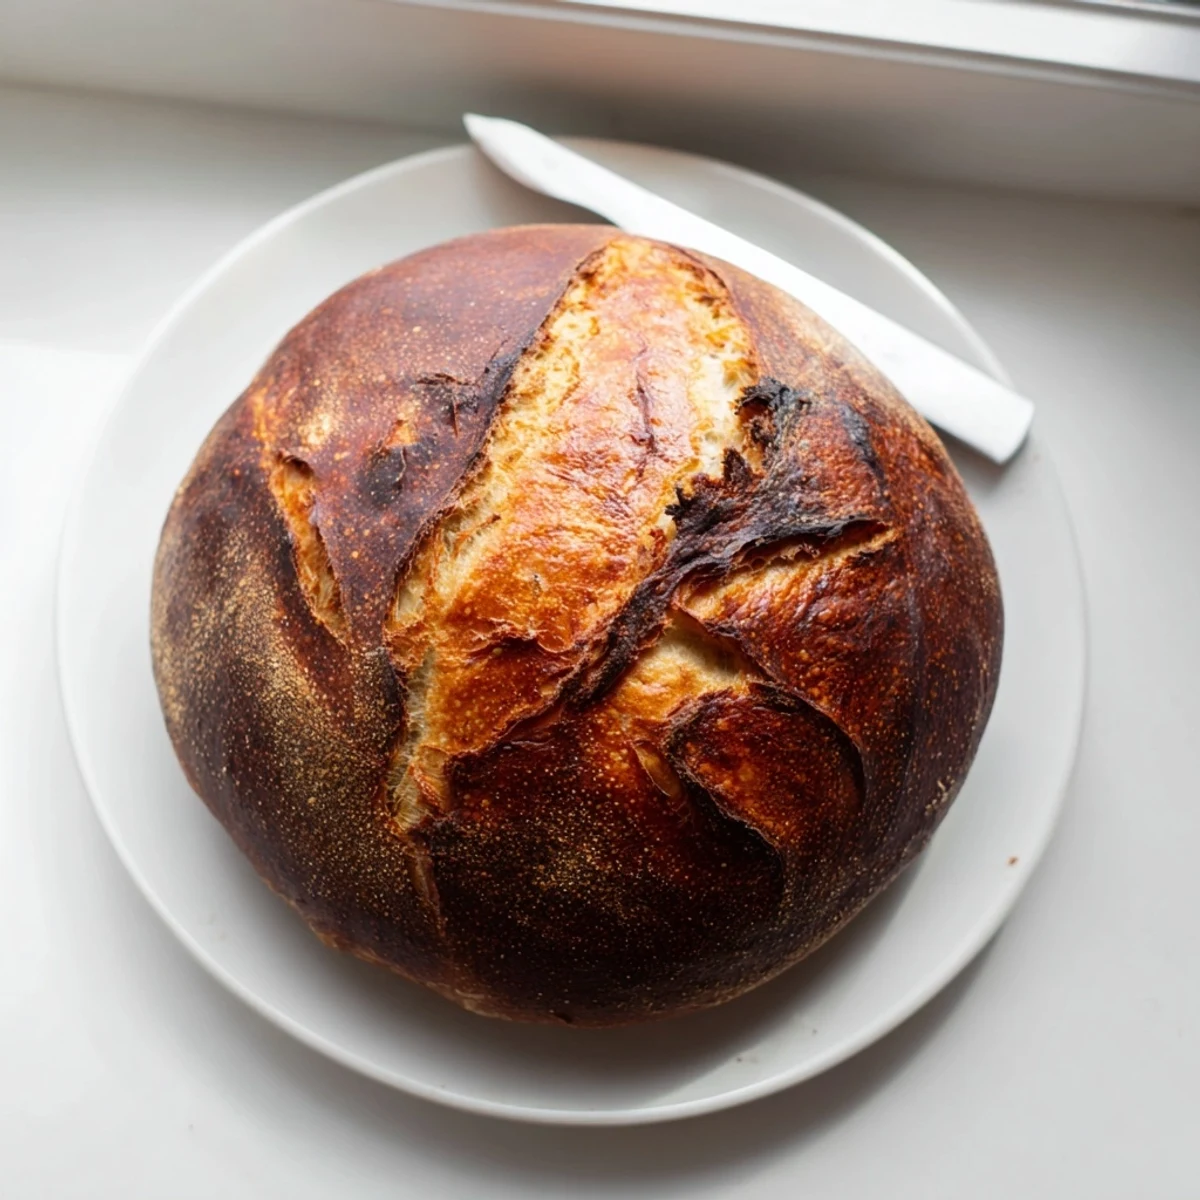
Save Craft an authentic rustic sourdough loaf through natural fermentation, developing deep tangy flavor over 12-18 hours. The process begins with autolyse, combining flour and water before incorporating active starter and sea salt. Four sets of stretch and folds build structure, followed by an extended rise creating the signature open crumb. Bake in a preheated Dutch oven at high heat, first covered to trap steam then uncovered for ultimate crust development. The result yields one large loaf with characteristic chewiness, tender interior, and classic sourdough complexity that improves with patience and practice.
That first sourdough loaf was a disaster, but the smell of fresh bread kept me trying. I had no idea what I was doing, feeding my starter like a pet and watching bubbles form with childlike excitement. Three failed loaves later, I finally understood that patience, not precision, makes great bread.
My sister rolled her eyes when I started babbling about crumb structure and hydration percentages. But the moment she tore into a warm slice, slathered with salted butter, she became a believer. Now she texts me photos of her own sourdough experiments at midnight.
Ingredients
- 500 g bread flour: Unbleached gives you better structure and more reliable fermentation
- 350 g water: Room temperature helps your starter wake up faster
- 100 g active sourdough starter: Feed it 4-8 hours before baking until it's bubbly and doubled
- 10 g sea salt: Don't skip this, it controls fermentation and deepens flavor
Instructions
- Mix and autolyse:
- Combine flour and water in a large bowl until shaggy. Cover and rest for 45 minutes to let the flour hydrate.
- Add starter and salt:
- Pinch the starter and salt into the dough with your fingers until fully incorporated.
- First rest:
- Cover and let the dough relax for 30 minutes before starting your folds.
- Stretch and fold:
- Perform 4 sets of folds every 30 minutes, grabbing one side of the dough and folding it over the center.
- Bulk fermentation:
- Let the dough rise at room temperature for 4-6 hours until roughly doubled in size.
- Shape:
- Turn the dough onto a floured surface and gently shape into a round or oval.
- Proof:
- Place seam side up in a floured proofing basket and cover for 2-4 hours, or refrigerate overnight.
- Preheat:
- Heat your oven to 230°C with a Dutch oven inside for at least 30 minutes.
- Score and bake:
- Turn the dough onto parchment, score the top, and bake covered for 25 minutes.
- Finish baking:
- Remove the lid and bake for 20 more minutes until deep golden and crusty.
 Save
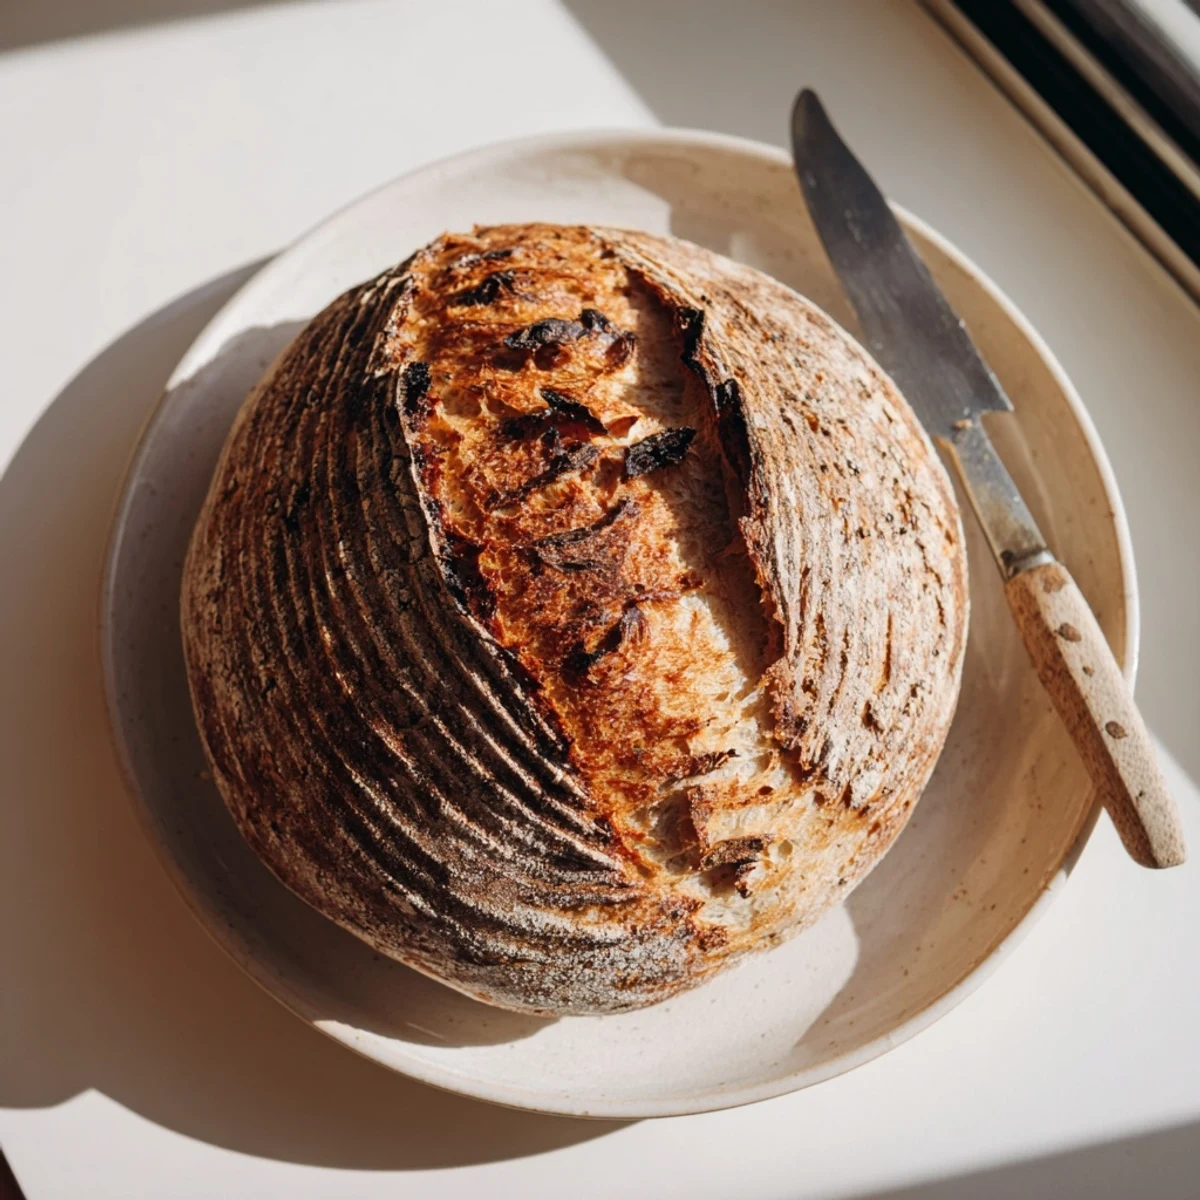
Save That morning when my Dutch oven hit the hot dough and my kitchen filled with steam, I knew I'd found my forever recipe. The crackle of the cooling loaf sounded like applause.
Working With Your Starter
Your starter should be at its peak activity, bubbly and doubled in size, when you mix it into the dough. If it's been sitting in the fridge for days, feed it twice before baking to wake it up properly.
Understanding Fermentation
Temperature dramatically affects how fast your dough rises. A warm kitchen might finish bulk fermentation in 4 hours while a cool room could take 6 or 7, so watch the dough not the clock.
Getting That Perfect Crust
The Dutch oven creates steam that keeps the crust soft while the oven spring does its work. Removing the lid for the final 20 minutes lets the crust develop that gorgeous deep golden color and satisfying crunch.
- Let the bread cool completely before slicing or the steam will escape and leave you with gummy crumb
- Store cut side down on a cutting board, never in plastic which makes the crust chewy
- Revive day old bread with a quick 10 minute warm up in a 350°F oven
 Save
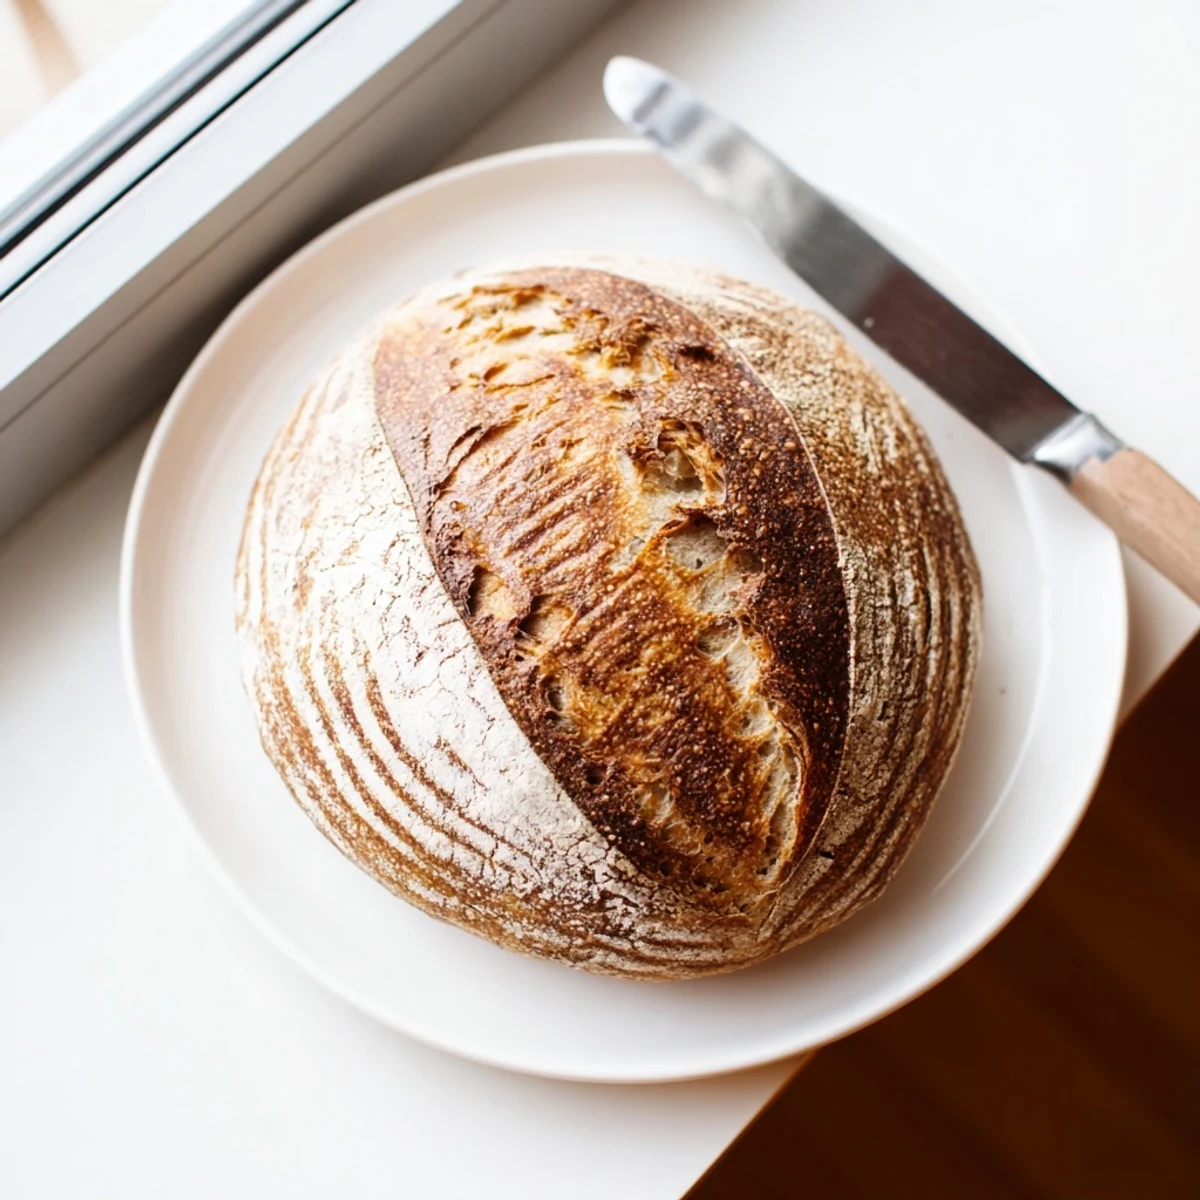
Save Every loaf teaches you something new, so embrace the learning curve. Your patience will be rewarded with the most incredible bread you have ever tasted.
Recipe FAQs
- → What makes sourdough different from regular bread?
-
Sourdough uses wild yeast and beneficial bacteria naturally present in flour rather than commercial yeast. This creates signature tangy flavor, extends shelf life, breaks down gluten for easier digestion, and develops a chewy texture with crispy crust that fermented breads are known for.
- → How do I know when my starter is active enough?
-
Your starter should be fed 8-12 hours before mixing, appearing bubbly throughout with a slightly domed surface. It should have doubled in size and float when dropped in water. The mixture should smell pleasantly sour and show numerous small bubbles on the surface and sides of the container.
- → Can I skip the Dutch oven for baking?
-
A Dutch oven creates essential steam for crust development, but alternatives work. Use a heavy lidded pot, cast iron skillet with a metal bowl covering it, or create steam by placing ice cubes in a preheated pan on the lower rack while baking. Without steam, your crust will be thinner and less crispy.
- → Why does my dough need such a long fermentation time?
-
Extended fermentation allows enzymes to break down starches and proteins, creating flavor complexity and improving texture. The 12-18 hour process develops characteristic tanginess, creates better digestibility, and strengthens gluten structure naturally without excessive kneading. Rushing this step results in less flavorful bread.
- → How should I store my finished sourdough loaf?
-
Store completely cooled bread in a paper bag or bread box at room temperature for up to 4 days. The crust will soften slightly but remains palatable. For longer storage, slice and freeze in airtight bags, thawing individual slices as needed. Avoid refrigeration as it accelerates staling and dries out the crumb.