Save
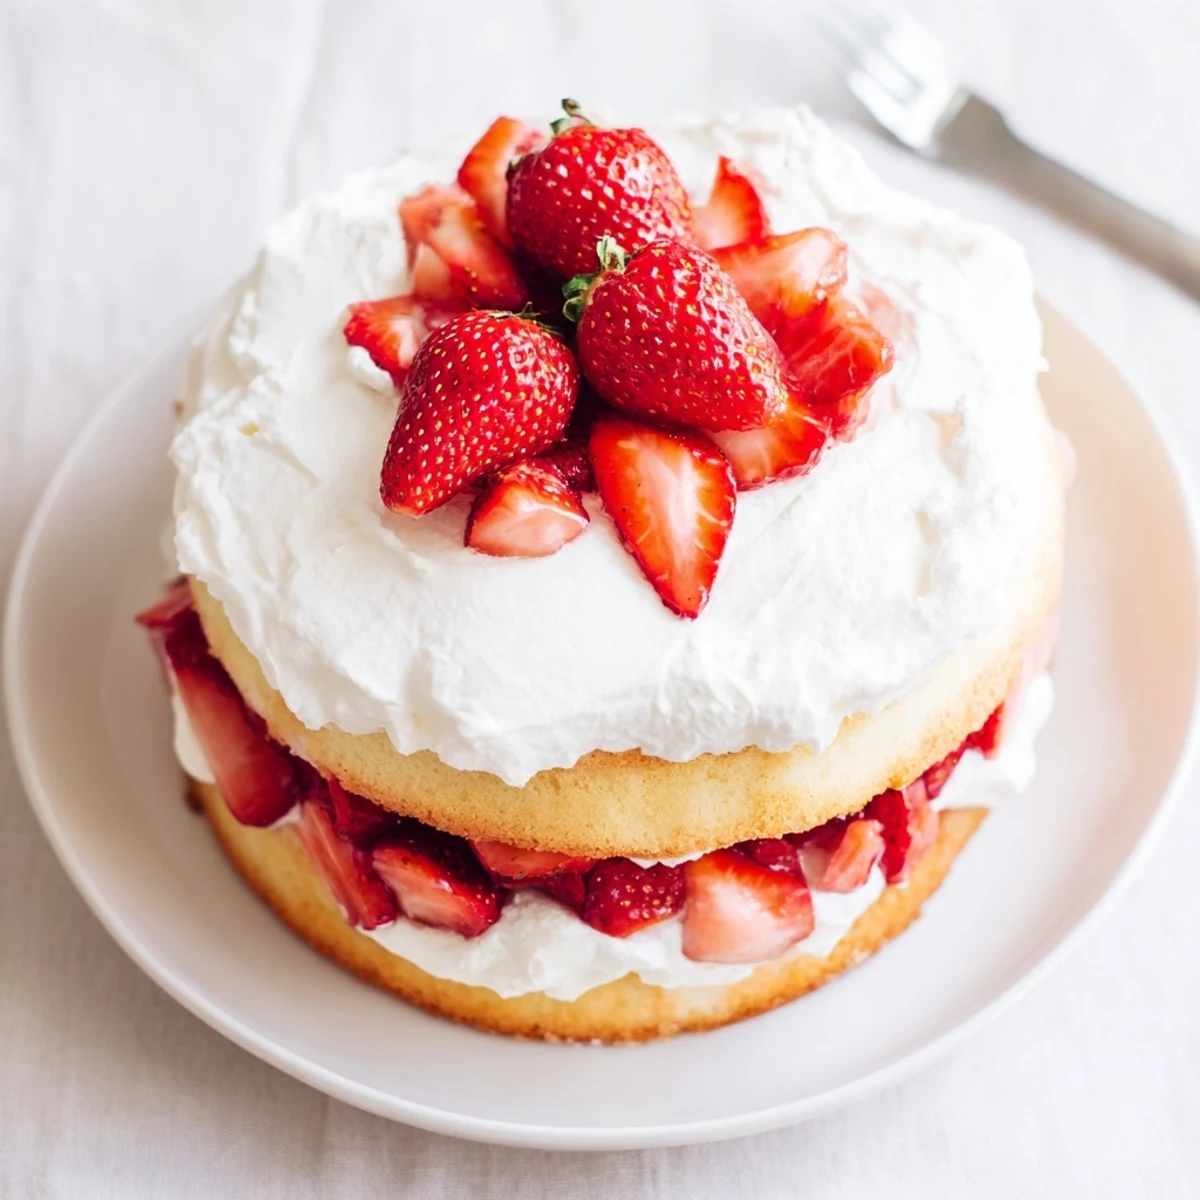
Save This airy layer cake transforms traditional strawberry shortcake into an elegant dessert. Tender vanilla sponge cakes are baked until golden, then stacked with sweetened fresh strawberries that have been macerated to release their natural juices. Clouds of freshly whipped cream bind the layers together, creating a perfect balance of creamy and fruity flavors.
The assembly comes together in about an hour of active time, with the cake layers requiring just 25 minutes in the oven. For the best texture, chill the assembled cake for an hour before slicing—this helps the flavors meld and makes serving cleaner. The recipe yields 10-12 generous servings, making it ideal for gatherings or special occasions.
Pro tip: Brush the cooled cake layers with a little strawberry syrup before adding the filling to keep everything moist. You can also swap in other berries or add a splash of liqueur to the macerated fruit for variation.
The first time I made this cake, my kitchen smelled like a bakery in June. Fresh strawberries were everywhere, staining my cutting board pink and making the whole house feel like summer had arrived early. I remember my daughter sneaking slices of strawberry while I tried to macerate them, her sticky fingers the best part of the afternoon. This isn't just a dessert, it's the kind of cake that makes people pause mid-bite and close their eyes.
I brought this to a neighborhood potluck last summer, and honestly, I've never seen a dessert disappear so quickly. My friend Sarah asked for the recipe before she even finished her first slice. Something about the combination of light cake and juicy berries just works, you know? It's not fancy or fussy, but it makes people feel special somehow.
Ingredients
- 2 cups all-purpose flour: The foundation of your tender cake, measured carefully for the perfect crumb
- 2 tsp baking powder and ½ tsp baking soda: These work together to give your cake that beautiful rise
- ½ tsp salt: Just enough to balance the sweetness and bring out the vanilla
- ½ cup unsalted butter, softened: Room temperature butter creates that light, fluffy texture we want
- 1 cup granulated sugar: Sweetens the cake and helps create that tender crumb structure
- 3 large eggs: Bind everything together and add richness to the sponge
- 1 tbsp vanilla extract: Don't skimp here, good vanilla makes all the difference
- ¾ cup buttermilk: The secret to tender cake, its acidity activates the baking soda perfectly
- 1½ lbs fresh strawberries: Choose the reddest, most fragrant ones you can find
- ½ cup granulated sugar for filling: Draws out those beautiful strawberry juices
- 2 tsp lemon juice: Brightens the strawberry flavor and balances the sweetness
- 2 cups heavy whipping cream, chilled: Cold cream whips up faster and holds its shape better
- ¼ cup powdered sugar: Sweetens and stabilizes the whipped cream
- 1 tsp vanilla extract: A little extra vanilla in the cream makes everything taste better
Instructions
- Get your oven ready:
- Preheat to 350°F and grease two 8-inch round pans, lining the bottoms with parchment paper for easy release later
- Mix the dry ingredients:
- Whisk flour, baking powder, baking soda, and salt in a medium bowl until well combined
- Cream the butter and sugar:
- Beat softened butter and sugar in a large bowl until light and fluffy, about 3 to 5 minutes
- Add the eggs:
- Beat in eggs one at a time, letting each fully incorporate before adding the next, then stir in the vanilla
- Combine wet and dry:
- Add the flour mixture in three parts, alternating with buttermilk, starting and ending with flour
- Bake the layers:
- Divide batter evenly between pans and bake for 22 to 25 minutes until a toothpick comes out clean
- Cool completely:
- Let cakes rest in pans for 10 minutes before turning them onto wire racks to cool completely
- Prepare the strawberries:
- Toss sliced berries with sugar and lemon juice, letting them sit for at least 20 minutes to release their juices
- Whip the cream:
- In a chilled bowl, whip heavy cream with powdered sugar and vanilla until stiff peaks form
- Assemble the cake:
- Place one layer on your serving plate, top with half the strawberries and juice, then half the whipped cream
- Finish with the second layer:
- Add the second cake layer and top with remaining strawberries, ending with whipped cream
- Chill before serving:
- Refrigerate for at least 1 hour to let the flavors meld and the cake set slightly
 Save
Save This was the dessert I made for my parents' anniversary dinner last spring. My dad, who's not usually big on sweets, went back for a second slice and said it reminded him of the strawberry patches his grandmother had behind her house. Food does that, doesn't it? It carries memories in every bite.
Getting The Perfect Texture
I've learned that gently folding the flour mixture instead of vigorously mixing keeps the cake tender. Those little pockets of unincorporated flour you might worry about actually disappear during baking, but the care you took shows in the final crumb. The difference between a good sponge and a great one is patience more than anything else.
Strawberry Selection Secrets
The best strawberries for this cake smell as good as they look. I always give the container a little sniff at the store, if there's no fragrance, there won't be much flavor either. Smaller berries tend to be sweeter than giant ones, and they macerate more evenly too. Sometimes I pick up two pints from different farmers' markets and mix them together for the most complex flavor.
Make Ahead Magic
You can bake the cake layers a day ahead and wrap them tightly in plastic, they actually develop a slightly better texture after resting overnight. The strawberry filling gets even better if you let it sit in the refrigerator for a few hours, those juices really concentrate. Just don't assemble everything until you're ready to serve, or the cream will start to weep.
- Freeze baked cake layers for up to a month if you want to get ahead
- The strawberry filling keeps beautifully in the refrigerator for 2 to 3 days
- Whip the cream fresh on the day you're serving for the fluffiest results
 Save
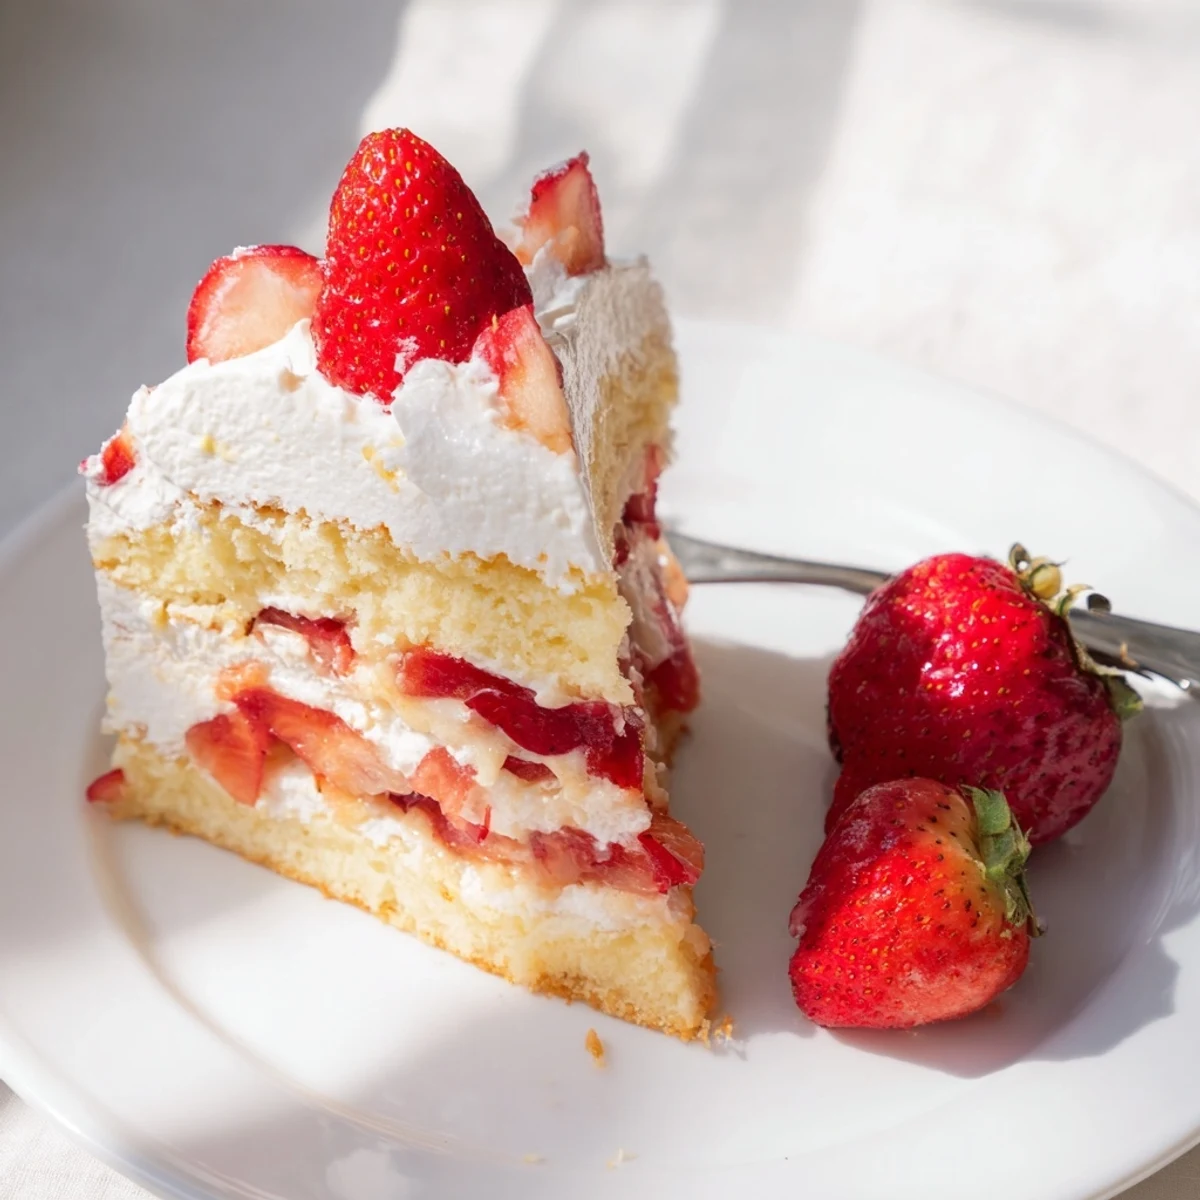
Save There's something about cutting into this cake and seeing those bright red juices running into the cream that just feels like pure joy. Make it for someone you love, or maybe just for yourself on a quiet Sunday afternoon. You deserve it.
Recipe FAQs
- → Can I make this cake ahead of time?
-
Yes, you can bake the cake layers up to a day in advance. Wrap them tightly in plastic wrap and store at room temperature. The whipped cream and strawberry filling are best prepared the day of serving, though you can macerate the strawberries a few hours ahead. Assemble the cake 1-2 hours before serving for optimal texture.
- → How do I store leftovers?
-
Store any leftover cake in an airtight container in the refrigerator for up to 2-3 days. The texture may soften slightly due to the moisture from the strawberries and cream. Bring to room temperature for about 15 minutes before serving for the best flavor and texture.
- → Can I use frozen strawberries?
-
Fresh strawberries work best for this recipe as they maintain their texture and appearance. If using frozen, thaw them completely first and drain excess liquid before macerating. Note that frozen berries may release more juice, which could make the layers slightly softer.
- → What if I don't have buttermilk?
-
You can make a quick buttermilk substitute by adding 1 tablespoon of white vinegar or lemon juice to a measuring cup, then adding enough milk to reach ¾ cup. Let it sit for 5 minutes until slightly thickened before using. This works perfectly in the cake batter.
- → Can I make this gluten-free?
-
Absolutely. Substitute the all-purpose flour with a high-quality gluten-free flour blend designed for baking (measure for measure or 1:1 blends work best). The texture will be slightly different but still delicious. Ensure all other ingredients, particularly baking powder and vanilla extract, are certified gluten-free.
- → How do I know when the cake layers are done?
-
Insert a toothpick into the center of each cake layer—if it comes out clean or with just a few moist crumbs, the cakes are done. The tops should be lightly golden and spring back when gently pressed. Avoid overbaking, which can lead to dry layers.