 Save
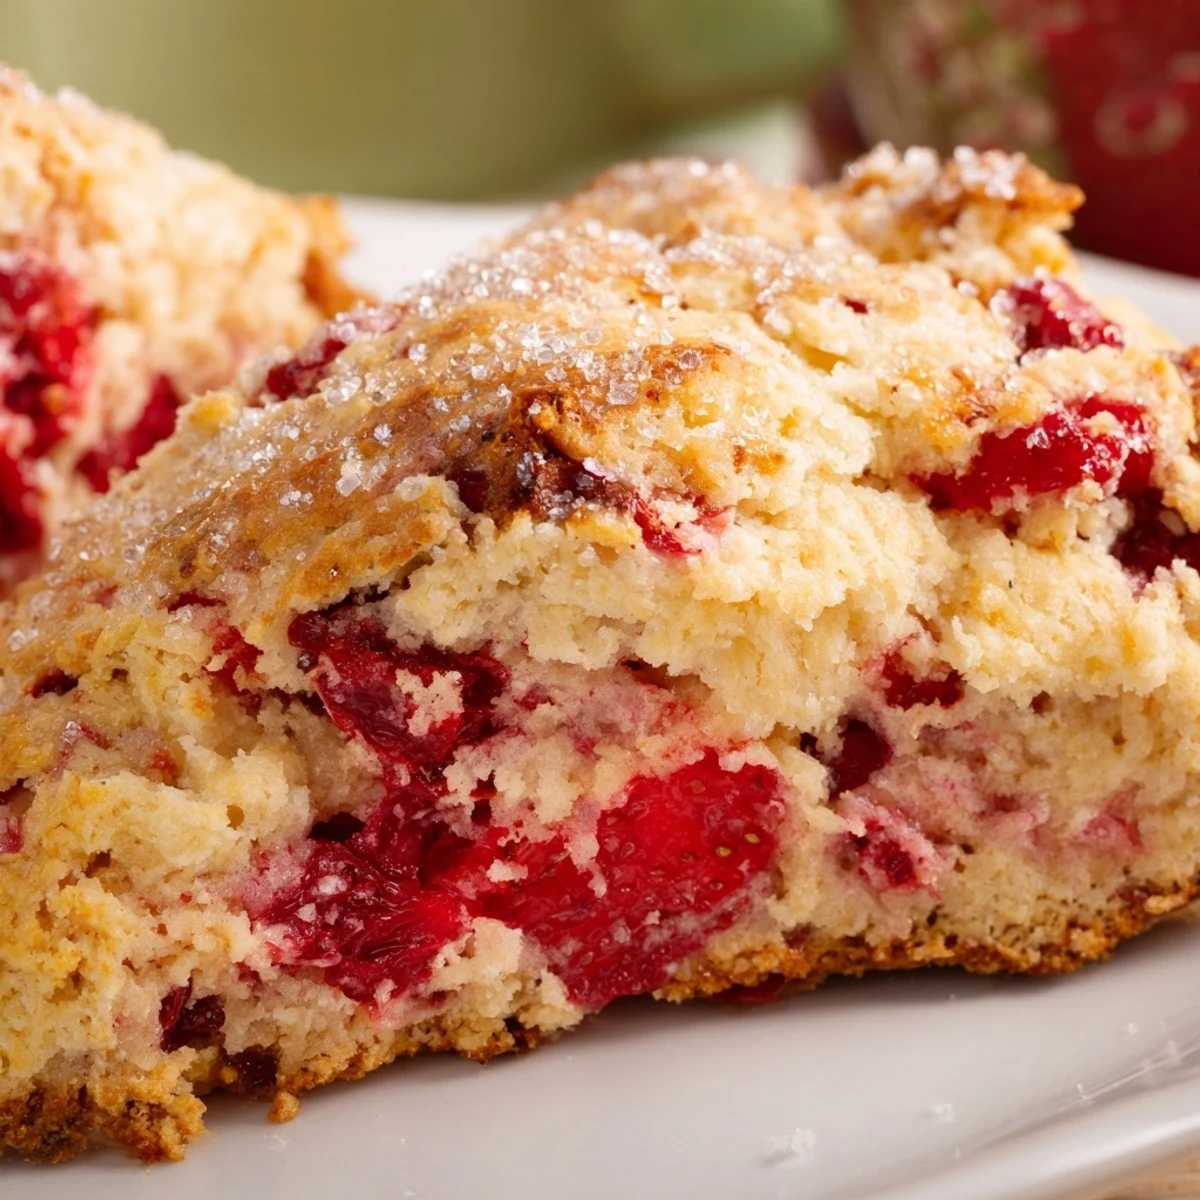
Save Create bakery-worthy strawberry scones with this straightforward method. These tender, buttery treats feature fresh strawberries throughout every bite, offering a perfect balance of sweetness and richness. The dough comes together in minutes and bakes to golden perfection in under 20 minutes.
Ideal for beginner bakers, these scones require just basic pantry staples and fresh strawberries. The technique involves working cold butter into flour for flaky layers, then gently folding in diced fruit. Brush with cream and sprinkle with coarse sugar for a professional bakery finish.
Best served warm with clotted cream, jam, or simply enjoyed plain. Leftovers keep well for 2 days or freeze beautifully for up to 3 months.
The first time I made strawberry scones, I was rushing to impress my new neighbors at a casual brunch. I had picked up these gorgeous berries at the farmers market and decided to wing it with a basic scone dough. They came out of the oven golden and fragrant, and we ended up eating them warm right there on the porch, strawberry juice staining our fingers.
Last spring, my daughter begged me to teach her how to make scones after she tasted them at a bakery in town. We made a mess of the kitchen, flour everywhere, strawberries squished, but the moment she pulled that tray from the oven, her face lit up. Now it is our weekend thing, sometimes adding lemon zest or switching to blueberries, but always ending with warm scones and tea.
Ingredients
- All-purpose flour: The foundation of tender scones, scoop and level gently to avoid packing
- Granulated sugar: Just enough sweetness to let the strawberries shine without being cloying
- Baking powder: The lift that makes these rise tall and proud, check your expiration date
- Salt: A pinch that balances the sweetness and enhances the strawberry flavor
- Cold unsalted butter: The secret to flaky layers, keep it chilled until the moment it hits the flour
- Heavy cream: Creates richness and tenderness, splurge on the good stuff here
- Egg: Adds structure and helps the scones hold their shape while baking
- Vanilla extract: Pure extract makes a difference you can taste
- Fresh strawberries: Choose berries that are ripe but still firm, dice them into small pieces
- Coarse sugar: That sparkling crunch on top makes them feel bakery-worthy
Instructions
- Preheat and prepare:
- Heat your oven to 400°F and line a baking sheet with parchment paper while the butter stays cold in the fridge
- Whisk the dry ingredients:
- Combine flour, sugar, baking powder, and salt in a large bowl, making sure everything is evenly distributed
- Cut in the butter:
- Work those cold butter cubes into the flour with a pastry cutter until the mixture looks like coarse crumbs with some pea-sized pieces remaining
- Mix the wet ingredients:
- Whisk together the cream, egg, and vanilla in a separate bowl until smooth
- Bring the dough together:
- Pour the wet mixture into the dry and fold gently until just combined, the dough will look shaggy and that is exactly right
- Add the strawberries:
- Fold in the diced berries as gently as possible to avoid crushing them or turning the dough pink
- Shape the scones:
- Turn the dough onto a floured surface and pat it into a 1-inch-thick circle, handling it as little as you can
- Cut and arrange:
- Slice the circle into 8 wedges and space them out on your prepared baking sheet so they have room to rise
- Add the finishing touches:
- Brush the tops with a little extra cream and sprinkle generously with coarse sugar for that bakery sparkle
- Bake to golden:
- Bake for 16 to 18 minutes until they are golden brown on top and sound hollow when tapped
- Cool and serve:
- Let them rest on a wire rack for at least 10 minutes, though I never judge if you sneak one warm
 Save
Save These scones have become my go-to when friends need comfort, which happened recently when my neighbor was recovering from surgery. I delivered a batch still warm from the oven, and she texted later saying they were exactly what she needed. Sometimes food really is love in edible form.
Getting The Texture Right
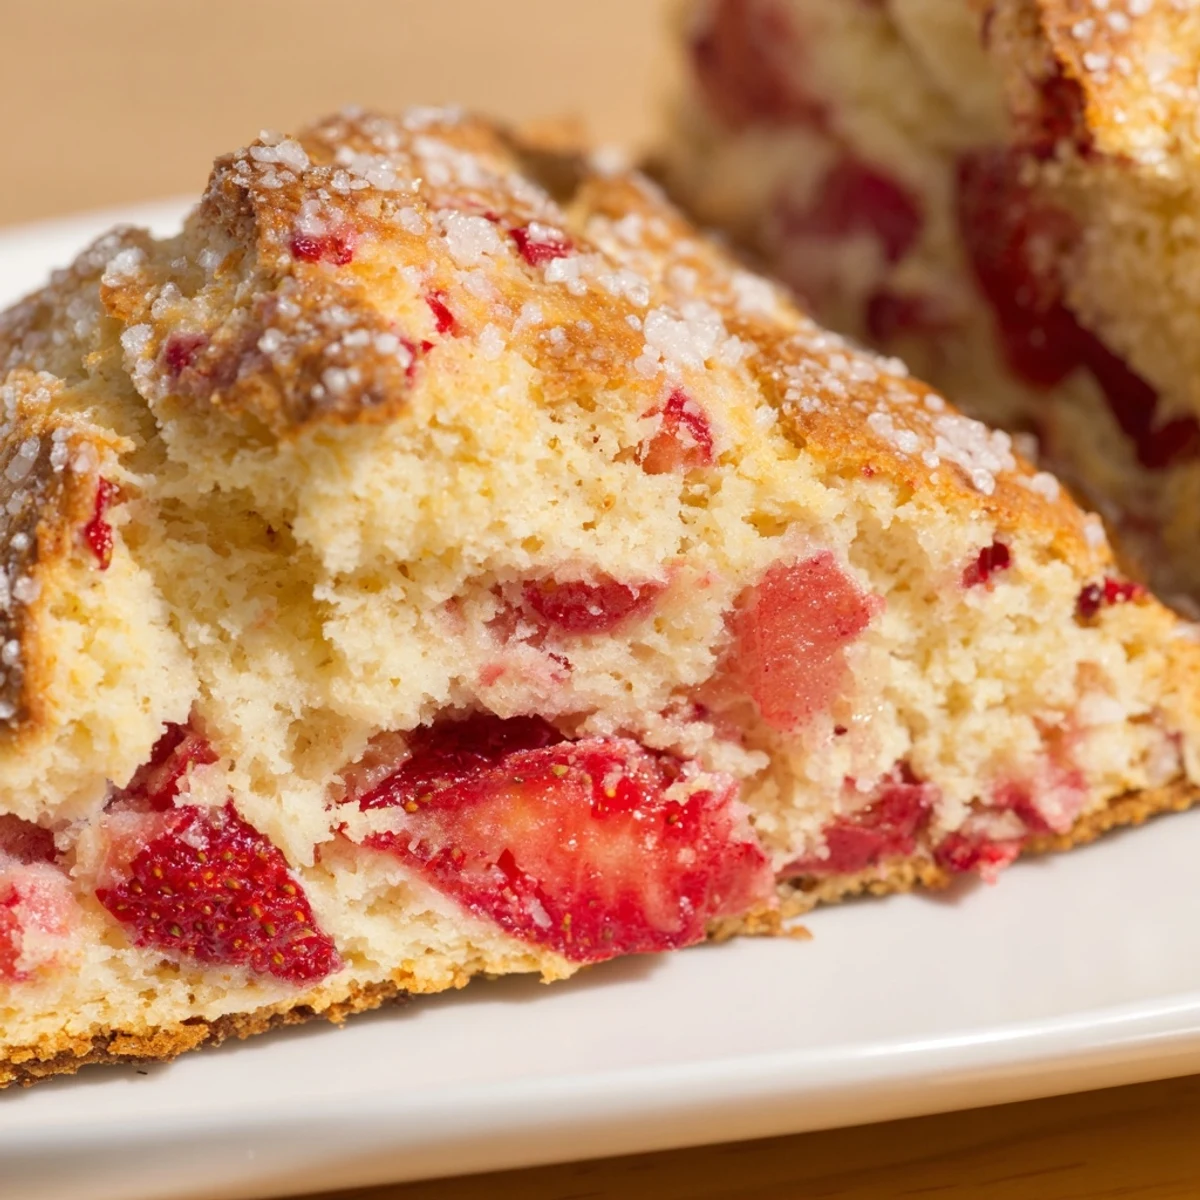
The difference between a tough scone and a tender one comes down to how you handle the butter. Those visible flecks of butter in the raw dough create steam pockets in the oven, resulting in those irresistible flaky layers. I have learned to work quickly and keep everything chilled, even running my mixing bowl under cold water on hot days.
Choosing Your Berries
Fresh strawberries that are ripe but still firm give you the best results. If they are too soft, they will release too much juice and make the dough soggy. I have made the mistake of using mushy berries, and while they still tasted good, the texture suffered. Frozen berries work in a pinch, but do not thaw them first or you will end up with pink dough and wet spots.
Make Ahead Magic
You can prepare the dough the night before and refrigerate the shaped, unbaked scones, covered tightly. In the morning, pop them straight into the oven, maybe adding an extra minute or two to the baking time. I have also frozen the cut scones on a baking sheet, then transferred them to a bag for longer storage, baking them from frozen whenever a craving strikes.
- Brush with extra cream halfway through baking for an extra golden finish
- Split and toast leftover scones the next day, they re beautifully
- Store in an airtight container and refresh in a 300°F oven for 5 minutes
 Save
Save There is something deeply satisfying about pulling homemade scones from the oven, the kitchen filled with buttery, strawberry-sweet warmth. They may look fancy, but the truth is, they are wonderfully forgiving and always worth the effort.
Recipe FAQs
- → Can I use frozen strawberries instead of fresh?
-
Yes, frozen strawberries work well in this dough. The key is to add them frozen without thawing first. Thawed berries release excess moisture that can make the scones soggy. You may need to bake for an additional 1-2 minutes to compensate for the colder temperature.
- → Why must the butter be cold?
-
Cold butter is essential for creating flaky, tender layers. When the cold butter melts during baking, it releases steam that creates pockets in the dough. If the butter softens or melts before baking, you'll lose this texture and end up with denser scones.
- → What's the best way to store leftover scones?
-
Store cooled scones in an airtight container at room temperature for up to 2 days. For longer storage, wrap individually and freeze for up to 3 months. Reheat room-temperature scones at 350°F for 5-8 minutes, or warm frozen ones at 300°F for 10-12 minutes to refresh them.
- → Can I make the dough ahead of time?
-
Absolutely. Prepare the dough through step 7, cut into wedges, and arrange on the baking sheet. Cover tightly and refrigerate for up to 12 hours. When ready to bake, brush with cream and add sugar, then bake as directed. You may need 1-2 additional minutes baking time from the refrigerator.
- → Why is overmixing discouraged?
-
Overmixing develops gluten, making scones tough and chewy rather than tender and flaky. Mix just until the dry ingredients are moistened and the dough comes together. It's perfectly fine if the dough looks slightly shaggy or uneven—this actually leads to better texture.