 Save
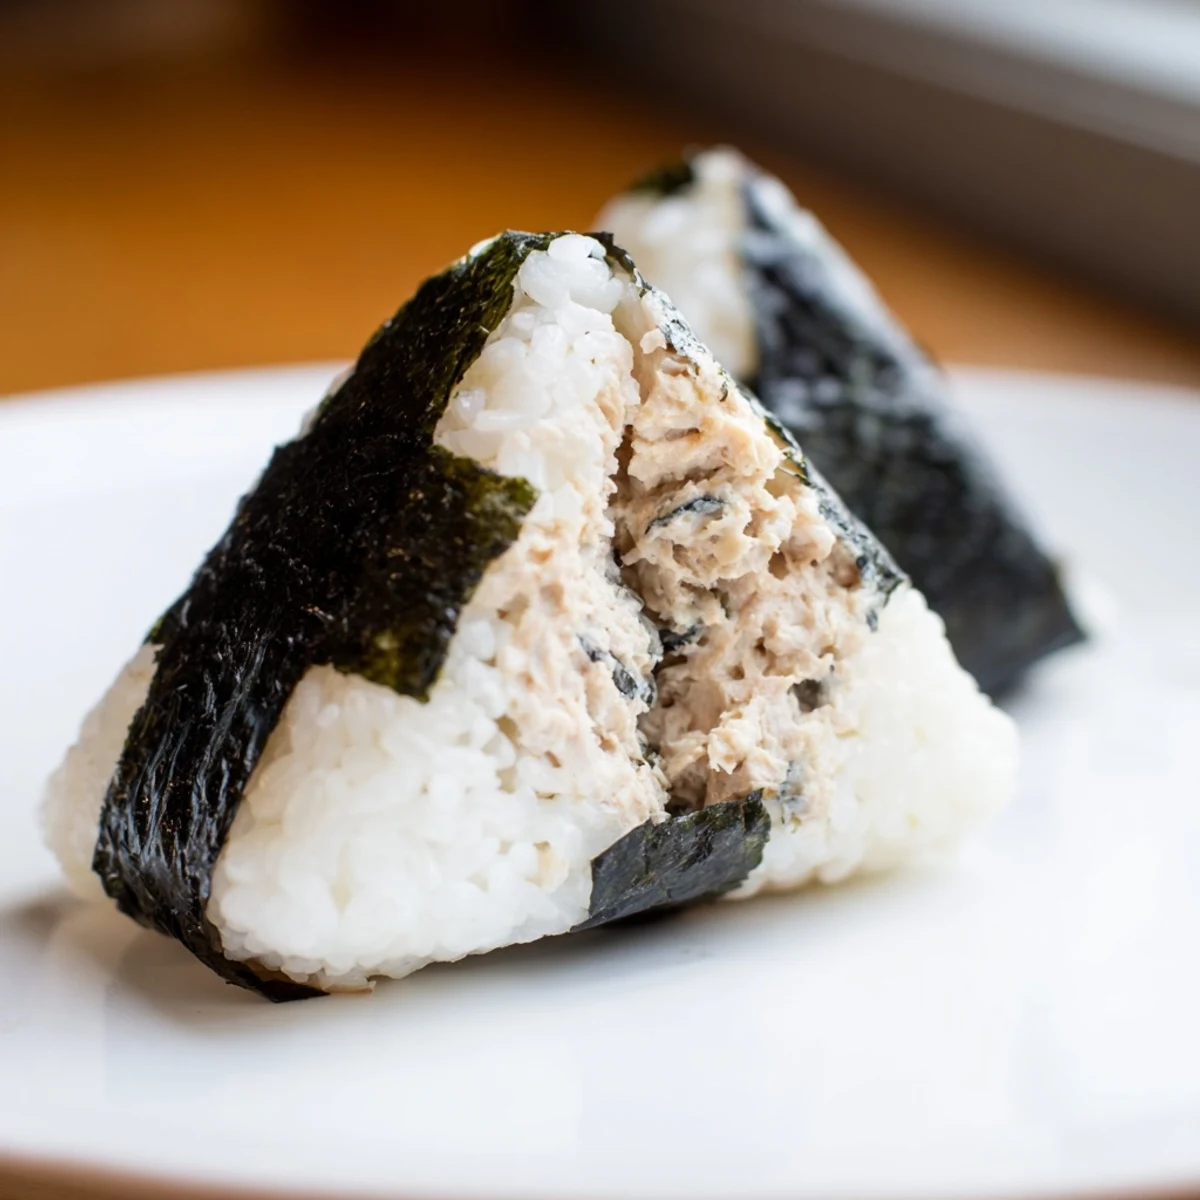
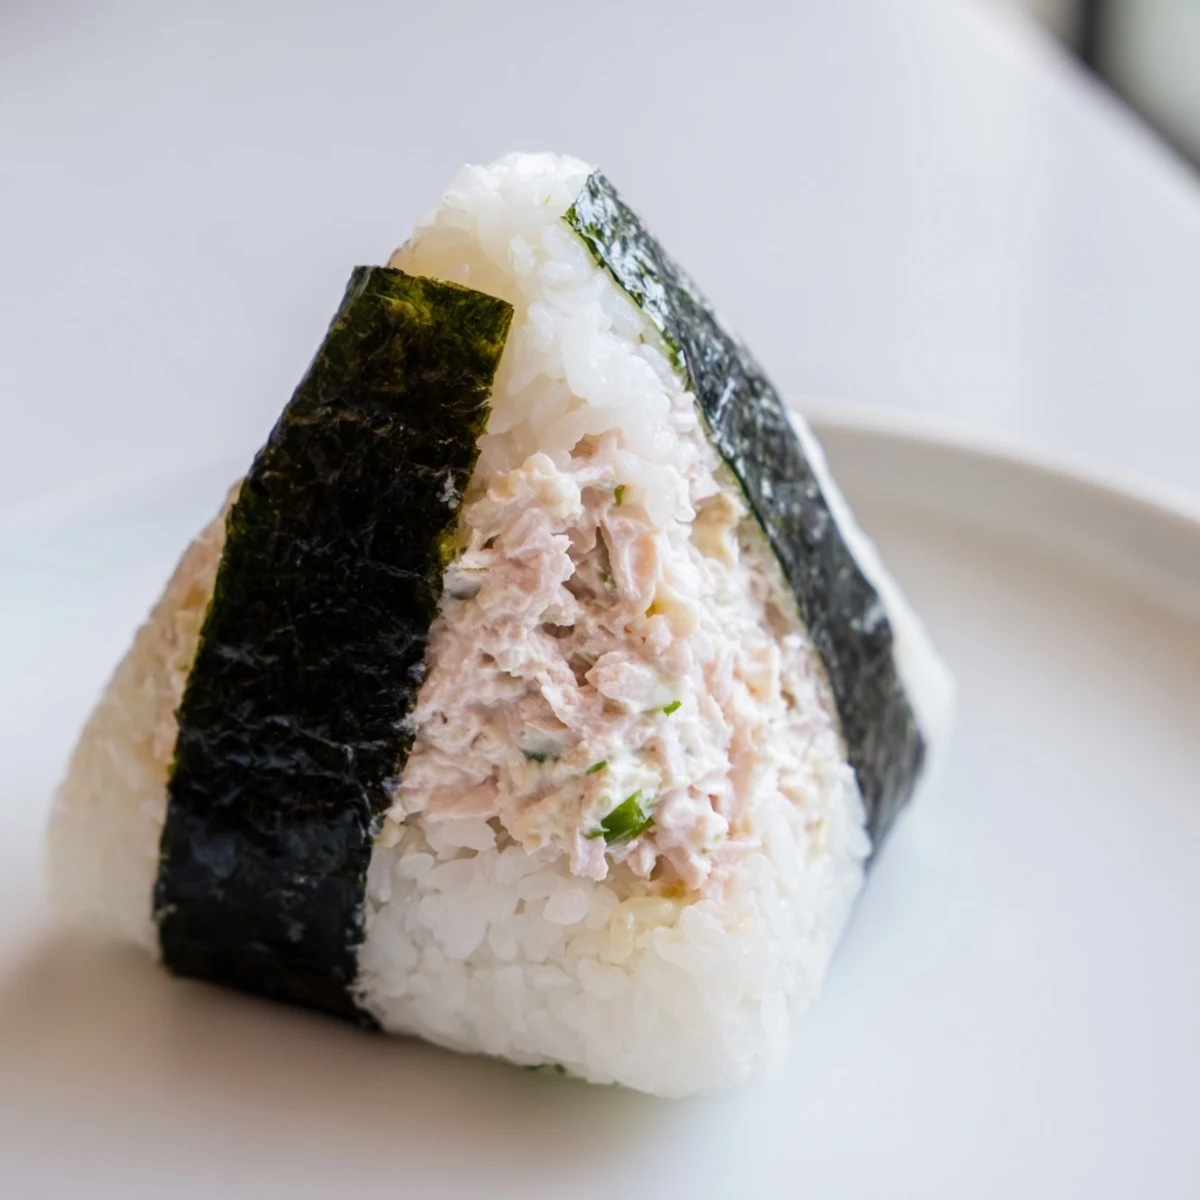
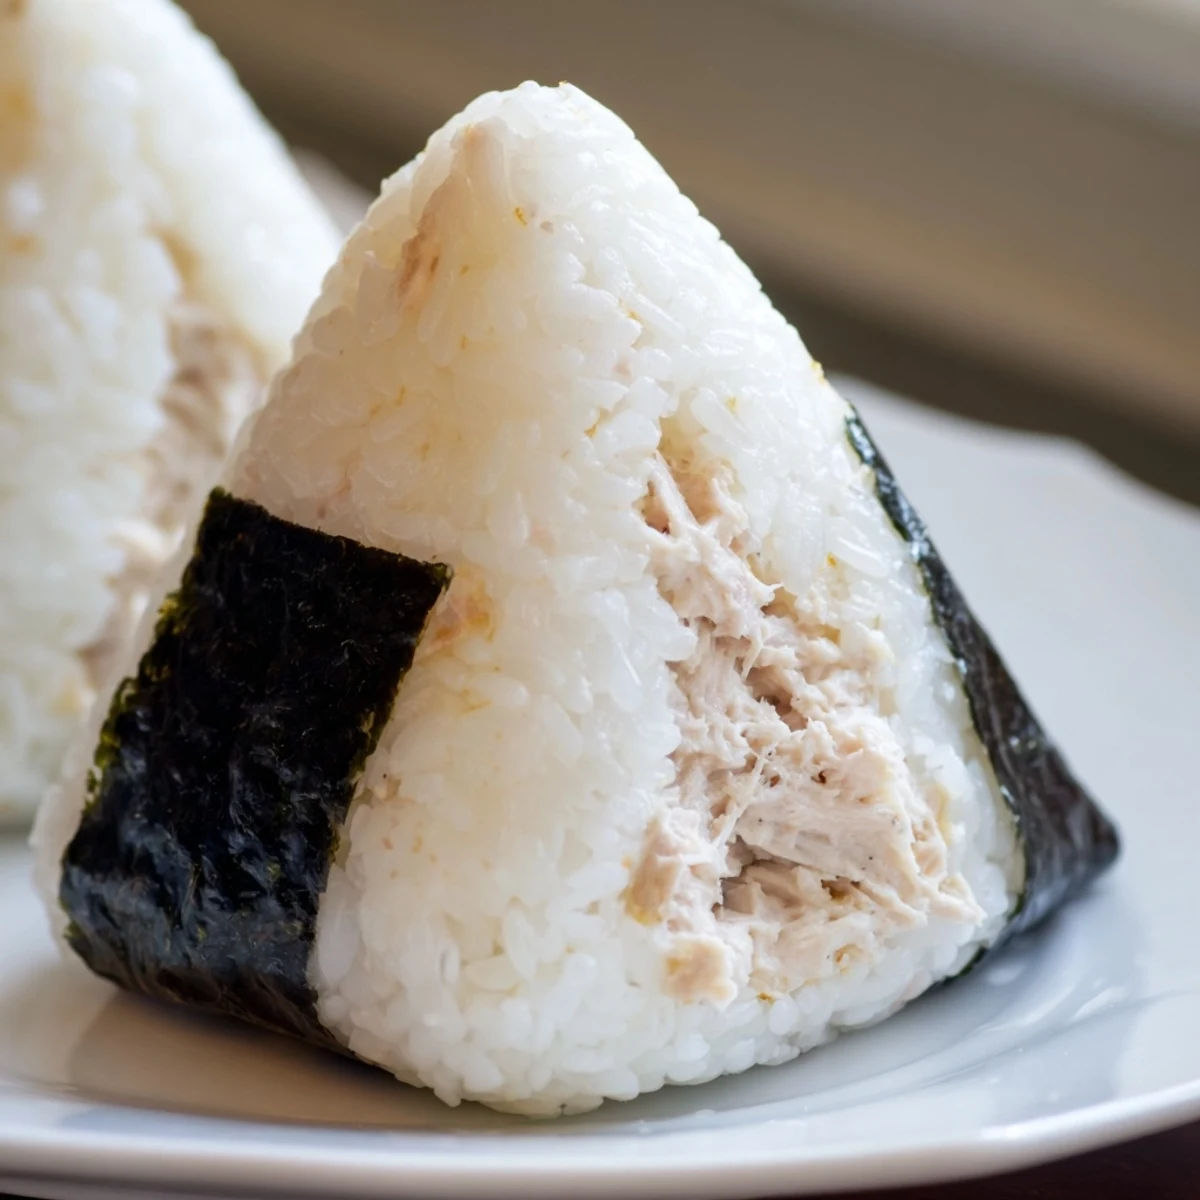
Save Tuna mayo onigiri are handheld Japanese rice balls featuring seasoned short-grain rice wrapped around a savory tuna mayonnaise filling. The combination of fluffy warm rice, creamy tuna with Japanese mayo and soy sauce, and crispy nori creates an irresistible texture and flavor balance. These portable treats are staples in Japanese bento boxes and convenience stores, offering a satisfying mix of protein, carbohydrates, and umami flavors in every bite.
Perfect for meal prep, school lunches, or quick snacking, these onigiri come together in just 35 minutes with simple pantry ingredients. The key is using short-grain rice for the right stickiness, Japanese mayonnaise for authentic richness, and shaping while rice is still warm for best results.
The convenience store around the corner from my old apartment in Tokyo had a glass case full of onigiri, and I would always grab the tuna mayo one without hesitation. Something about that creamy, savory center tucked inside warm, salted rice felt like the most satisfying three bites of any day. I never thought I could recreate that exact feeling at home until a rainy Sunday when I had nothing but a can of tuna and some leftover rice. Now I make a batch almost every week.
My friend Yuki watched me struggle through my first attempt at shaping triangles, laughing as I produced what she called a rice potato. She patiently demonstrated the cupping motion with her hands, and after about four lumpy failures, something clicked and I finally understood the geometry of a proper onigiri.
Ingredients
- Japanese short-grain rice (2 cups): This is non negotiable because long-grain or jasmine rice will simply crumble apart when you try to shape it. The starchiness is what holds everything together.
- Water (2 1/2 cups): Slightly less water than you might expect helps the rice firm up enough for shaping without turning mushy.
- Canned tuna in water, drained (1 can, 5 oz/140 g): Water packed tuna keeps the filling from becoming greasy, and draining it thoroughly is the key to a creamy but not wet center.
- Japanese mayonnaise like Kewpie (3 tablespoons): Kewpie has more egg yolks and a tangier profile than Western mayo, which gives the filling its signature richness. Regular mayo works in a pinch but the flavor will be noticeably different.
- Soy sauce (1 teaspoon): Just a touch deepens the umami without overpowering the delicate tuna mixture.
- Ground black pepper (1/4 teaspoon, optional): A gentle warmth that most store versions skip, but I like the subtle kick it adds.
- Salt (1/2 teaspoon): Used on your palms during shaping, it seasons the outside of the rice and acts as a mild preservative.
- Nori sheets, cut into strips (6 small pieces): The crispy, oceanic contrast against soft rice is what makes onigiri irresistible, so try to wrap them just before eating for maximum crunch.
Instructions
- Wash the rice clean:
- Rinse the rice under cold running water, swirling gently with your hand, until the water turns from cloudy to nearly clear. This removes excess surface starch and prevents gummy, clumpy texture.
- Cook and rest:
- Cook the drained rice with 2 1/2 cups of water in a rice cooker or on the stove following your usual method, then let it steam with the lid on for 10 minutes after cooking so every grain finishes evenly.
- Build the filling:
- While the rice rests, break up the drained tuna in a bowl and fold in the mayonnaise, soy sauce, and pepper until you have a cohesive, creamy mixture that holds together when scooped.
- Prepare your hands:
- When the rice is still warm but no longer scalding, wet both hands with water and rub the salt across your palms, which creates a thin barrier that keeps rice from sticking and seasons the outside simultaneously.
- Shape around the filling:
- Scoop roughly 1/2 cup of rice into one palm, press a shallow well into the center, spoon in a generous tablespoon of tuna mayo, then gently fold the rice over and cup your hands to form a triangle or oval, rotating and pressing lightly until it holds its shape.
- Add the nori and finish:
- Press a strip of nori onto one side or wrap it around the base of each onigiri, and either eat immediately or wrap tightly for later.
 Save
Save Packing these into a bento box for a hike last spring, I realized they had become my go-to comfort food, small and personal and made entirely by hand.
Filling Variations Worth Trying
Chopped scallions folded into the tuna mayo add a sharp freshness that cuts through the richness beautifully. A few drops of toasted sesame oil also transform the filling into something deeply aromatic.
Storing Them Properly
Onigiri are at their absolute best within a few hours of making them, while the nori still snaps and the rice is soft but chewy. If you must store them, wrap each one tightly in plastic and refrigerate for no more than 24 hours.
What to Watch Out For
The most common pitfall is overfilling, which causes the rice to split open when you try to seal it. Less is genuinely more with the center, and you can always serve extra filling on the side. Here are a few last things to keep in mind.
- Keep a bowl of water right next to your workstation so you can re-wet your hands without walking away.
- If you cannot find Kewpie, add a tiny squeeze of lemon juice to regular mayo for a closer approximation.
- Always drain the tuna as thoroughly as possible because even a little extra liquid makes the filling slide right out of the rice.
 Save
Save There is something quietly wonderful about food you shape with your own hands, no tools required, just warmth and salt and a little patience. These onigiri are exactly that kind of cooking, simple, honest, and deeply satisfying.
Recipe FAQs
- → What makes Japanese mayonnaise different from regular mayonnaise?
-
Japanese mayonnaise, like Kewpie brand, is made with egg yolks instead of whole eggs and includes rice vinegar or apple cider vinegar, giving it a richer, creamier texture and slightly sweeter, tangier flavor than Western mayonnaise.
- → Can I use regular long-grain rice instead of short-grain?
-
Short-grain rice is essential for authentic onigiri because its higher starch content creates the sticky texture needed to hold the shape. Long-grain rice won't bind properly and your onigiri may fall apart.
- → How should I store leftover onigiri?
-
Wrap each onigiri tightly in plastic wrap and refrigerate for up to 24 hours. Let them come to room temperature before eating, as cold rice becomes hard. For longer storage, freeze without nori and thaw naturally.
- → Can I add other ingredients to the tuna filling?
-
Absolutely! Chopped scallions, sesame oil, sliced corn, or shredded cheese make delicious additions. Some people add a small amount of diced pickles or a touch of wasabi for extra kick.
- → Do I need to add salt to the rice?
-
Rubbing salt on your hands before shaping serves two purposes: it seasons the rice and prevents sticking. This traditional technique ensures each onigiri has subtle seasoning while making the shaping process easier.
- → What if I don't have nori sheets?
-
While nori adds authentic flavor and makes onigiri easier to handle, you can enjoy them plain or wrapped in thin cucumber slices, lettuce leaves, or tamago (sweet egg omelet) for variation.