 Save
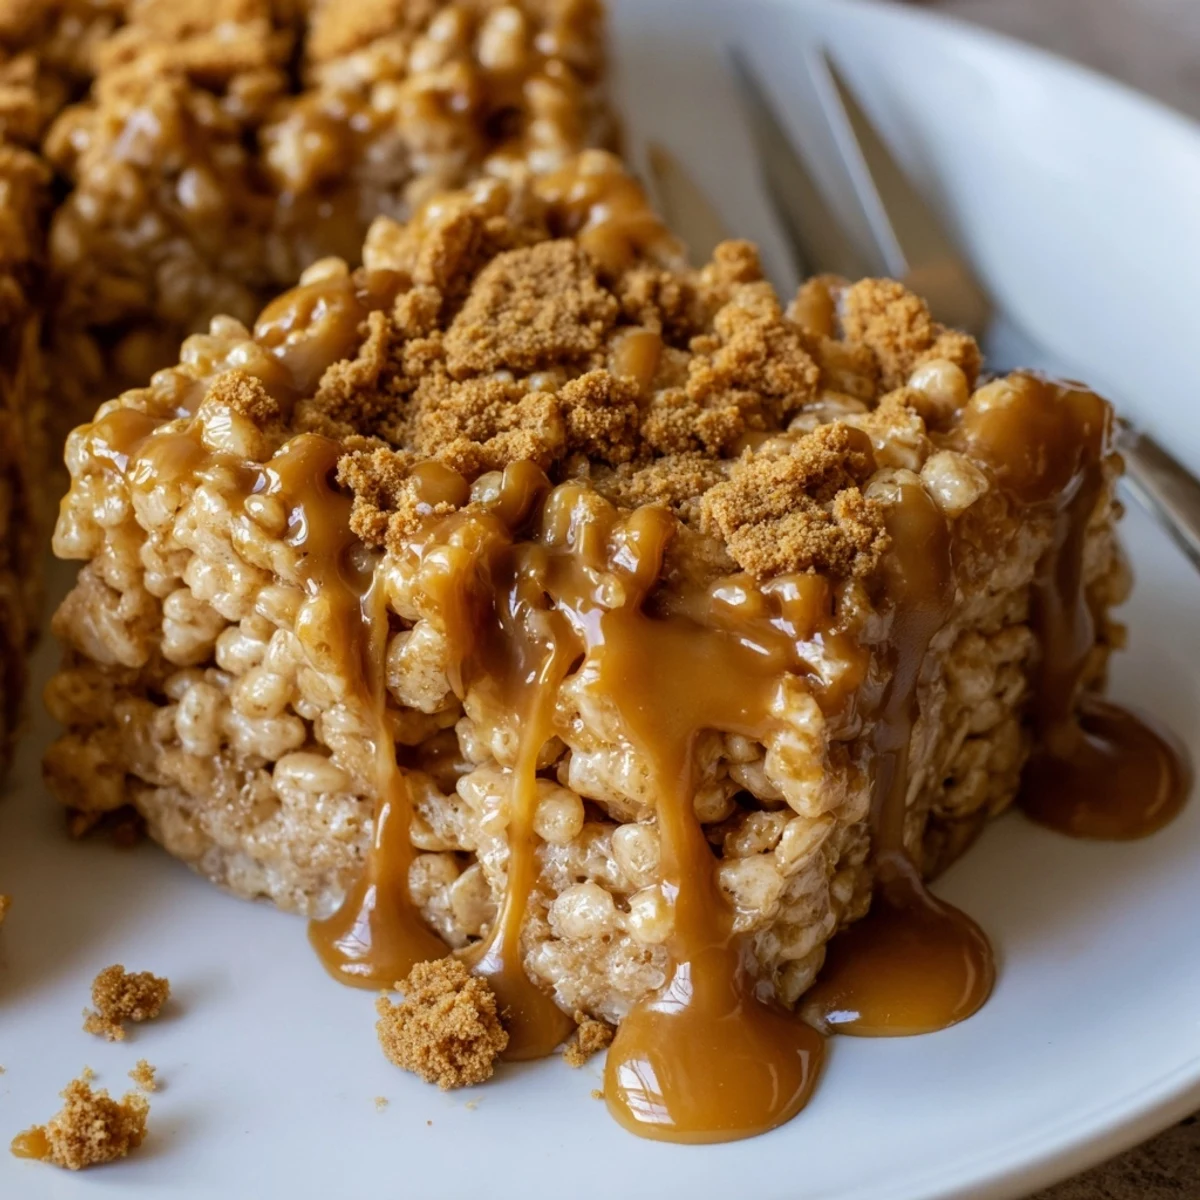
Save Start by gently melting butter and 200 g Biscoff over low heat, then stir in mini marshmallows until glossy and smooth. Remove from heat and fold in about 200 g Rice Krispies until fully coated, press the mixture into a lined 9×9-inch pan, and smooth with a greased spatula. Drizzle 60 g melted Biscoff and sprinkle crushed cookies on top. Let set about 45 minutes (or chill 30 minutes for firmer squares). Yields 16 squares; quick and easy to prepare.
Just the smell of melting butter and sweet Biscoff spreading through my kitchen is enough to make me pause and smile. The gentle snap and scatter of Rice Krispies tumbling into a bowl is oddly satisfying, a sound that still means something fun is about to happen. Instead of the usual marshmallow squares, these treats came about one rainy afternoon when all I had was a nearly empty jar of Biscoff begging to be used. The result was a pan of chewy, caramel-scented squares that disappeared so quickly I barely got to try a second piece.
I once made a batch of these for a friend's birthday picnic, expecting them to be background snacks, but they became the main conversation piece. Watching grownups sneak back for seconds, their fingers sticky with Biscoff, made me realize these are a treat made for sharing moments - and sticky laughs - together.
Ingredients
- Unsalted butter: Adds richness and smoothness; I always let it melt slowly so nothing burns.
- Biscoff spread: The star ingredient, delivering deep caramelized cookie flavor; warm it up just enough so it stirs silky-smooth.
- Rice Krispies cereal: Classic crunch and lightness; shake the box before measuring so it isn't compacted.
- Mini marshmallows: Melt quickly and bind everything together; fresh ones make for the best stretchy, gooey texture.
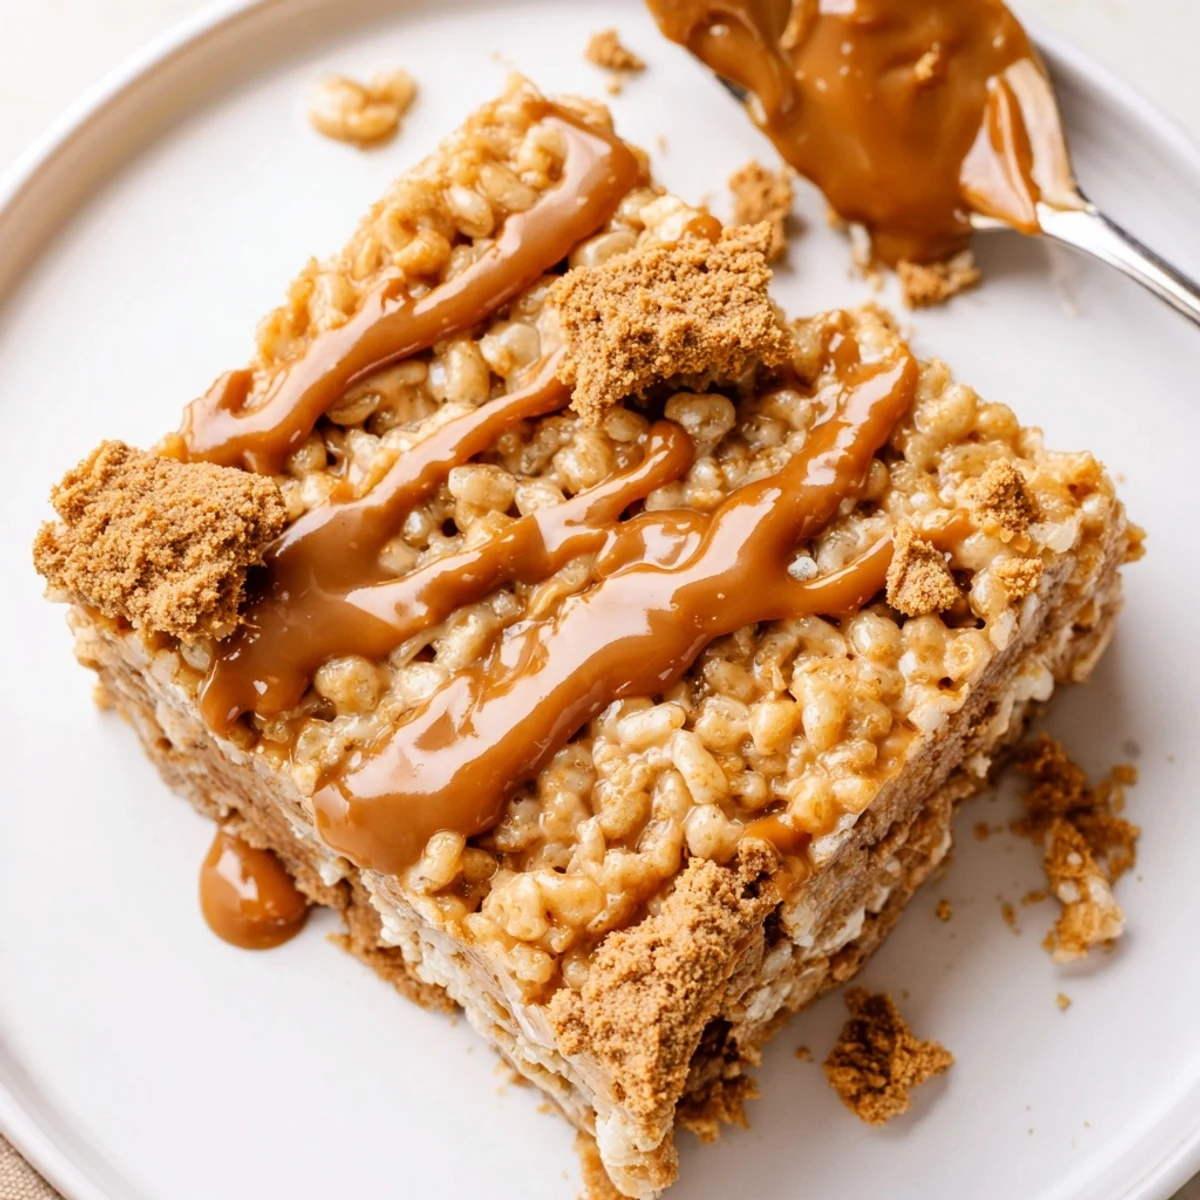
- Biscoff spread (for topping): Melting it briefly helps with effortless drizzling that looks bakery-perfect.
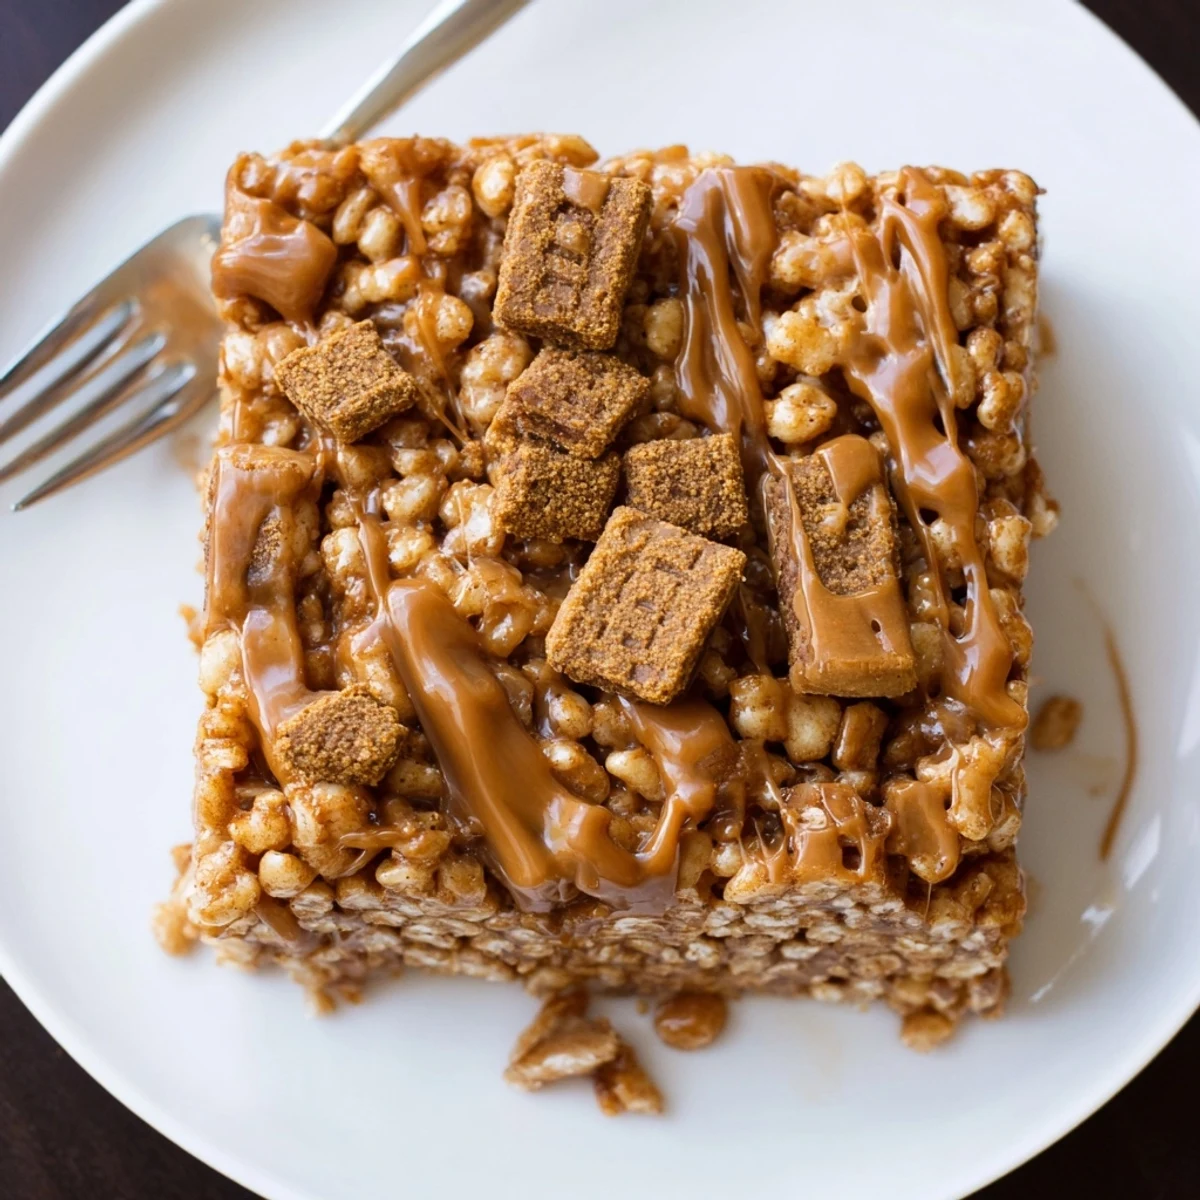
- Crushed Biscoff cookies (optional): For extra crunch and a visually tempting finish that catches everyone's eye.
Instructions
- Prepare the Pan:
- Line a 22x22 cm square pan with parchment paper and a light mist of butter or spray so nothing sticks at the end.
- Melt and Combine:
- In a large saucepan over low heat, let the butter pool and start to foam, then swirl in the Biscoff spread until the whole mixture is glistening and lush.
- Marshmallow Magic:
- Add in those mini marshmallows and keep stirring; listen for the quiet hiss as they melt and everything turns creamy beige.
- Cereal Time:
- Turn off the heat and dump in the Rice Krispies, folding gently from the bottom up to coat every bit before things set.
- Press and Shape:
- Tip the mix into the pan and coax it into the corners with a greased spatula or wax paper, pressing lightly to avoid crushing the crunch.
- Make it Shine:
- Drizzle the melted Biscoff on top in zigzags and scatter with crushed cookies, then admire how bakery-fancy it looks right at home.
- Set and Slice:
- Let the pan sit at room temperature for 45 minutes until firm to the touch, then lift and cut into neat squares for snacking.
 Save
Save Once, I packed a few squares for a walk in the park and ended up sharing with a stranger on the next bench -- she smiled, told me it tasted like childhood and coffee shops at once, and that, honestly, is why I still make these every few weeks.
Making Ahead and Storing
If you're prepping ahead, these treats stay fresh in an airtight container for up to four days -- but I've rarely seen any last that long around my house. I sometimes wrap individual pieces in parchment for lunchboxes or gift bags, and they're still soft and flavorful the next day.
Adapting for Allergies (and Tastes)
For friends who need dairy-free or gelatin-free treats, I swap butter for plant-based spread and always check my marshmallows; vegan options work just as well here. Biscoff's wheat content means they're not gluten-free, but peanut butter or sunflower seed butter makes a delicious, nutty stand-in.
Troubleshooting Sticky Situations
The trickiest bit is not overmixing or letting the mixture cool before pressing into the pan, or else you’ll have a crumbly, stubborn mess. Keep everything moving quickly and have your pan ready before you start so there’s no pause to hunt for parchment paper mid-stir.
- Use fresh, soft marshmallows for best melting power.
- If your melted Biscoff topping gets too thick, just microwave it for 5–8 seconds and stir again.
- Always let the bars cool fully before cutting so you get clean, tidy squares with no sticking.
 Save
Save When your sweet tooth calls, these Biscoff Rice Krispie Treats have a way of bringing people together – and guaranteeing sticky, happy hands. Hope they bring as much fun (and finger-licking) to your kitchen as they do to mine!
Recipe FAQs
- → Can I swap Biscoff for peanut butter?
-
Yes. Use an equal weight of smooth peanut butter for a nuttier flavor and slightly denser texture. Smooth varieties coat the cereal best and blend more evenly with melted butter and marshmallows.
- → How do I avoid burning the marshmallow mixture?
-
Cook over low heat, stir constantly, and remove from heat as soon as the marshmallows are melted and the mixture is glossy. A heavy-bottomed saucepan helps distribute heat and prevent hot spots.
- → How can I get firmer squares?
-
Press the mixture firmly and evenly into the pan, then chill in the refrigerator for about 30 minutes before cutting. Reducing the marshmallow slightly or adding a little more cereal also yields a firmer bite.
- → Are there gluten-free options?
-
Yes. Use certified gluten-free crisped rice cereal and gluten-free cookie crumbs, and verify the spread is labeled gluten-free or choose a suitable substitute to avoid cross-contamination.
- → What’s the best way to store them?
-
Keep squares in an airtight container at room temperature for up to 3 days, or refrigerate up to a week for firmer texture. Place parchment between layers to prevent sticking.
- → Why drizzle extra Biscoff on top?
-
Drizzling melted spread gives a glossy finish, boosts caramelized flavor and helps cookie crumbs adhere, adding a crunchy contrast to the soft, chewy interior.