 Save
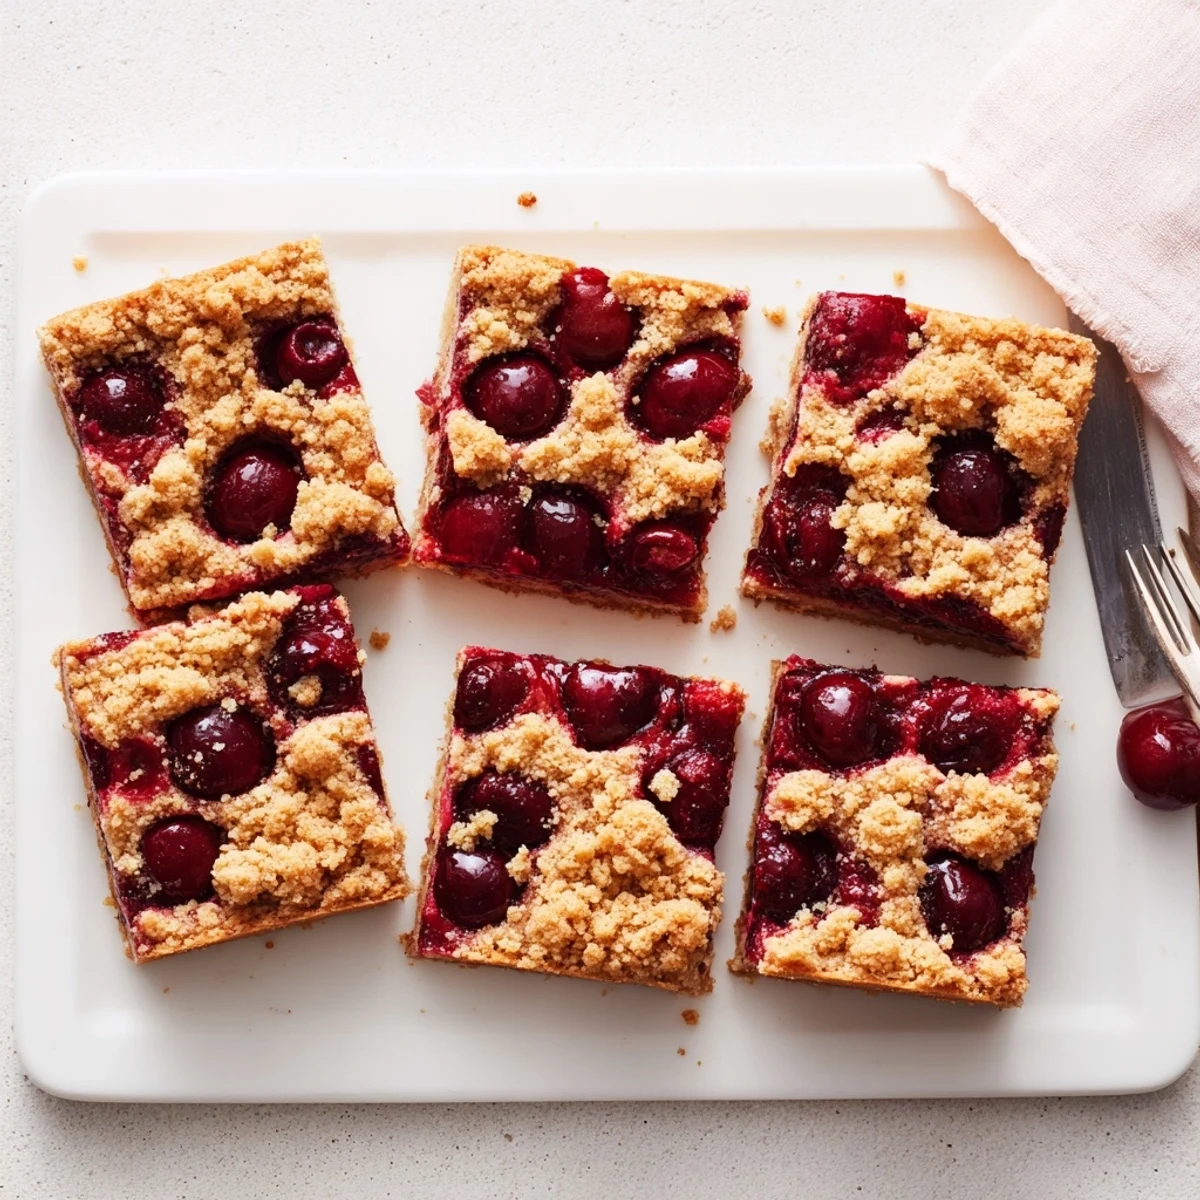
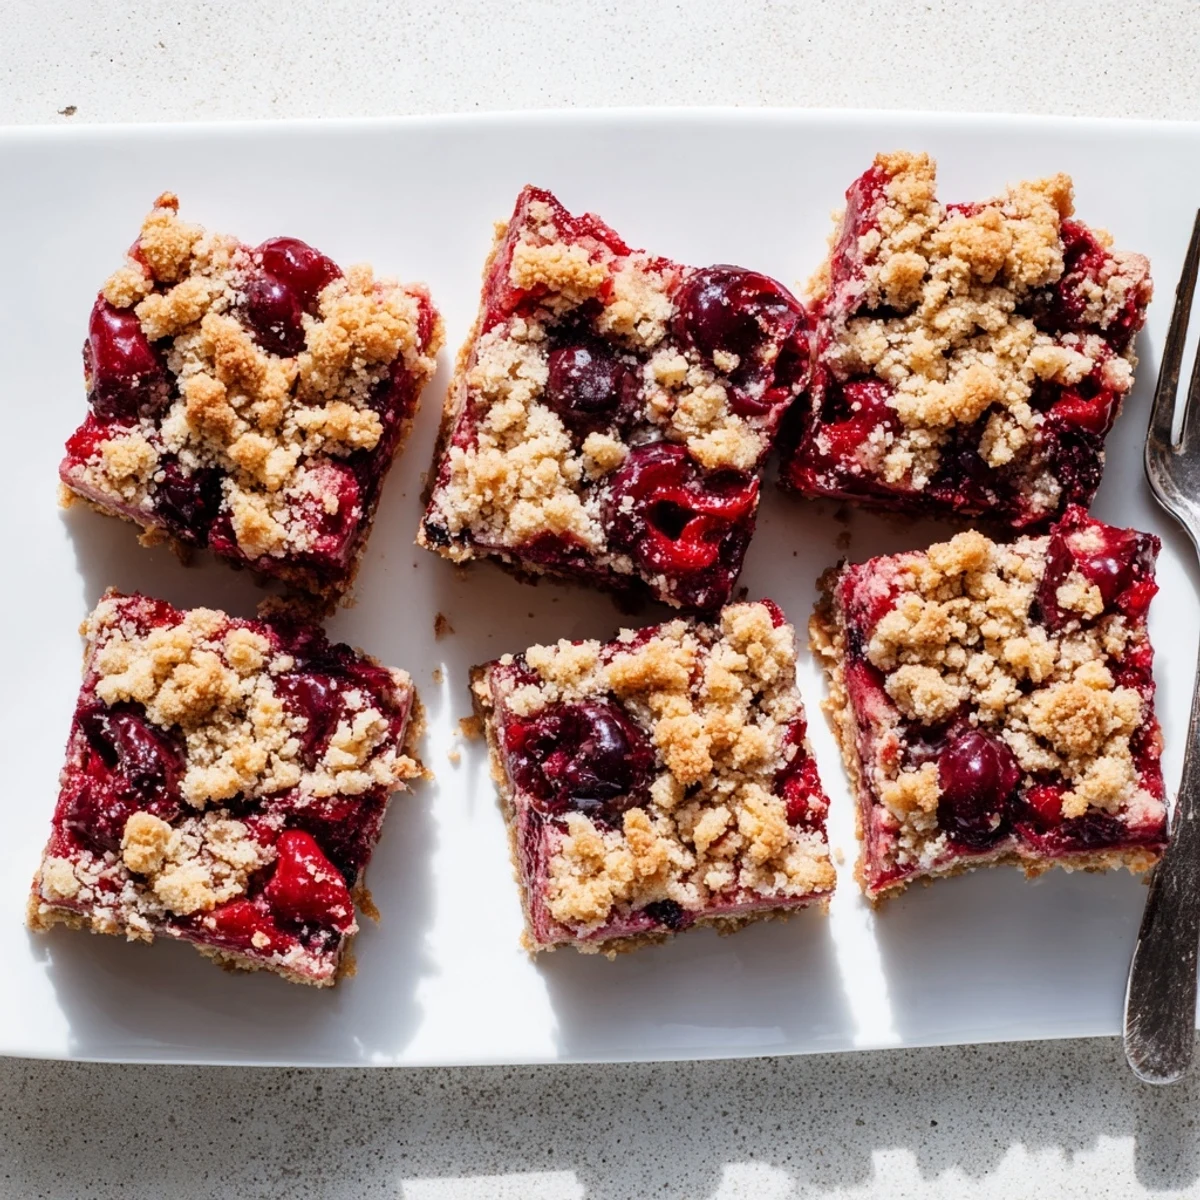
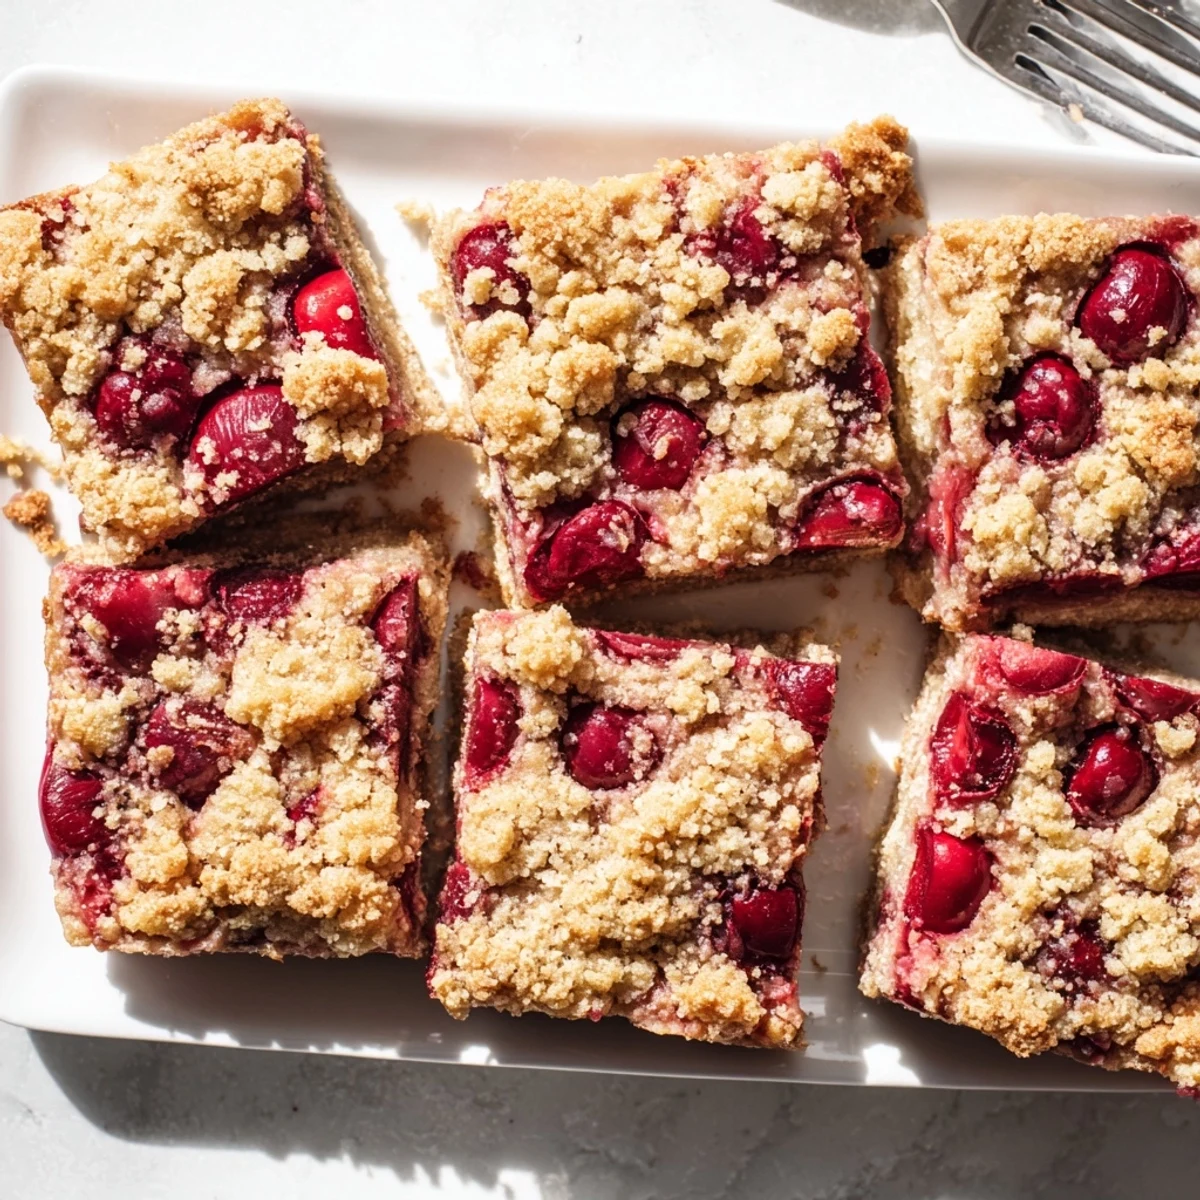
Save These cherry crumble bars feature a tender, buttery crust topped with a sweet-tart cherry filling and finished with a generous layer of crumble topping. The combination of fresh or frozen cherries with cinnamon-spiced crumbs creates the perfect balance of textures and flavors. Each bite delivers the satisfying crunch of baked crumble against juicy, bubbling fruit. These bars come together quickly and are ideal for sharing at potlucks, picnics, or casual family gatherings.
The first time I made these cherry crumble bars, my kitchen smelled like a bakery. My roommate walked in from work and immediately abandoned her coat at the door to see what was bubbling in the oven. We ended up eating them warm straight from the pan with vanilla ice cream melting over the top, not even waiting for them to cool properly.
Last summer I made three batches for a neighborhood block party. By the time I circled back to the dessert table, the platter was empty and three different people had asked for the recipe. One neighbor admitted she hid two bars in her purse to save for breakfast the next morning.
Ingredients
- 2 cups all-purpose flour: The foundation of your crumble, creating structure while staying tender
- 1 cup granulated sugar: Sweetens both the crust and balances the tart cherries
- 1/2 teaspoon baking powder: Gives the crust a subtle lift so its not too dense
- 1/4 teaspoon salt: Essential to balance all that sweetness and bring out flavors
- 1/2 teaspoon ground cinnamon: Adds warmth that pairs beautifully with cherries
- 1 cup unsalted butter, cold and diced: Cold butter creates those irresistible crumbly pockets
- 1 large egg: Binds the crumble mixture so it holds together when sliced
- 3 cups pitted cherries: Fresh in summer or frozen when you need a cherry fix year round
- 1/2 cup granulated sugar: Adjust based on how sweet your cherries are naturally
- 2 tablespoons cornstarch: Thickens the cherry juices into a jammy consistency
- 1 tablespoon lemon juice: Brightens the cherry flavor and cuts through the richness
- 1/2 teaspoon vanilla extract: Rounds everything out with warm depth
Instructions
- Get your oven ready:
- Preheat to 350°F and line your 9x9 pan with parchment, letting the edges hang over like handles
- Mix the dry ingredients:
- Whisk flour, sugar, baking powder, salt, and cinnamon in a large bowl until combined
- Work in the butter:
- Add cold butter and egg, cutting with a pastry cutter until you have coarse crumbs throughout
- Press your crust:
- Firmly press about two thirds of the mixture into your prepared pan to create the bottom layer
- Prepare the cherry filling:
- Toss cherries with sugar, cornstarch, lemon juice, and vanilla until every piece is coated
- Layer it up:
- Spread cherries evenly over the crust, then scatter remaining crumble on top
- Bake until golden:
- Bake 38 to 42 minutes until the top is browned and you see cherry juice bubbling through
- The hardest part:
- Cool completely before lifting out and cutting into 16 squares
 Save
Save My grandmother started making these when fresh cherries appeared at the farmers market every July. She would package them in wax paper bundles and tuck them into our lunch boxes, saying something homemade always tastes better than anything store bought.
Getting The Right Crumble Texture
The secret to perfect crumble is keeping everything cold. I toss my butter in the freezer for 15 minutes before cutting it in, and I work quickly once I start blending. If the butter starts to soften, pop the whole bowl in the fridge for 10 minutes before pressing it into the pan.
Cherry Choices
Fresh cherries at their peak are incredible, but frozen cherries work beautifully and actually release more juices as they bake. I always keep a few bags in my freezer for impromptu baking. Thaw frozen cherries slightly and drain excess liquid before tossing with the cornstarch mixture.
Storage And Serving
These bars keep remarkably well at room temperature for two days, or refrigerated for up to a week. The texture actually improves after a day as the flavors meld and the crumble softens slightly from the cherry filling.
- Warm individual bars for 20 seconds in the microwave before serving
- These freeze beautifully for up to three months
- Wrap individually in parchment for easy lunchbox treats
 Save
Save Theres something about the combination of tart cherries and buttery crumble that feels like home. These bars have become my go to for bringing comfort to anyone who needs it.
Recipe FAQs
- → Can I use frozen cherries instead of fresh?
-
Yes, frozen cherries work beautifully in these bars. Use them directly from frozen—no need to thaw first. They may require an extra 2-3 minutes of baking time.
- → How do I know when the bars are done baking?
-
The bars are ready when the top crumble layer is golden brown and you see the cherry filling bubbling around the edges, typically after 38-42 minutes at 350°F.
- → Why must I cool the bars completely before cutting?
-
Allowing the bars to cool completely sets the cherry filling, ensuring clean cuts. Warm filling will cause the bars to crumble and lose their shape.
- → Can I make these gluten-free?
-
Absolutely. Substitute the all-purpose flour with a high-quality 1:1 gluten-free flour blend. The texture and taste remain delicious.
- → How should I store these bars?
-
Store in an airtight container at room temperature for up to 3 days. For longer freshness, refrigerate for up to a week. They also freeze well for up to 3 months.