 Save
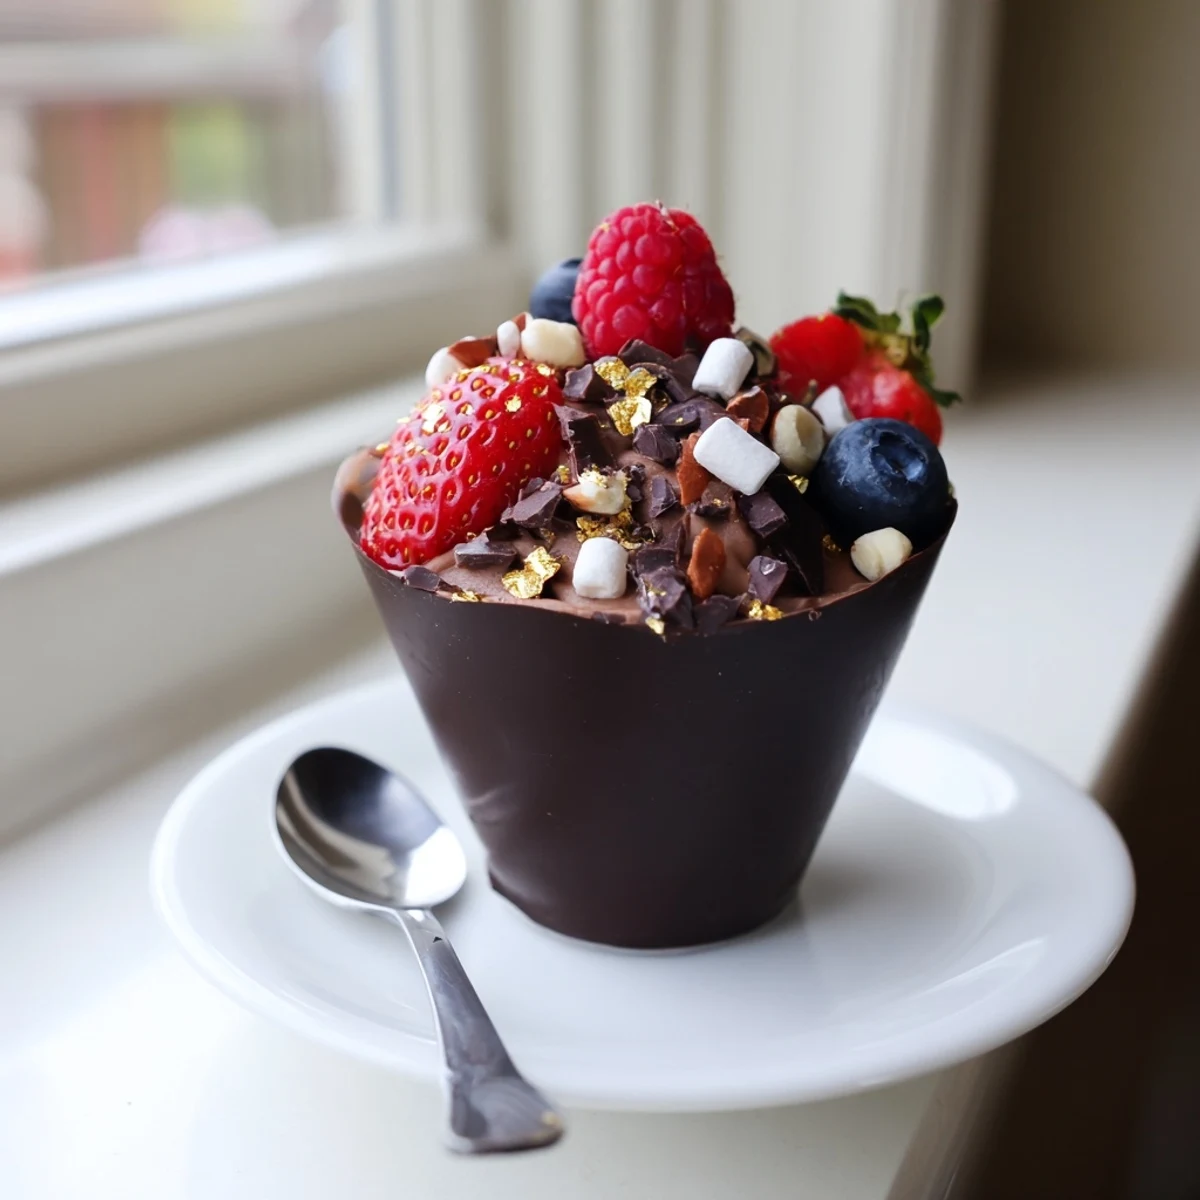
Save These elegant chocolate grazing cups feature handmade dark chocolate vessels filled with silky chocolate mousse, topped with fresh mixed berries, crunchy nuts, mini marshmallows, and decorative chocolate curls. The individual portions create an impressive display perfect for dessert tables, dinner parties, or special celebrations. With just 35 minutes of active preparation and simple techniques like melting chocolate and whipping cream, you can create these stunning treats that look professionally made but come together easily in your home kitchen.
Last Valentine's Day, I decided to skip the restaurant reservations and create something special at home instead. These chocolate grazing cups ended up being the star of the evening—my friends literally gasped when I brought them out. There's something magical about edible vessels that hold even more deliciousness inside.
I first attempted chocolate cups for a dinner party and accidentally made the walls too thick, making them nearly impossible to bite through. After some practice calls with my pastry chef friend, I finally mastered the art of brushing just the right amount of chocolate. Now they're my go-to whenever I need to make people feel special without spending hours in the kitchen.
Ingredients
- Dark chocolate (at least 60% cocoa): Higher cocoa percentage means your cups will hold their shape better at room temperature and have a more sophisticated flavor that balances the sweet toppings
- Heavy cream: Cold cream is non-negotiable here—warm cream won't whip properly and your mousse will turn into chocolate soup instead of fluffy clouds
- Powdered sugar: Dissolves instantly into the cream without any grainy texture that granulated sugar might leave behind
- Fresh mixed berries: The tartness cuts through all that rich chocolate, so don't skip them even if you're tempted to add more sweet toppings
- Chopped nuts: Toast them for three minutes first to unlock their natural oils and make their flavor pop against the chocolate
Instructions
- Prepare your chocolate vessels:
- Melt the chocolate in 30 second bursts, stirring between each, until it flows like warm honey. Paint the inside of each cupcake liner with a generous, even layer, working quickly before the chocolate starts to set. Pop them in the fridge for exactly 20 minutes until they're firm to the touch.
- Whip up the mousse:
- Melt the second batch of chocolate and let it cool until it's barely warm to the touch. Whip your cold cream with the sugar and vanilla until you see soft peaks that droop slightly when you lift the whisk. Gently fold the chocolate into the cream in three additions, being careful not to deflate all that air you just whipped in.
- Bring it all together:
- Carefully peel away the liners to reveal your chocolate cups, then pipe or spoon the mousse inside, leaving room at the top for the toppings. Arrange your berries, nuts, marshmallows, and chocolate curls on top like tiny edible landscapes. Let them chill for another 20 minutes so everything sets up perfectly.
 Save
Save My sister now requests these for every family celebration, and I've started keeping cupcake liners in multiple sizes so I can make mini versions for cocktail parties. Something about holding your entire dessert in the palm of your hand makes it feel extra special.
Making Chocolate Cups That Actually Work
The first few times I tried this, my chocolate cups cracked when I tried to remove the liners. The secret is to let them set completely at room temperature first, then chill them—this prevents thermal shock. Also, silicone liners release more easily than paper ones, so invest in a good set if you plan to make these often.
Topping Combinations Beyond Berries
While fresh berries are classic, don't be afraid to experiment with seasonal ingredients. In autumn, I've used diced persimmons and crushed gingersnaps. Winter calls for candied citrus peel and pomegranate seeds. The mousse is neutral enough that almost anything works as long as you keep some crunch and some tartness in the mix.
Serving Like A Pro
These cups are best served chilled but not ice cold—about 15 minutes out of the fridge is the sweet spot. Arrange them on a wooden board or pretty platter with extra toppings scattered around for that grazing table aesthetic. Small spoons or forks are thoughtful touches since digging in with fingers can get messy.
- Set up a toppings bar and let guests customize their own cups
- Pair with espresso or dessert wine to cut through the richness
- Make them the day before but add fresh toppings right before serving
 Save
Save Every time I serve these, someone inevitably asks how long they took to make. That's when I know I've pulled off the perfect dessert—effortless elegance that makes people feel celebrated.
Recipe FAQs
- → How far in advance can I make these chocolate cups?
-
The chocolate cups can be prepared up to 2 days in advance and stored in an airtight container at room temperature. For best results, assemble with mousse and toppings the same day you plan to serve them to maintain optimal texture and freshness.
- → Can I use different types of chocolate?
-
Absolutely. While dark chocolate provides a rich intensity, you can substitute milk or white chocolate for either the cups or mousse. Just keep in mind that white chocolate has a lower melting point and may require extra chilling time to set properly.
- → What if I don't have silicone cupcake liners?
-
You can use standard paper cupcake liners, small silicone molds, or even create free-form cups by painting melted chocolate onto the outside of inflated balloons (chilled until set), then carefully popping and removing the balloon.
- → How do I store leftover assembled cups?
-
Store assembled cups in the refrigerator for up to 24 hours. The mousse may soften slightly but will remain delicious. Cover loosely with plastic wrap to prevent condensation from affecting the toppings and chocolate exterior.
- → Can I make these for a large crowd?
-
Yes, this recipe scales easily. Multiply ingredients accordingly and work in batches when melting chocolate and coating liners. You can prepare all components ahead of time and assemble quickly before your event for fresh presentation.