 Save
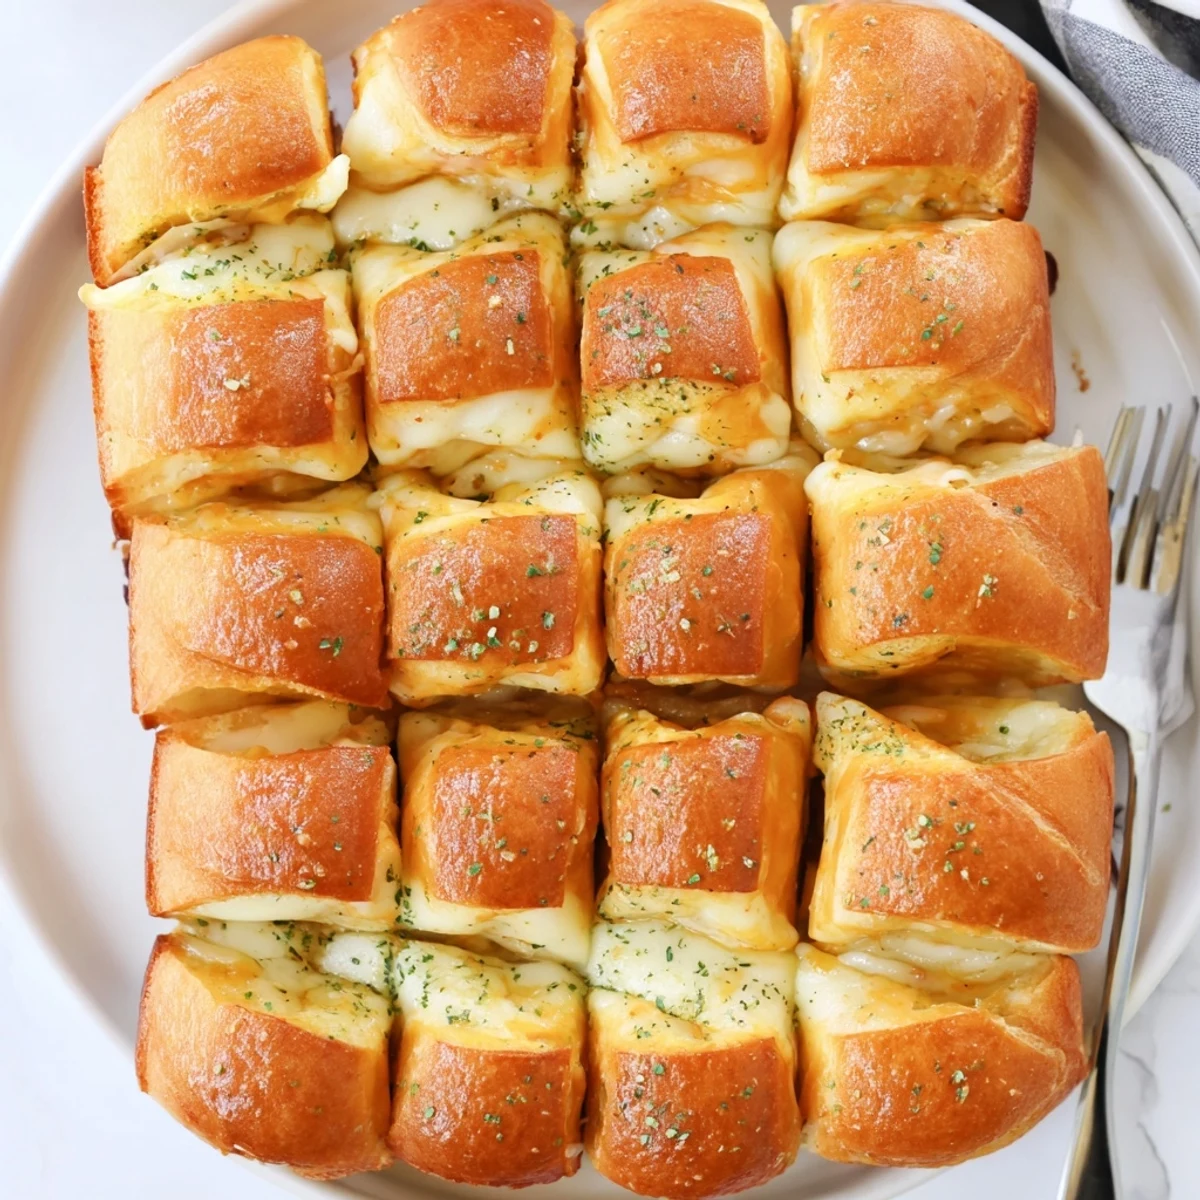
Save These bite-sized sandwiches use a full slab of soft Hawaiian rolls split horizontally, layered with cheddar and mozzarella, then brushed with a garlic-parsley butter. Bake covered 10 minutes, uncover 5 until cheese melts and tops brown. Ready in ~25 minutes for 12 portions. Swap cheeses, add tomato or sautéed onions, and reheat briefly in oven or air fryer.
My neighbor once brought a tray of these mini grilled cheese sliders to a block party and every single one vanished before the hot dogs even hit the grill. I stood there holding an empty tray wondering what just happened. The trick is that sweet Hawaiian roll dough paired with savory garlic butter creates something dangerously snackable. I went home that night and made a second batch at 10 pm because I could not stop thinking about them.
I made these for a movie night with friends and ended up eating six of them before the opening credits finished.
Ingredients
- Hawaiian rolls (12 count): The sweetness of these rolls is the whole point and regular dinner rolls will not give you the same magic.
- Cheddar cheese (8 oz, sliced): Sharp cheddar brings the bold tangy flavor that cuts through the buttery richness.
- Mozzarella cheese (4 oz, sliced): This is your melt factor and it stretches beautifully when you pull the sandwiches apart.
- Unsalted butter (4 tbsp, melted): Melted butter spreads evenly and soaks into the tops for maximum crispness.
- Garlic powder (1 tsp): It distributes more consistently than fresh garlic and wont burn in the oven.
- Dried parsley (1 tsp): Mostly for color but it adds a subtle herbaceous note that makes these feel a little fancier.
- Sea salt (optional): A light sprinkle balances the sweetness of the rolls but skip it if your butter is salted.
Instructions
- Get the oven ready:
- Preheat to 350°F and line a baking sheet with parchment paper so nothing sticks and cleanup is effortless.
- Slice the slab:
- Using a serrated knife, slice the entire block of rolls in half horizontally without separating them individually because keeping them together makes assembly much faster.
- Build the cheese layer:
- Place the bottom slab on your baking sheet and layer cheddar slices first followed by mozzarella so the sharper cheese is closer to the bread.
- Close the sandwiches:
- Set the top half of the rolls back on and press down gently so the cheese makes contact with both layers.
- Mix the butter glaze:
- Stir together melted butter, garlic powder, parsley, and salt in a small bowl until it looks like liquid gold.
- Brush it on generously:
- Use a pastry brush to coat every inch of the roll tops and let some drip down the sides because that toasted edge is the best part.
- Covered bake:
- Loosely tent with foil and bake 10 minutes so the cheese melts through without drying out the tops.
- Golden finish:
- Remove the foil and bake 5 more minutes until the tops turn a gorgeous golden brown and you can see cheese bubbling at the edges.
- Pull apart and serve:
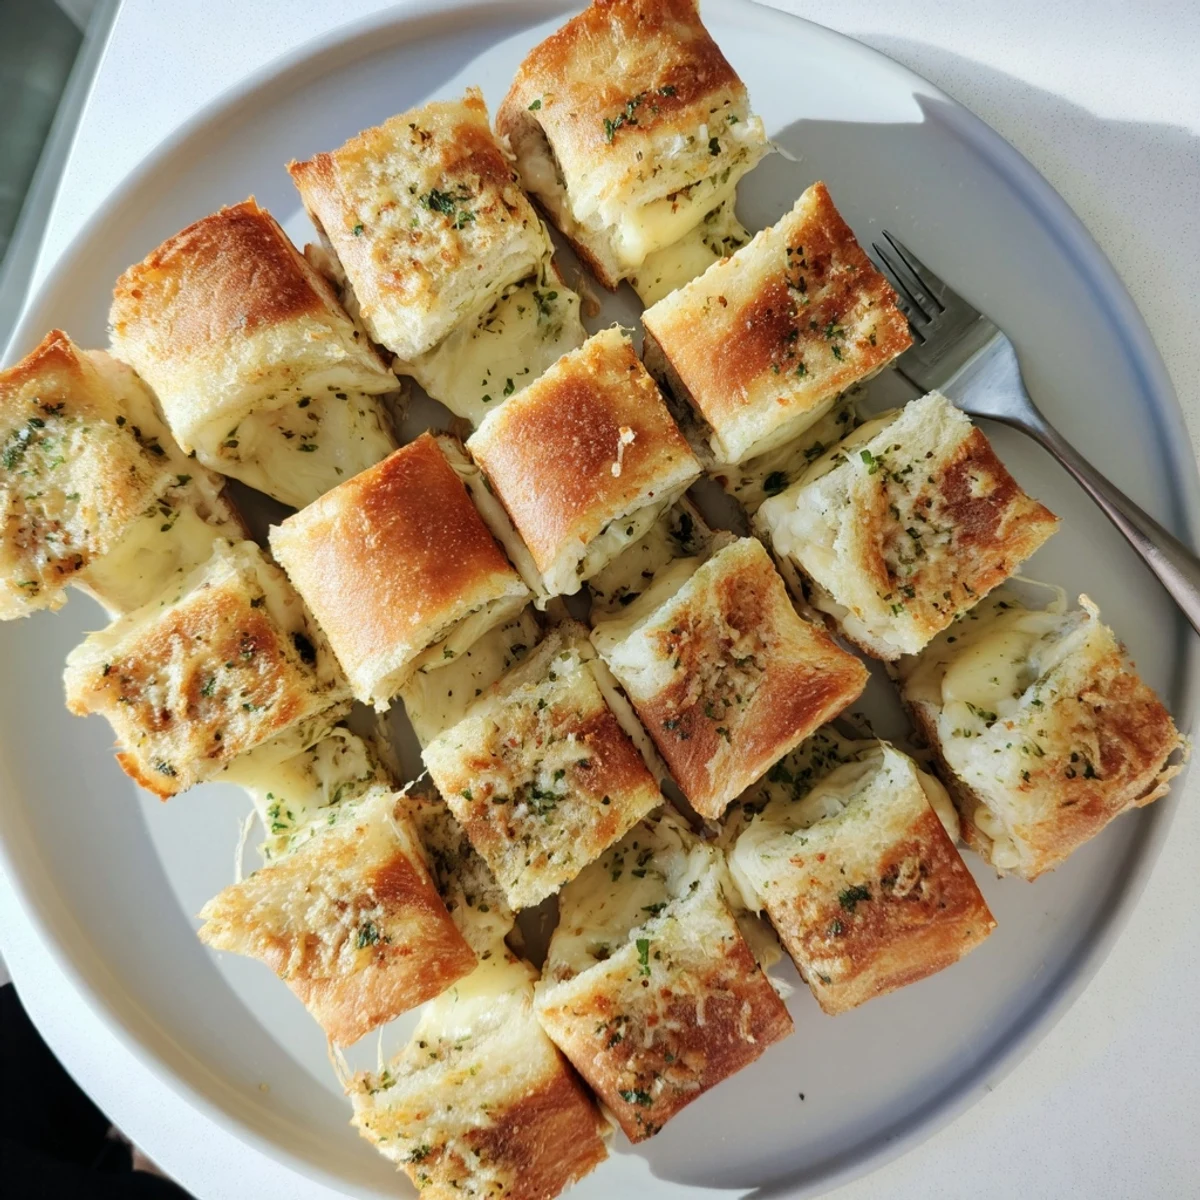
- Let them cool for just a minute or the molten cheese will rearrange your taste buds permanently, then separate into individual sliders and serve warm.
 Save
Save The best part of making these is watching a crowd of adults revert to giddy children the moment they peel apart that first cheese stretched sandwich.
Cheese Swaps That Actually Work
Pepper jack adds a slow building heat that pairs surprisingly well with the sweet roll. Gruyère melts into something deeply nutty and elevated, perfect if you are serving these alongside soup. I tried Swiss once and while the flavor was mild and pleasant, it did not have the same gooey stretch factor that makes these irresistible.
What to Serve Alongside
Tomato soup is the obvious companion and honestly hard to beat for dipping. A simple side salad with vinaigrette cuts through the richness if you are trying to pretend this is a balanced meal. I have also served them alongside pickles and mustard as a party spread and people went wild for the combination.
Reheating and Leftovers
They are best fresh but reheating is totally doable if you know the right method.
- The oven or air fryer at 350°F for three to four minutes restores the crisp top beautifully.
- A microwave works in a pinch but you lose that toasted exterior.
- Never reheat covered in foil because the bottoms will get soggy and sad.
 Save
Save Keep this recipe in your back pocket for game days, rainy afternoons, or anytime you need twenty five minutes of kitchen joy. These little sandwiches have a way of making any gathering feel warmer.
Recipe FAQs
- → How long and at what temperature should I bake them?
-
Preheat the oven to 350°F (175°C). Bake covered for 10 minutes, then uncover and bake an additional 5 minutes until the cheese is fully melted and the tops are golden.
- → What cheeses work best?
-
Cheddar and mozzarella provide a balance of flavor and melt. Gruyère, Swiss, pepper jack, or provolone are great substitutes or mixes for different flavor profiles.
- → How do I slice the rolls without them falling apart?
-
Use a serrated bread knife and slice the entire block of rolls horizontally in one steady motion to keep the rolls aligned and prevent tearing.
- → Can I prepare these ahead of time and reheat later?
-
Assemble ahead and refrigerate covered; bake before serving. To reheat, warm briefly in an oven or air fryer to restore a crisp top and melted center.
- → Any serving suggestions or pairings?
-
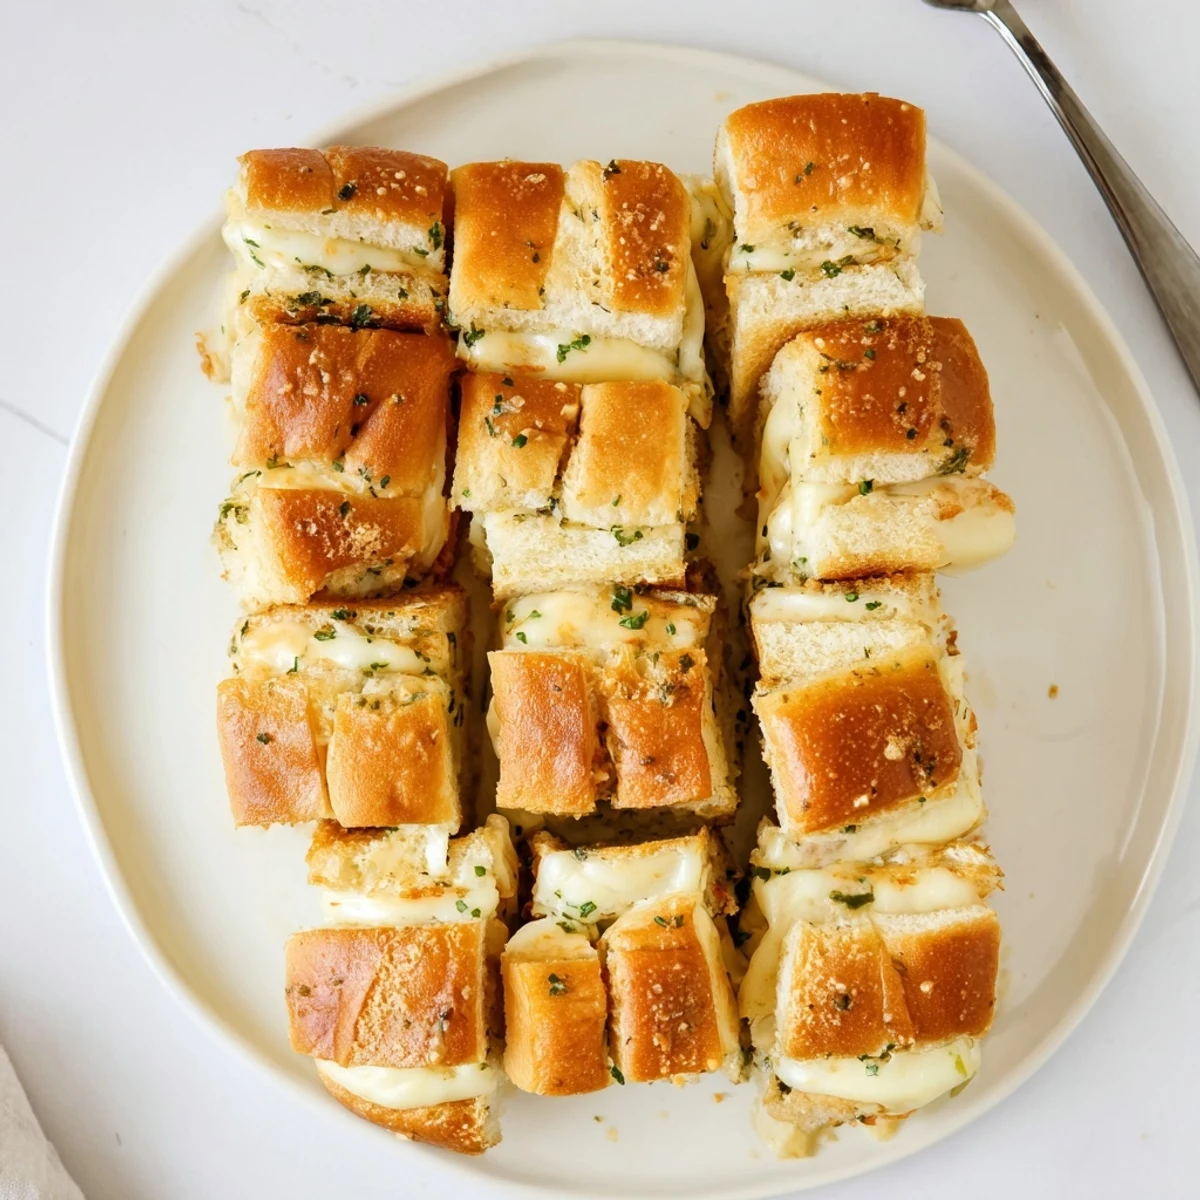
Serve warm as a party appetizer with tomato soup, pickles, or a simple salad. Cut into individual sandwiches and arrange on a platter for easy snacking.
- → What about allergens and dietary swaps?
-
This includes wheat and dairy; to adapt, use gluten-free rolls and dairy-free melters. Always check product labels for potential soy or cross-contact allergens.