 Save
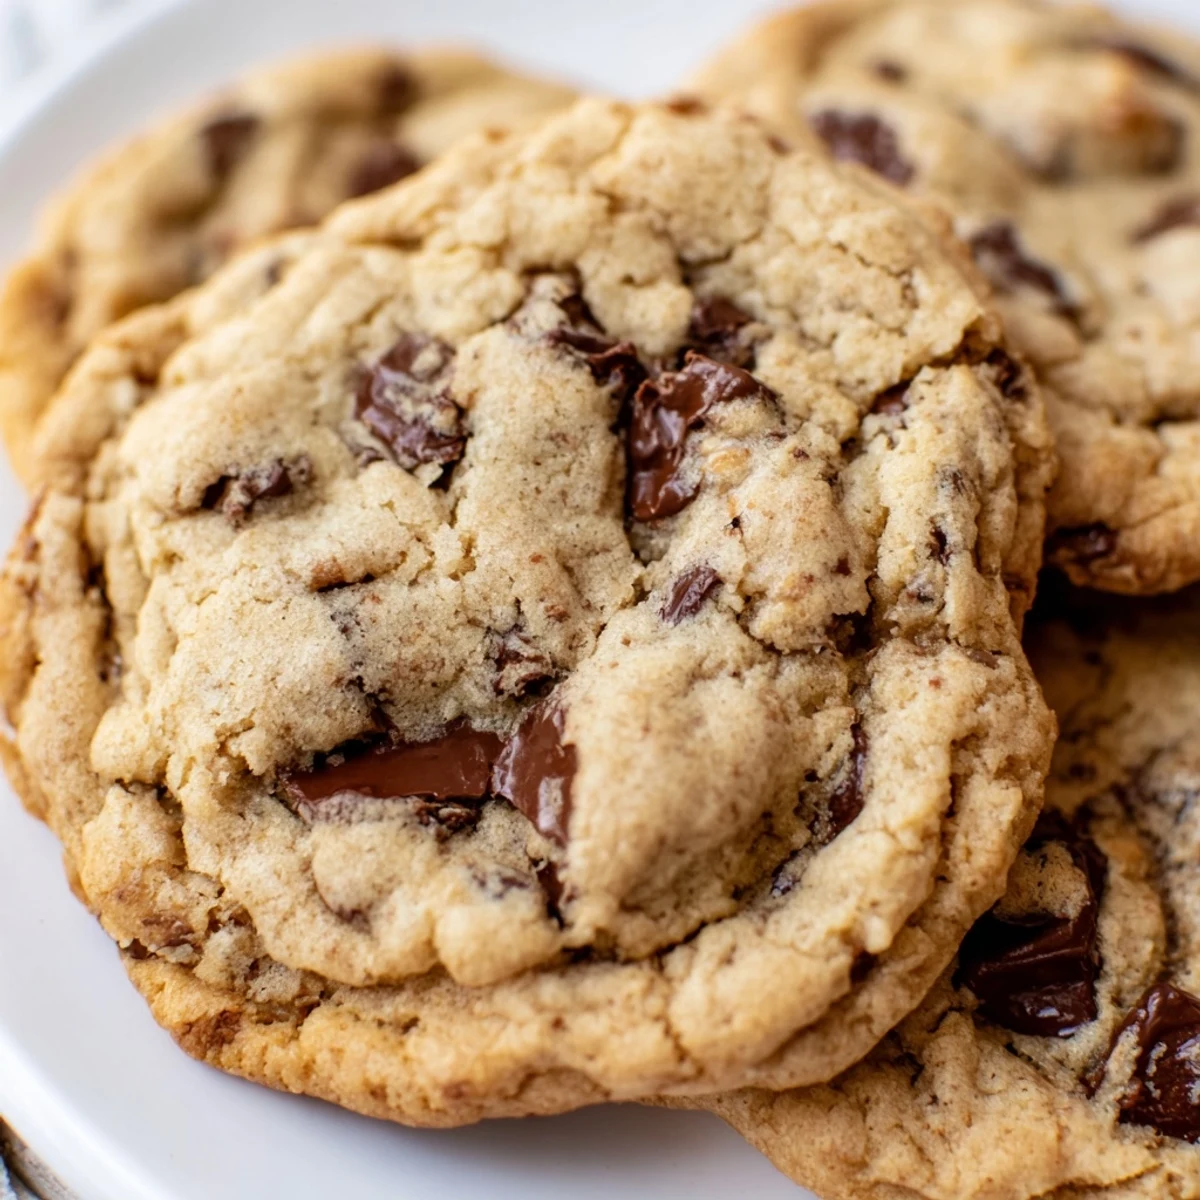
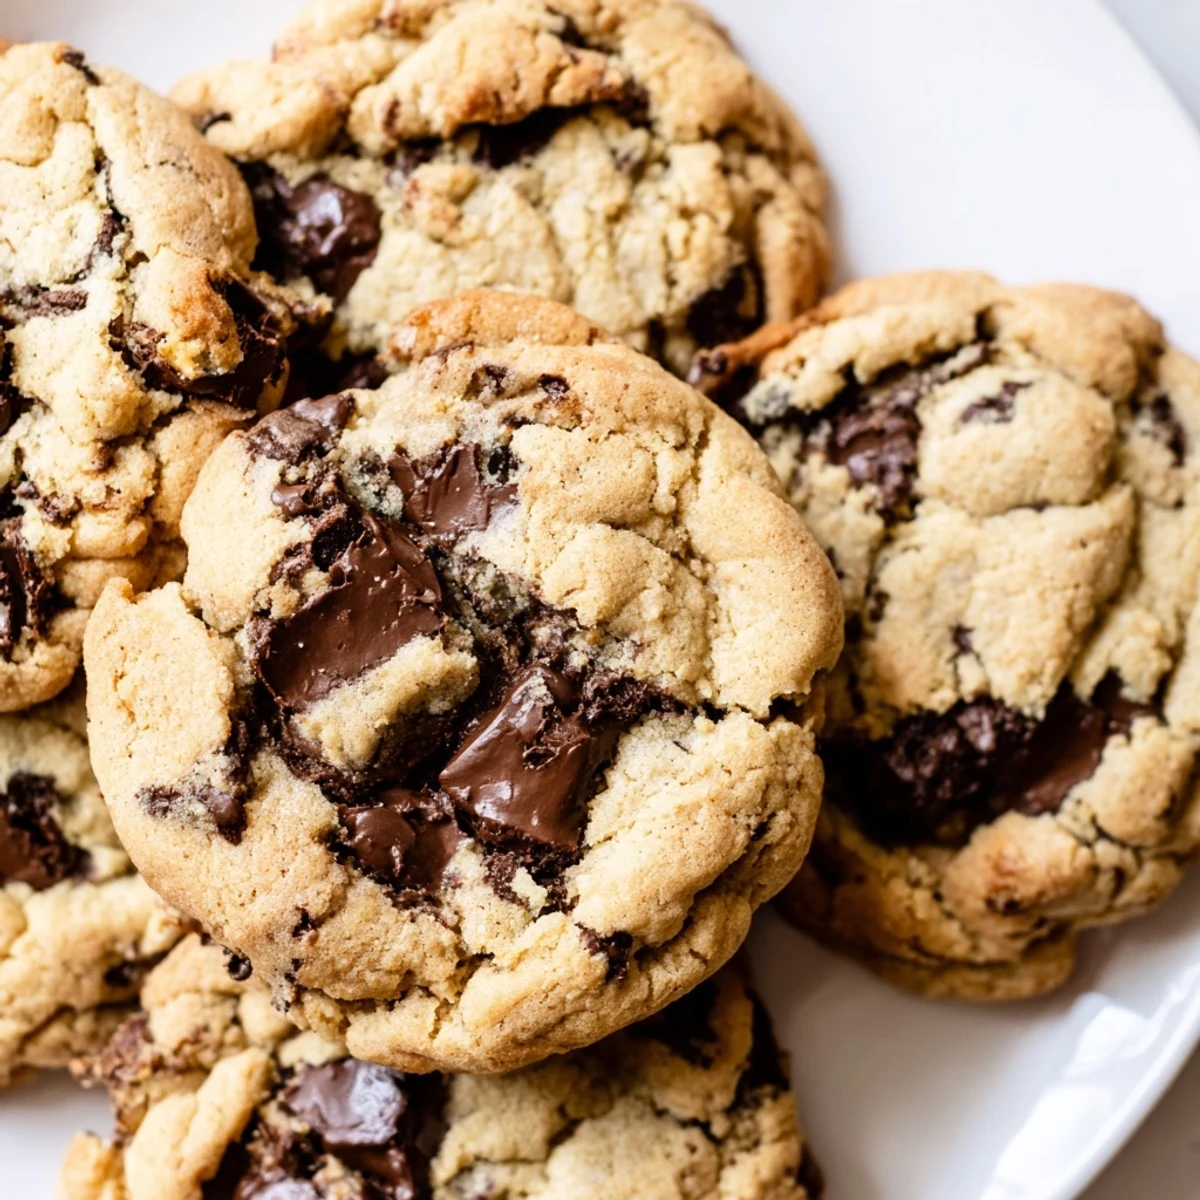
Save These soft and chewy chocolate chip cookies deliver all the classic flavor you love without any nuts. Made with simple pantry ingredients, they come together in just 25 minutes for fresh, warm treats anytime. The dough yields 24 cookies with perfectly golden edges and tender centers.
For extra chewiness, chill the dough for 30 minutes before baking. Swap the semi-sweet chips for nut-free white chocolate or add dried fruit to customize. Always verify your chocolate chips and other ingredients are certified nut-free when serving those with severe allergies.
My daughter came home from first grade devastated because someone told her she couldn't have cookies at the class party. We spent that Saturday afternoon making these together, her tiny hands carefully measuring flour while I explained that the best cookies don't need nuts to be extraordinary. Now they're the most requested treat in her class, and honestly, I prefer them without the crunch anyway.
Last summer I brought these to a neighborhood potluck where two families had serious nut allergies. Watching everyone enjoy the same dessert without worrying about labels or reactions felt like a small victory. One dad confessed he hadn't had a chocolate chip cookie at a party in over a decade.
Ingredients
- All-purpose flour: Provides the structure that holds these cookies together. I've learned that measuring by weight rather than volume makes the texture more consistent.
- Baking soda: The leavening agent that creates those irresistible soft pockets inside each cookie.
- Salt: Just half a teaspoon intensifies the chocolate flavor in ways people notice but can't quite identify.
- Unsalted butter: Softened to room temperature makes all the difference between cookies that spread beautifully and ones that turn into thin puddles.
- Granulated and brown sugar: The combination gives you crisp edges from the white sugar and chewy centers from the brown.
- Eggs: Two large eggs add richness and help bind everything together into a cohesive dough.
- Pure vanilla extract: Don't skimp here. The real stuff makes these taste like they came from a bakery.
- Nut-free semi-sweet chocolate chips: Always check the labels carefully. Enjoy Life chips are my go-to for guaranteed safety.
Instructions
- Preheat and prepare:
- Set your oven to 350°F and line two baking sheets with parchment paper. This prevents sticking and makes cleanup practically nonexistent.
- Whisk the dry ingredients:
- In a medium bowl, combine the flour, baking soda, and salt. This step ensures everything is evenly distributed before it hits the wet ingredients.
- Cream the butter and sugars:
- Beat the softened butter with both sugars for 2 to 3 minutes until the mixture turns pale and fluffy. Those air pockets are what make cookies tender.
- Add eggs and vanilla:
- Beat in the eggs one at a time, then mix in the vanilla. The dough should look smooth and glossy at this point.
- Combine everything:
- Gradually add the dry ingredients to the wet mixture, mixing only until you no longer see visible flour streaks. Overmixing makes tough cookies.
- Fold in the chocolate chips:
- Use a spatula to gently incorporate the chips until they're evenly distributed throughout the dough.
- Scoop and space:
- Drop rounded tablespoons of dough onto the prepared sheets, leaving about 2 inches between each one. They need room to spread without merging.
- Bake to perfection:
- Bake for 9 to 11 minutes until the edges turn golden but the centers still look slightly underbaked. They'll continue cooking on the hot pan.
- Cool completely:
- Let the cookies rest on the baking sheets for 5 minutes before moving them to a wire rack. This patience pays off in texture.
 Save
Save These became my go-to office birthday treat after I watched my coworker carefully read every package at a baby shower, then sadly skip the dessert table. Now nobody has to choose between safety and celebration.
Getting the Texture Right
The secret to bakery-style cookies is pulling them from the oven when the centers still look slightly soft. They'll finish cooking on the hot baking sheet, and that residual heat creates that perfect contrast between crisp edges and chewy middles that makes people reach for seconds.
Making Them Your Own
Sometimes I swap half the chocolate chips for nut-free white chocolate chunks or dried cranberries when I want something different. The base dough is incredibly forgiving and handles additions beautifully without losing its signature soft texture.
Storage and Sharing
These cookies stay fresh in an airtight container for up to five days, though they rarely last that long in my house. I've also started freezing scoops of dough on a baking sheet, then transferring them to a freezer bag for fresh-baked cookies in 12 minutes whenever the mood strikes.
- Label any treats you're sharing outside your home as nut-free so people can enjoy without asking
- Room temperature ingredients mix together more evenly and create consistent results
- Warm cookies are wonderful, but they slice cleaner after cooling completely
 Save
Save There's something deeply satisfying about watching everyone at the table enjoy the same dessert together. These cookies prove that safety and deliciousness aren't mutually exclusive.
Recipe FAQs
- → Are these cookies completely safe for nut allergies?
-
Yes, these cookies contain no nuts or nut-derived ingredients. However, always verify your chocolate chips and all ingredients are certified nut-free, as cross-contamination can occur during manufacturing.
- → Can I chill the dough before baking?
-
Absolutely. Chilling the dough for 30 minutes before baking enhances the chewiness and helps the cookies hold their shape in the oven.
- → What chocolate chips work best?
-
Use nut-free semi-sweet chocolate chips for classic flavor. You can also substitute with nut-free white chocolate chips or mix in dried cranberries for variety.
- → How do I know when the cookies are done?
-
Bake for 9-11 minutes until the edges turn golden brown. The centers should still look slightly soft when you remove them from the oven — they'll finish setting as they cool.
- → Can I freeze the dough or baked cookies?
-
Yes, both freeze well. Scoop raw dough onto a baking sheet, freeze until solid, then transfer to a freezer bag for up to 3 months. Bake frozen dough adding 1-2 minutes. Baked cookies freeze for up to 3 months.
- → What makes these cookies chewy?
-
The combination of brown sugar, proper creaming of butter and sugars, and slightly underbaking until centers are soft creates that perfect chewy texture every time.